How to Set Up Your Assistant
This guide will help guide you through some best practices for configuring your assistants in Studio. By the end of it, you'll have configured your assistant and be ready to start building amazing conversational experiences. Let's dive in!
Step 1: Log In to Rasa Studio
-
Log in to Rasa Studio as a user with the
superuserordeveloperrole.
For more details on roles and what they can do, check out our user role guide.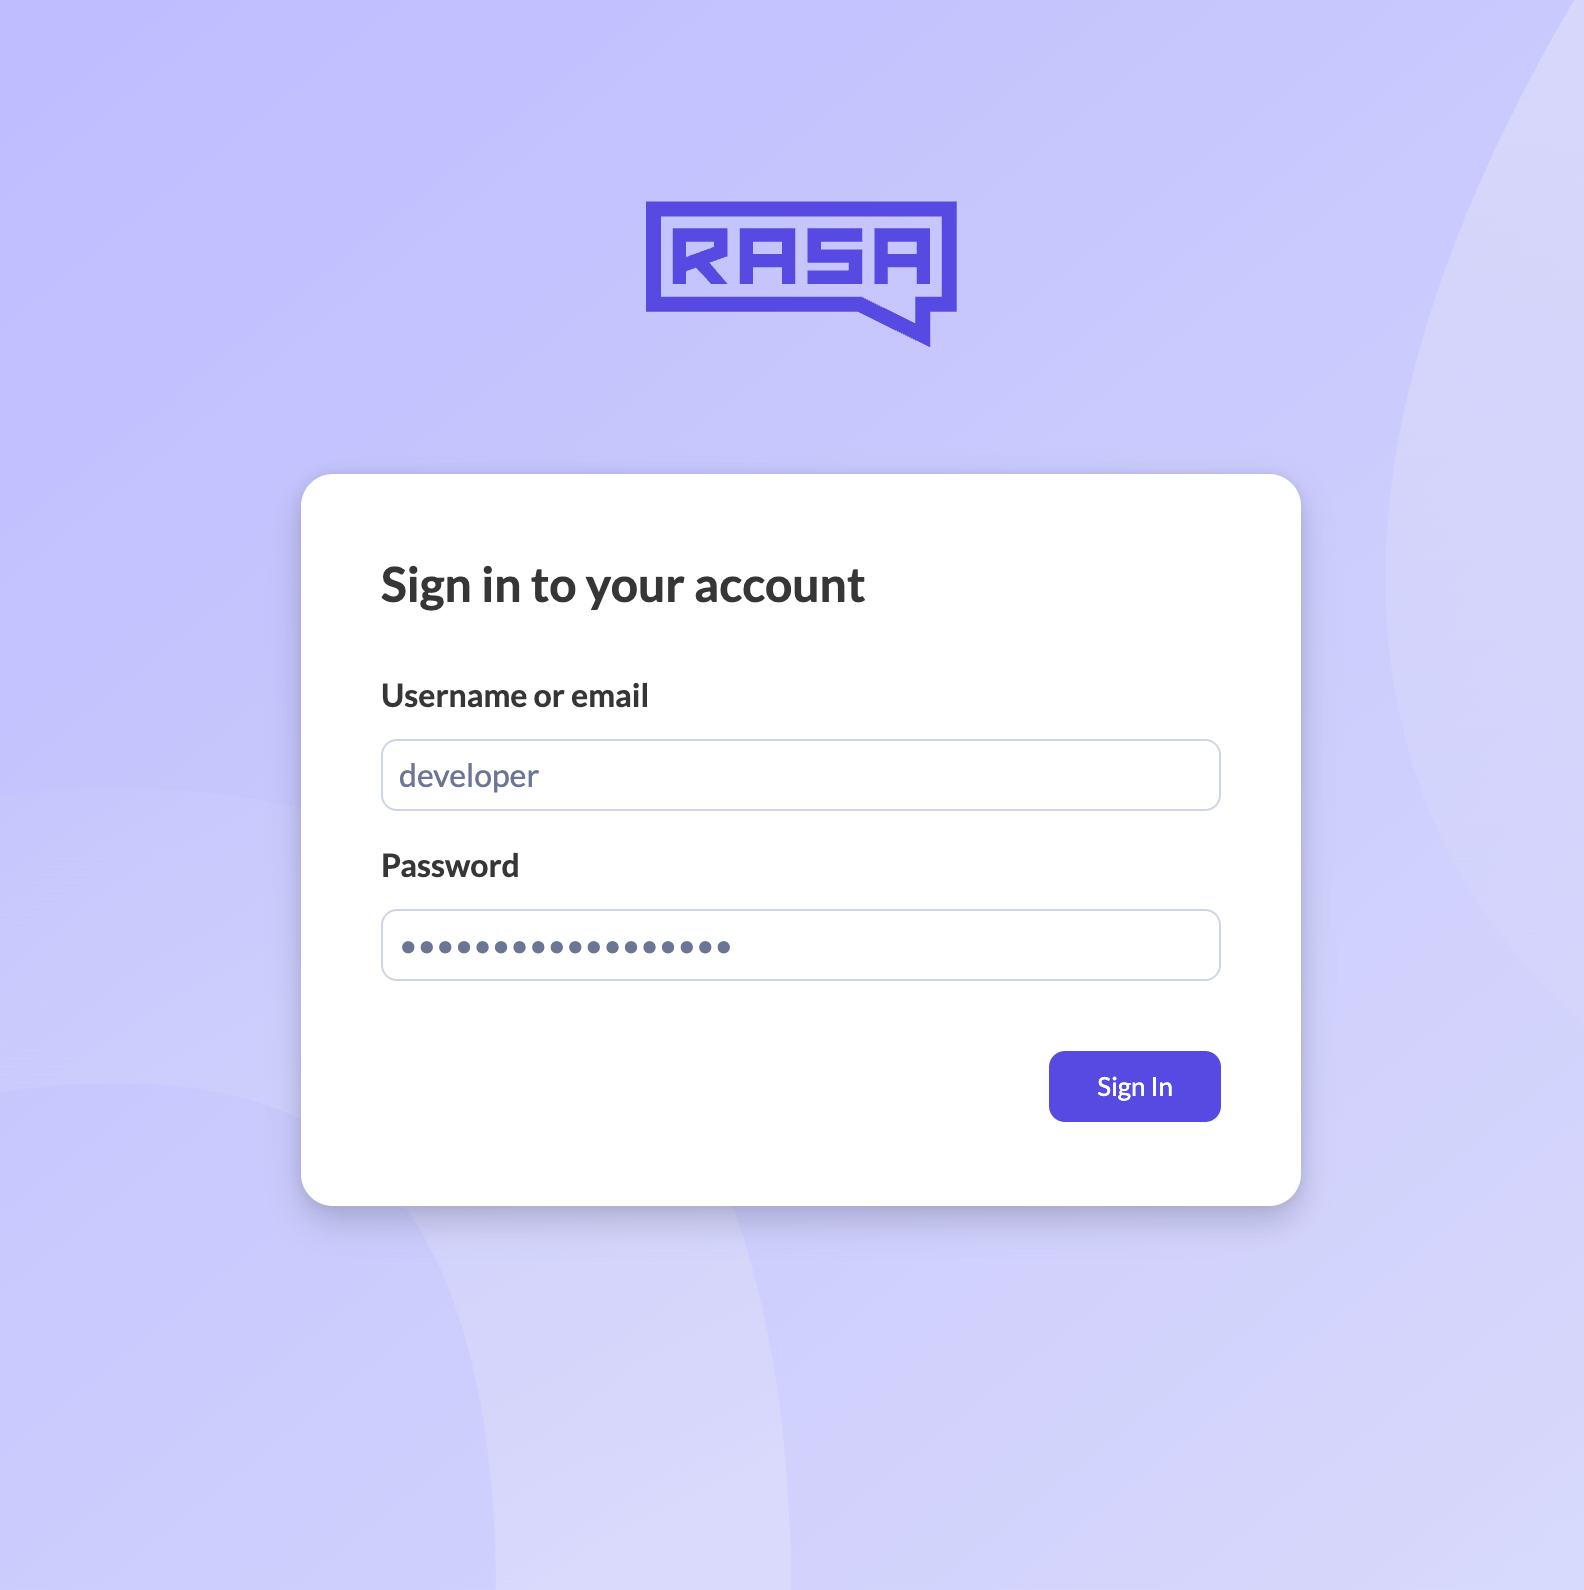
-
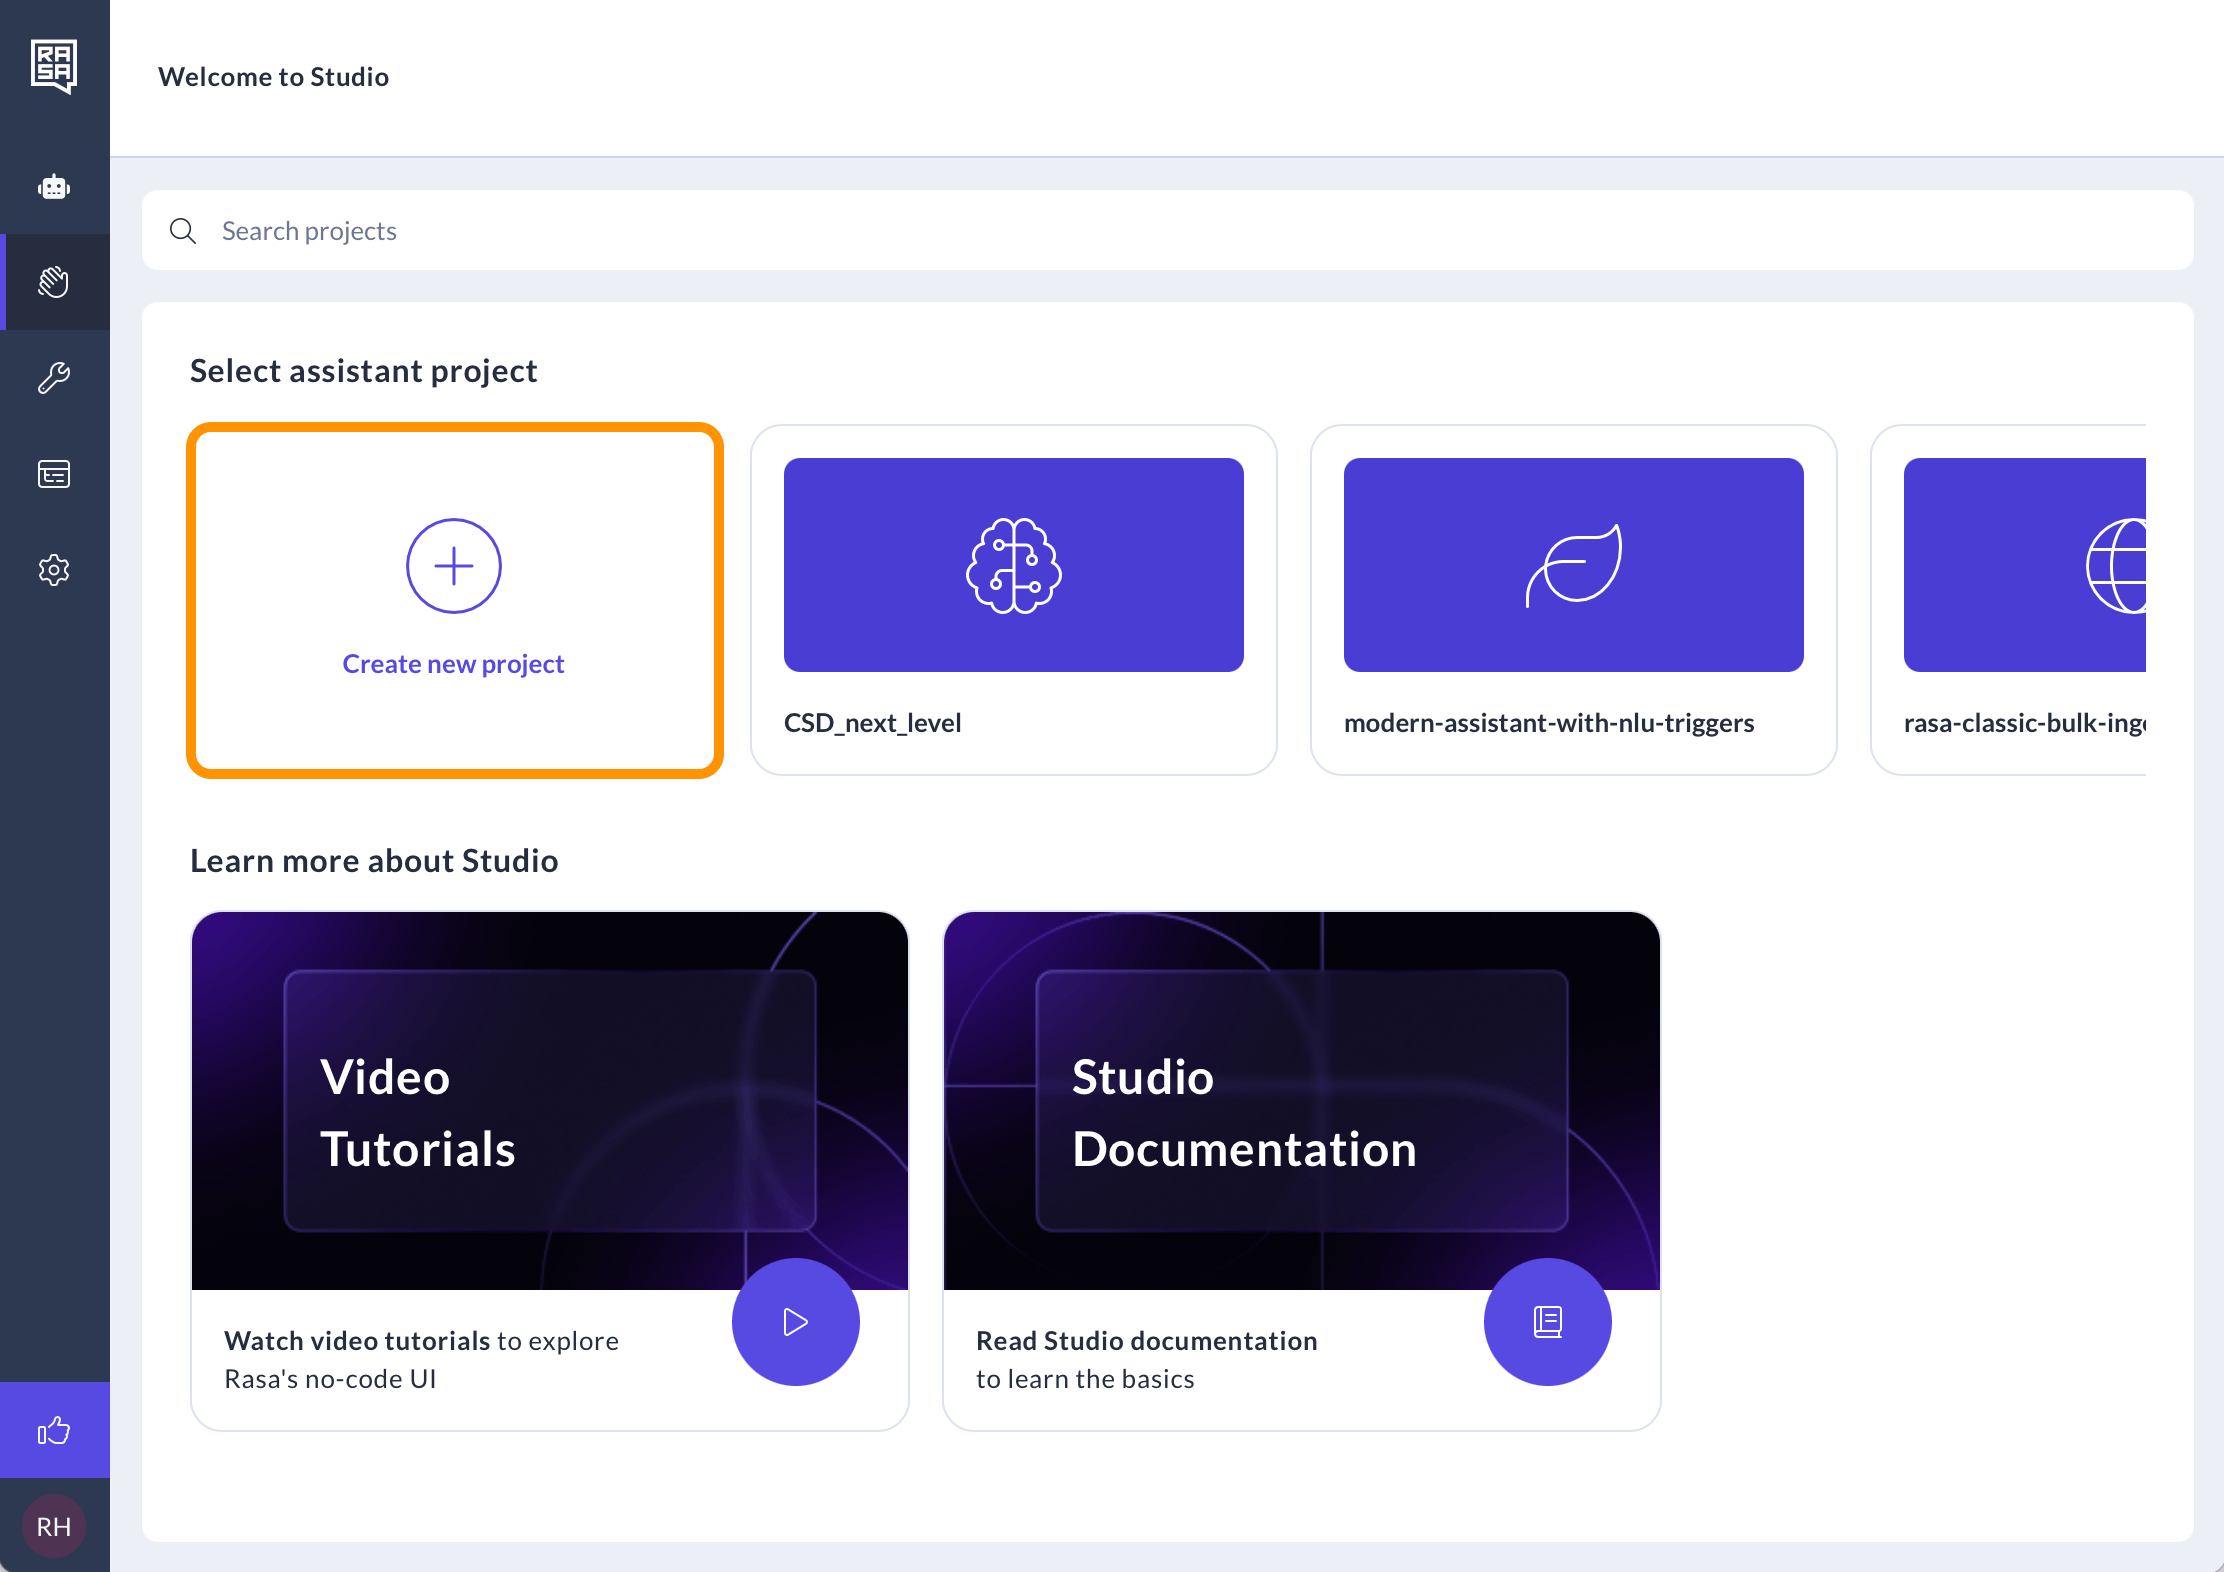
Create or select an assistant you want to configure.
Step 2: Configure Your Assistant
-
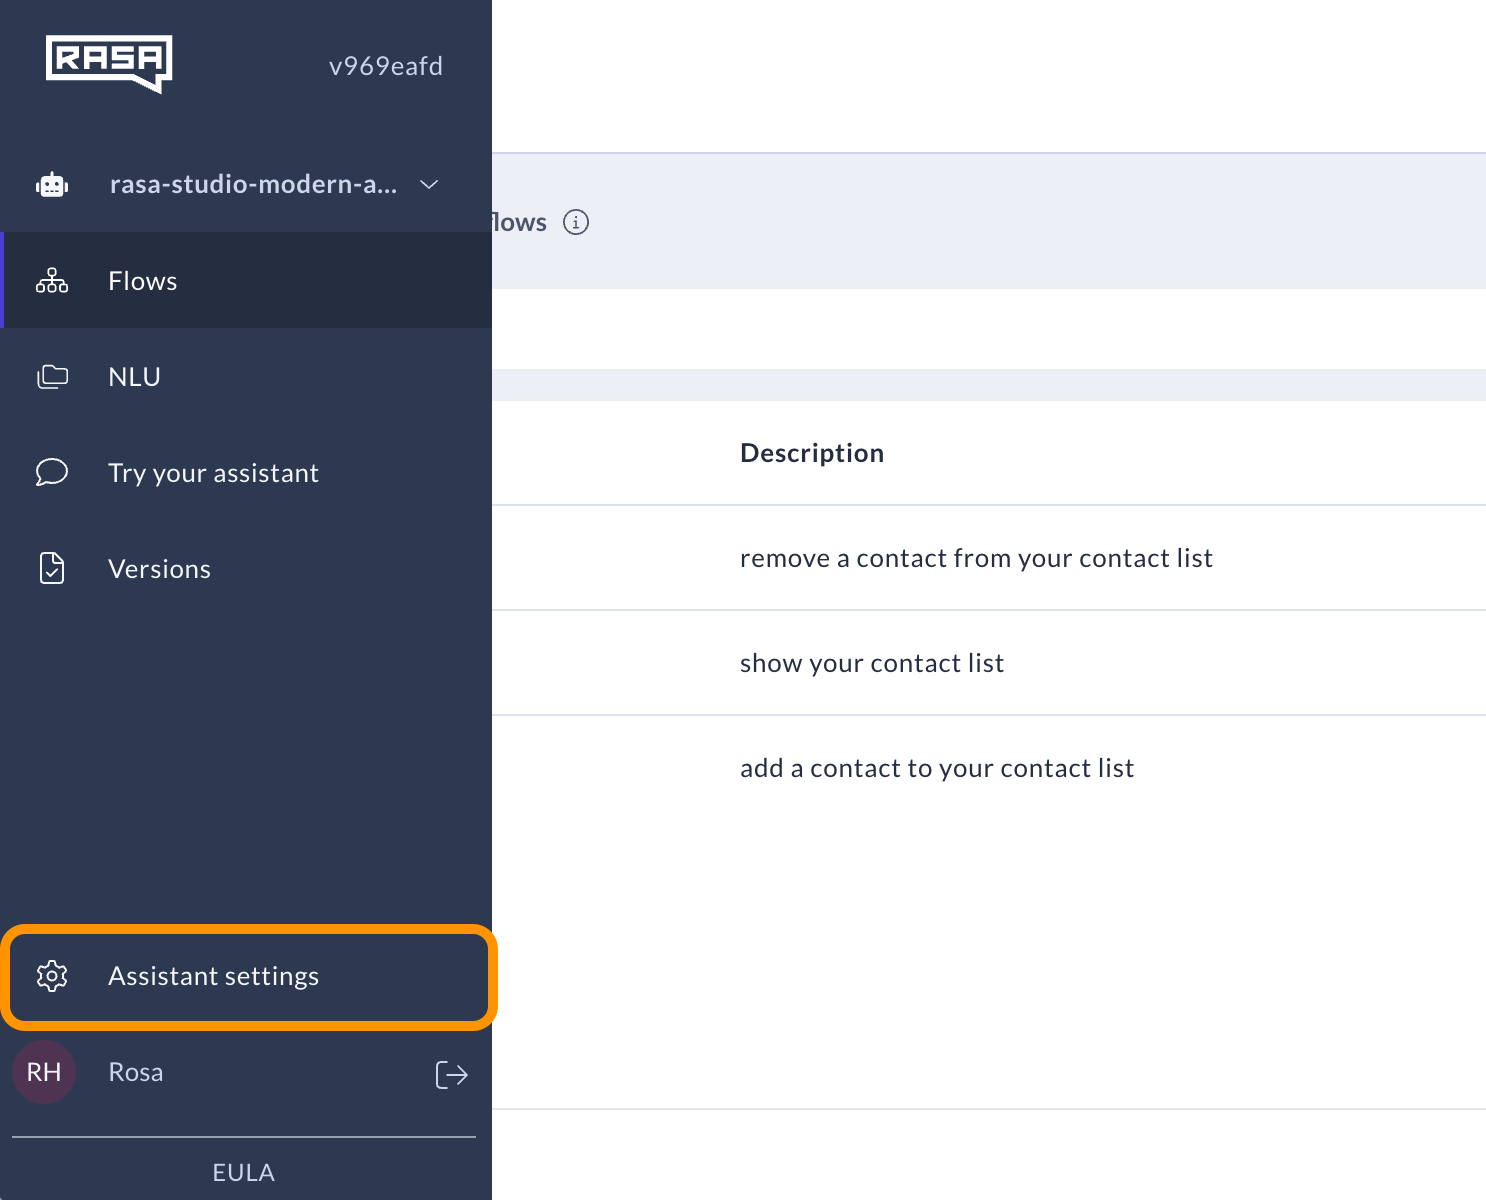
Navigate to the "Assistant settings" page.
-
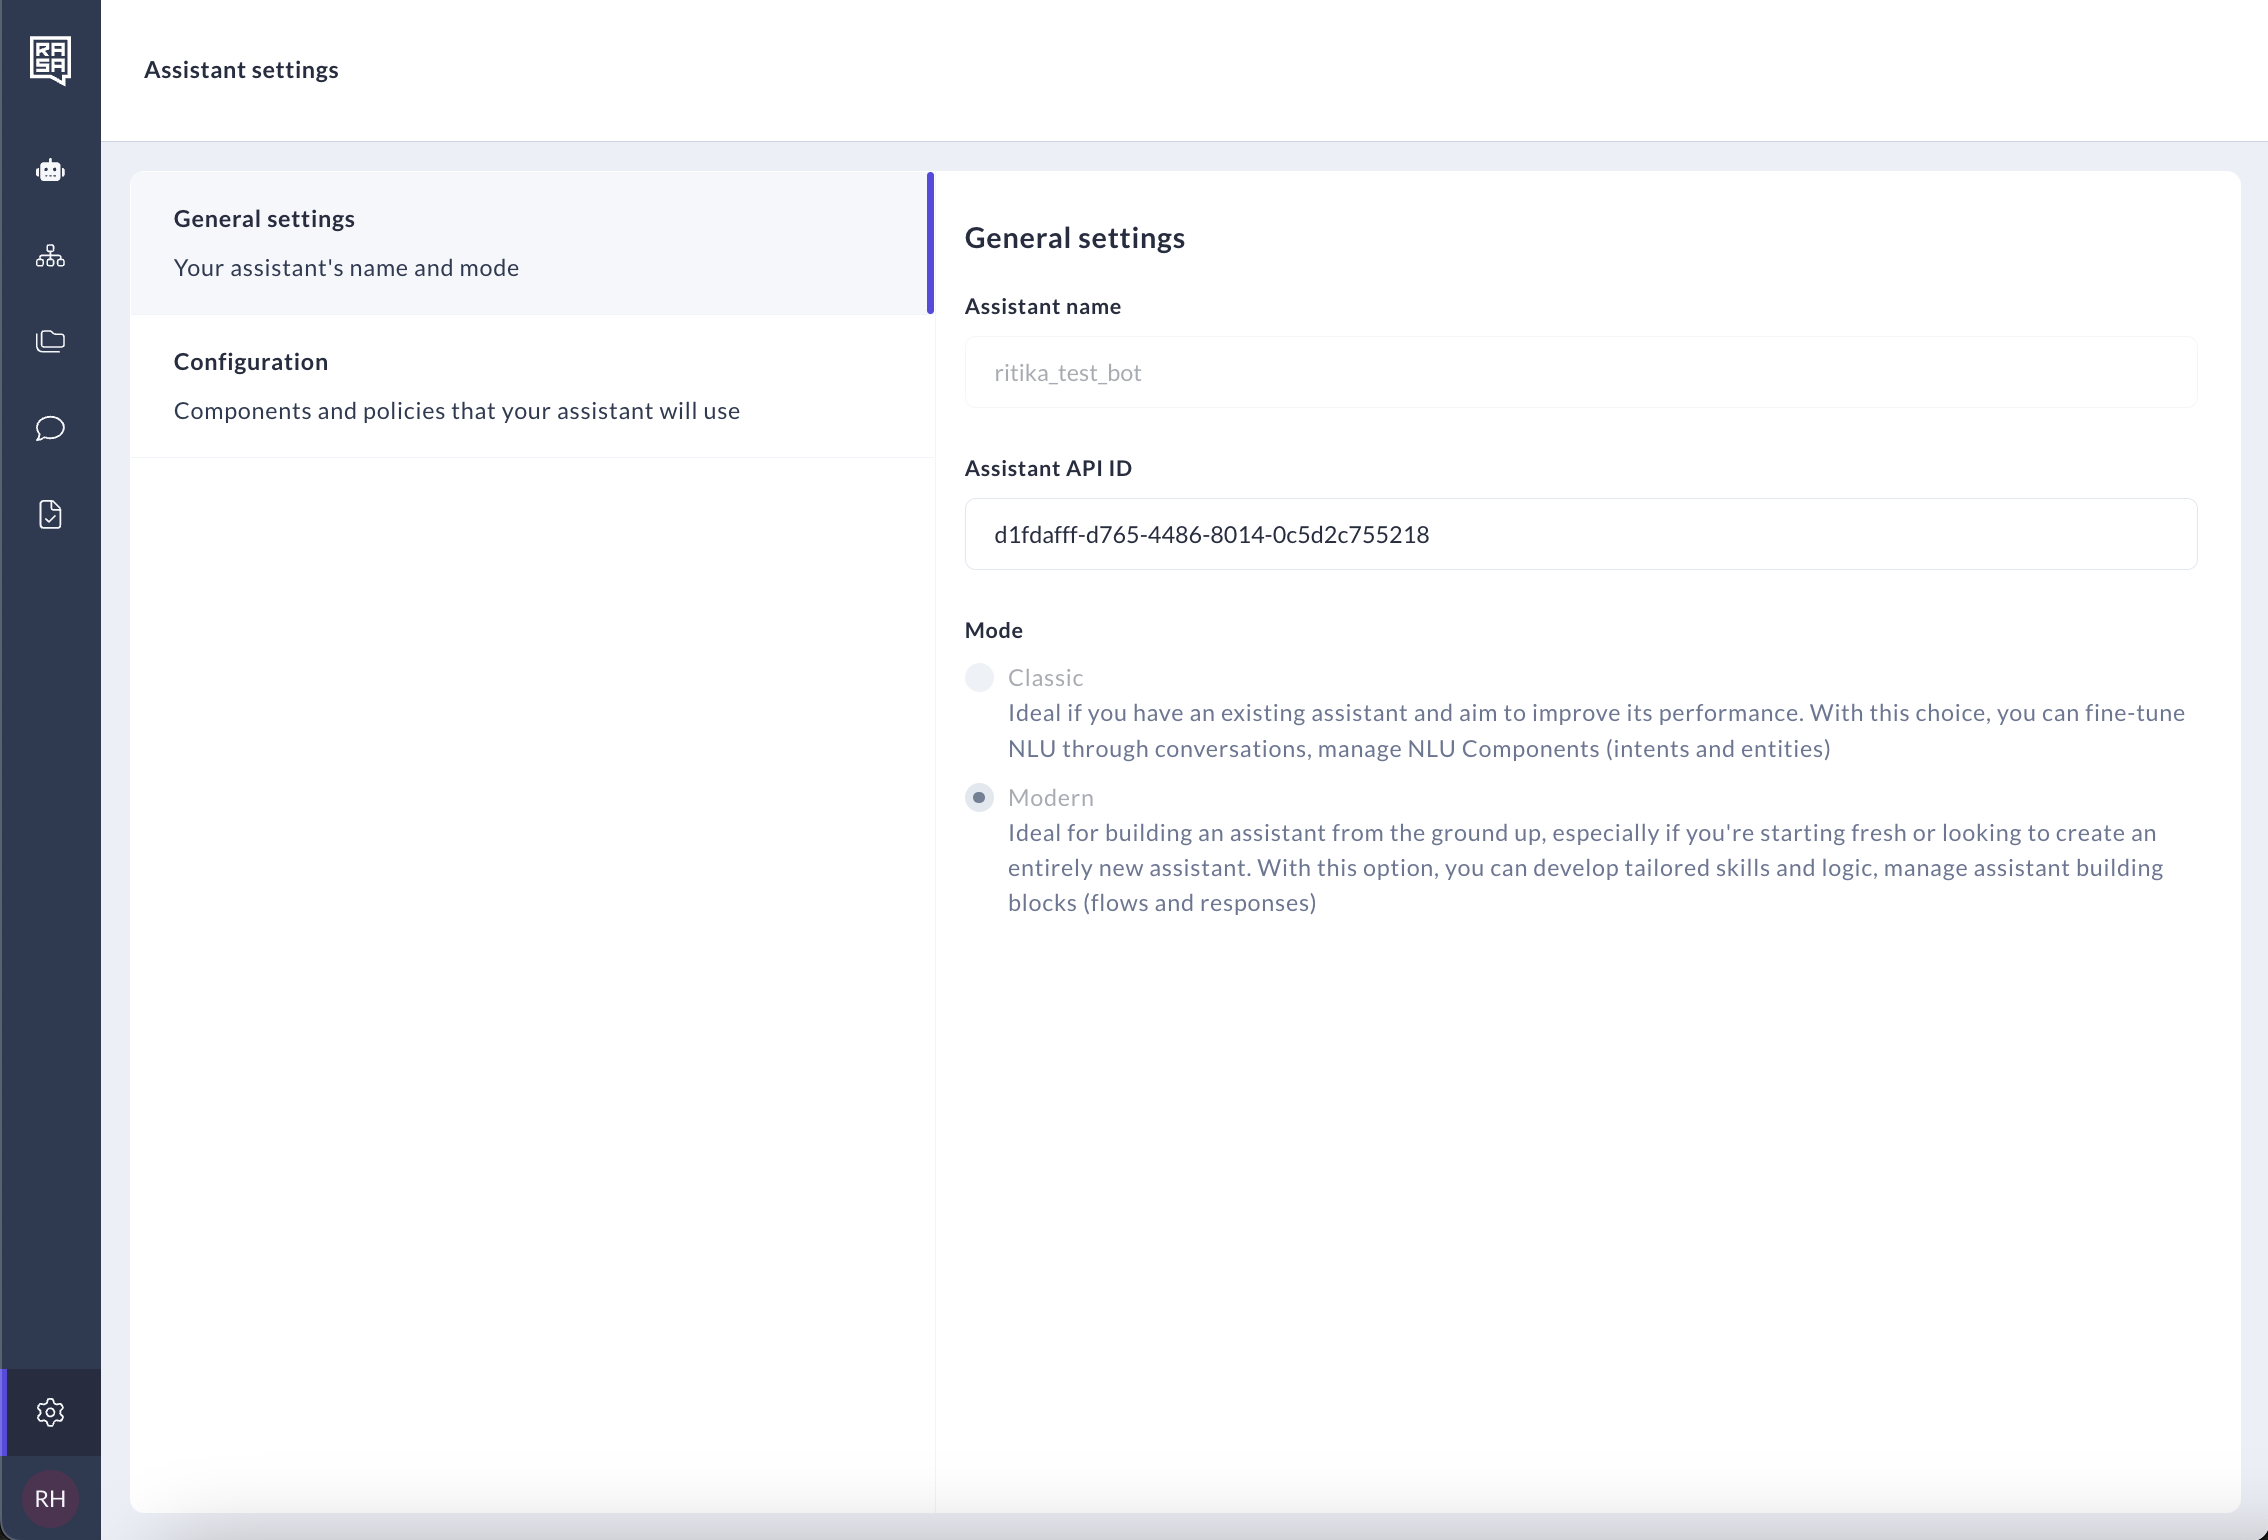
Click on the "General settings" tab. Here, you will find general information for your assistant like Assistant name and Assistant API ID. These settings aren't editable.
-
Click on the "Configuration" tab. Here, you will find editors for the default
config.ymlandendpoints.ymlfiles."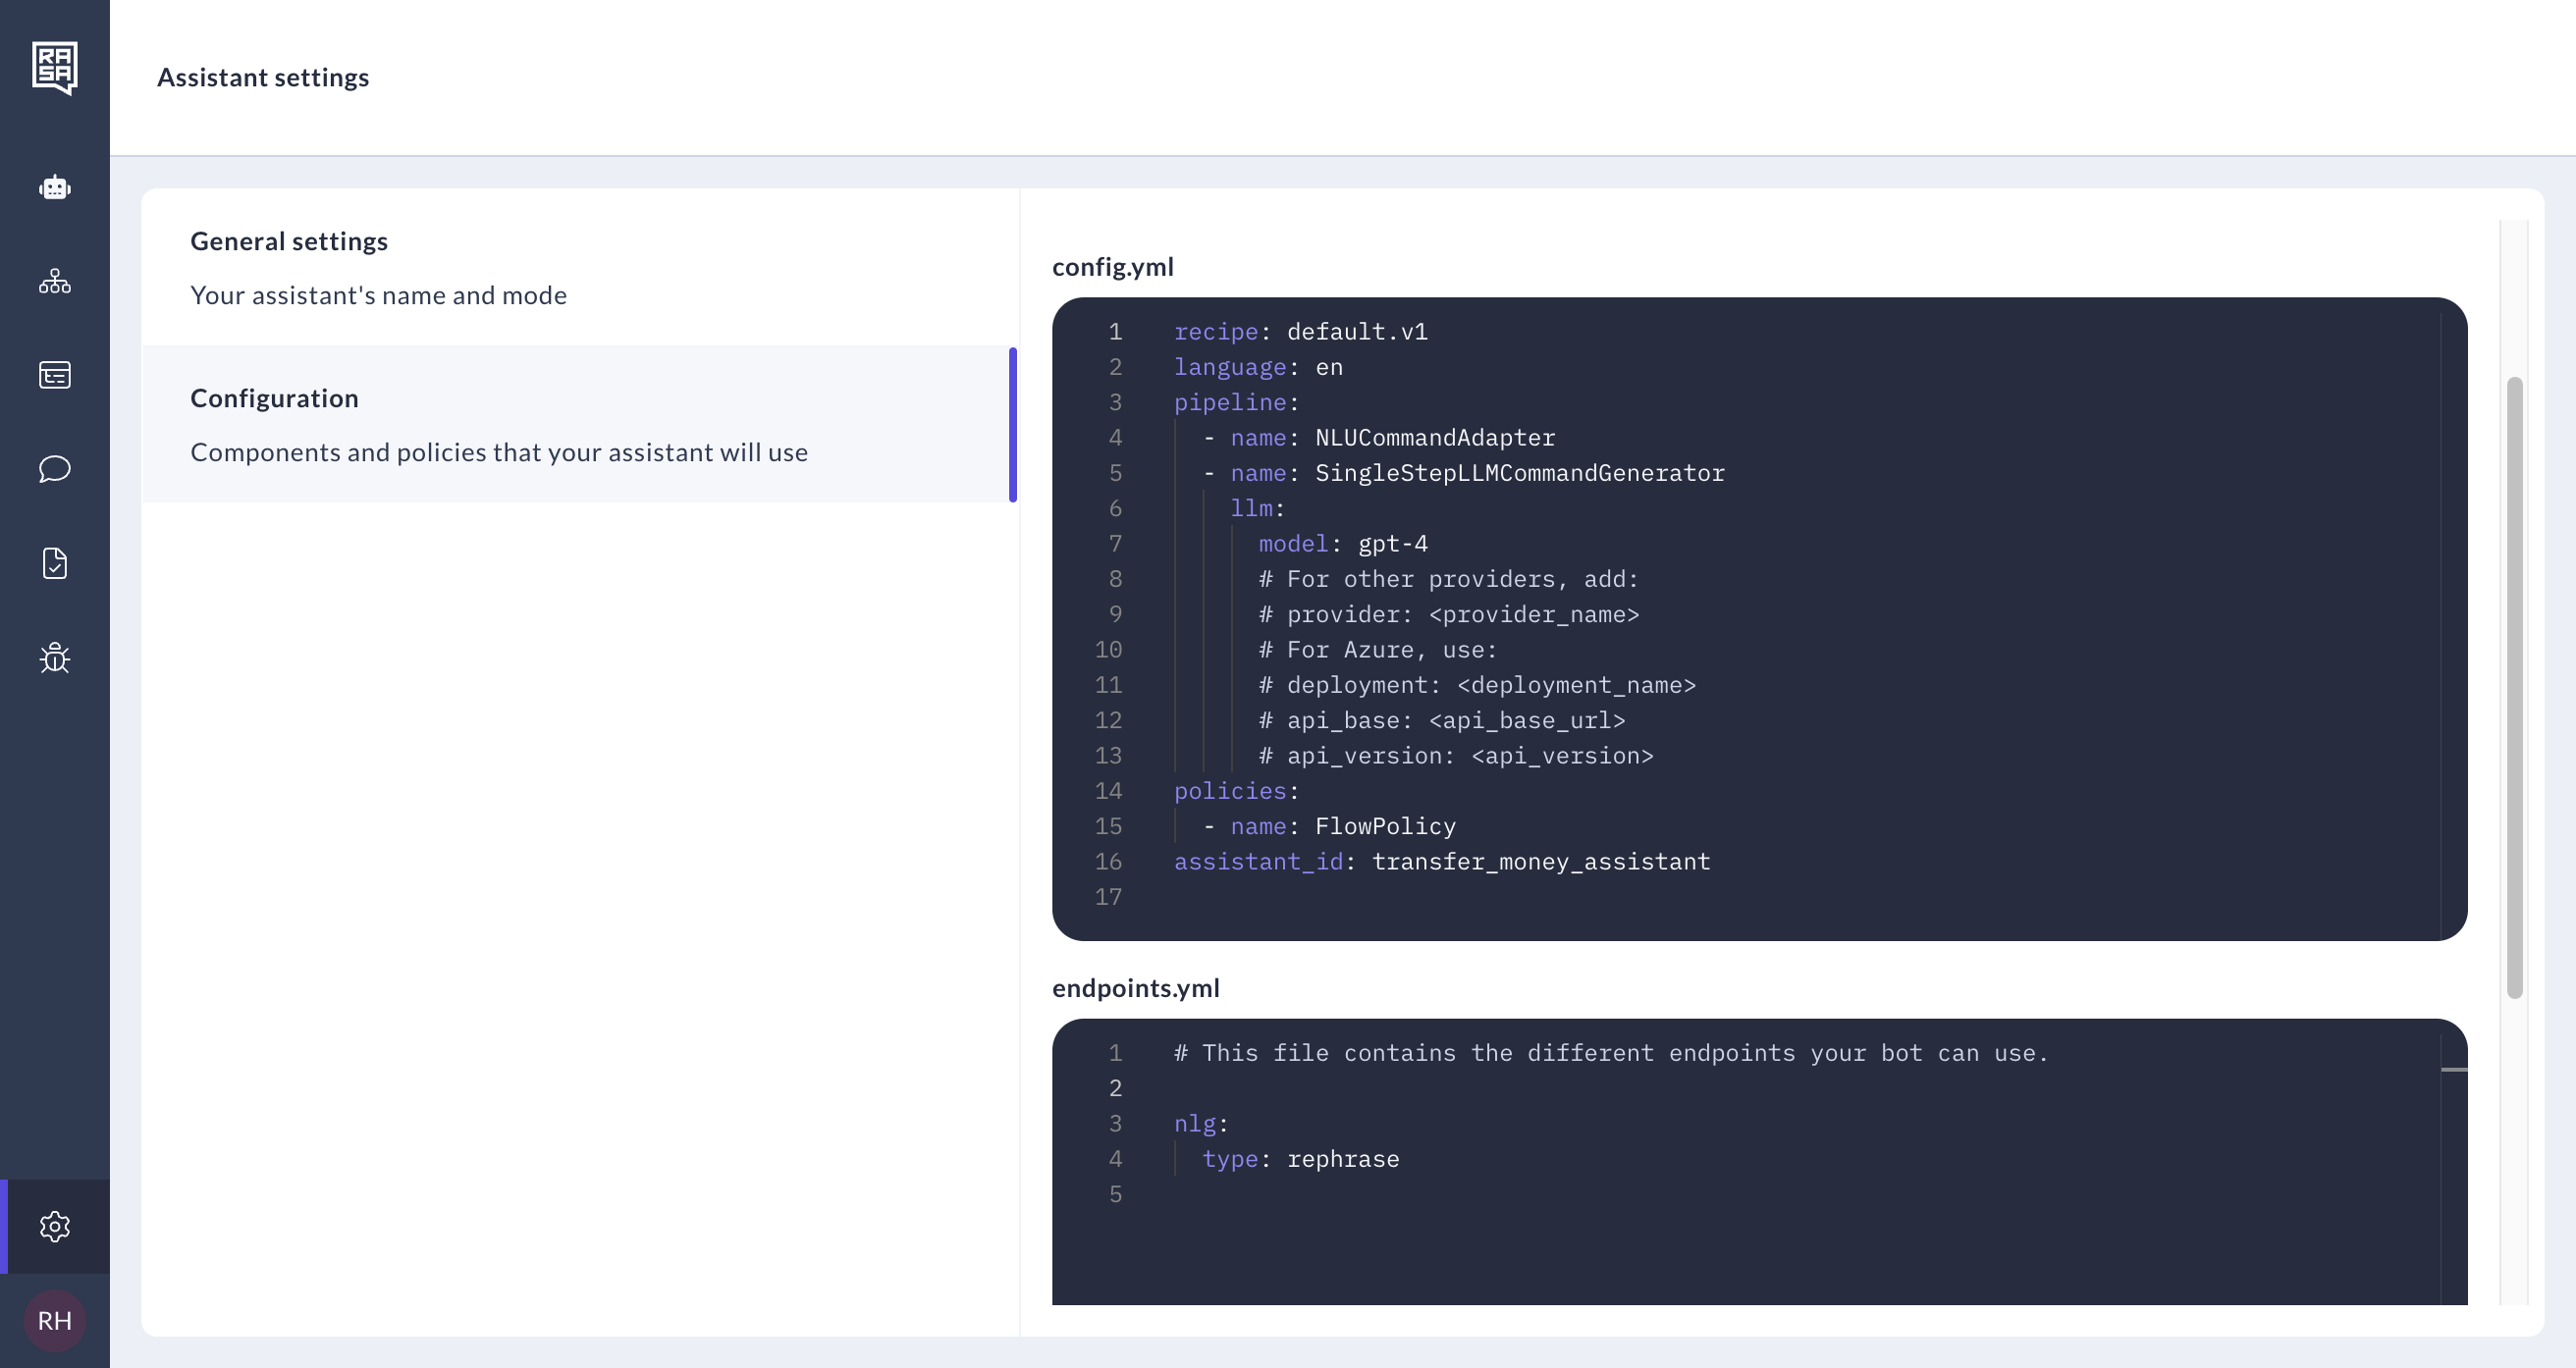
Additionally, there is an option to "Always include the following flows in the prompt." This feature ensures that selected flows are always considered by the LLM during dialogue management, regardless of other constraints. This is particularly useful for flows that are crucial to the assistant's functionality and need to be readily available during conversations. For more details on flow retrieval, please refer to the Retrieving Relevant Flows documentation.
Configuration Files
You can configure LLMs and their deployments, embeddings, NLU, Core, and Action server in these files.
Config
The config.yml file is central to configuring your assistant's behavior. It allows you to customize:
- NLU (Natural Language Understanding) components
- Core model settings
- Training pipeline
- Policies
- LLM (Large Language Model) configurations and deployments
- Embedding settings
Endpoints
The endpoints.yml file specifies various service endpoints used by Rasa Studio, including:
Optional: Configure Additional Languages
Configuring additional languages enables your assistant to deliver localized content and offer a better experience for users who speak different languages. It also allows you to manage and translate responses directly in Studio.
- Navigate to the Assistant Languages tab
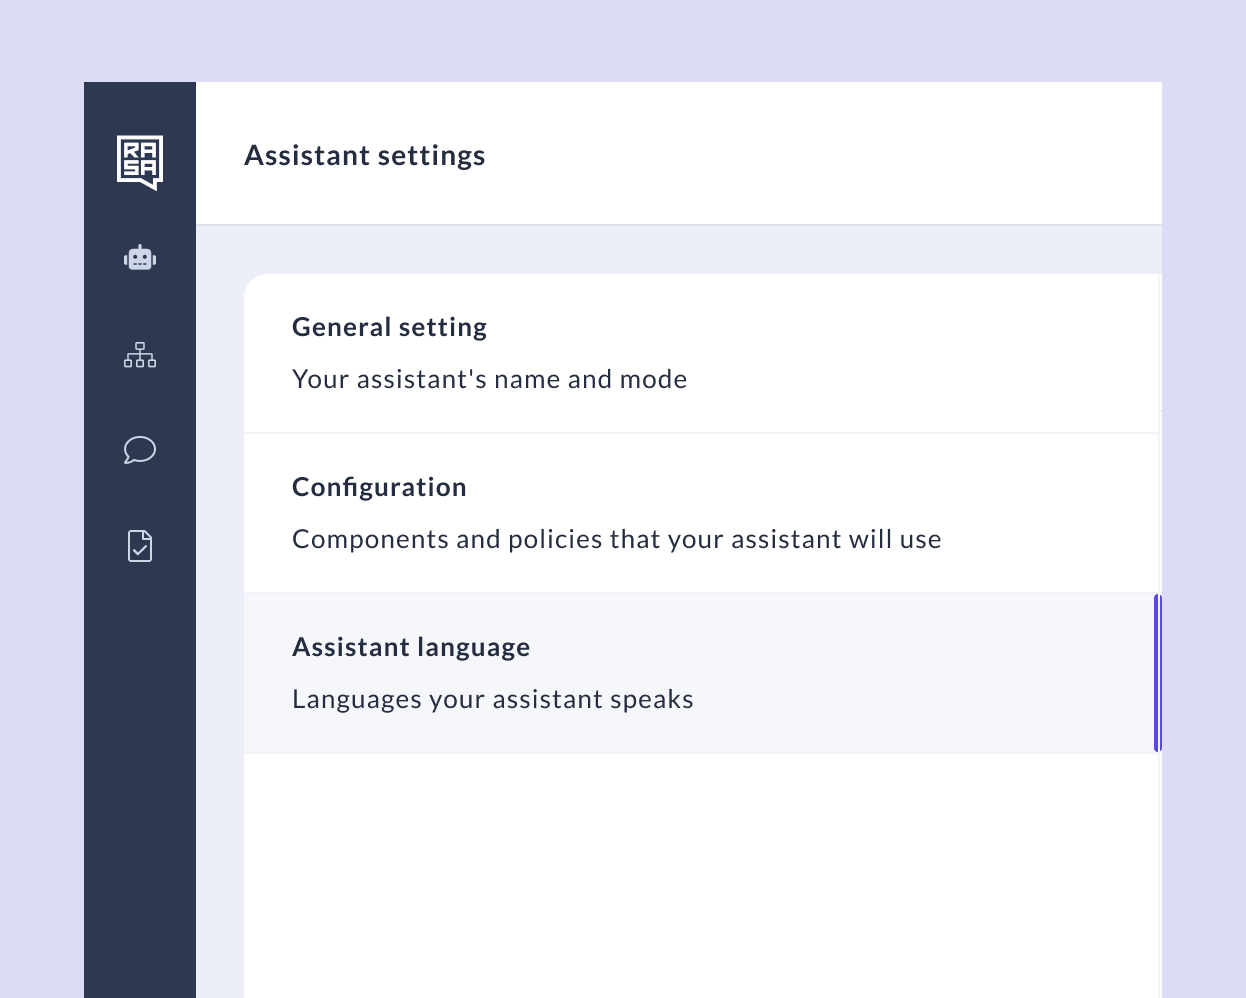
- From the sidebar menu, select “Assistant language.”
- This opens the panel where you can set your assistant’s default and additional languages.
- Set the Default Language
- You can update your default language from this tab. This language is the primary language your assistant uses and will act as the fallback if translations are missing or errors occur.
Be careful when updating the default language—you’ll need to provide a full set of default content for the newly selected language before being able to train.
- Add Additional Languages
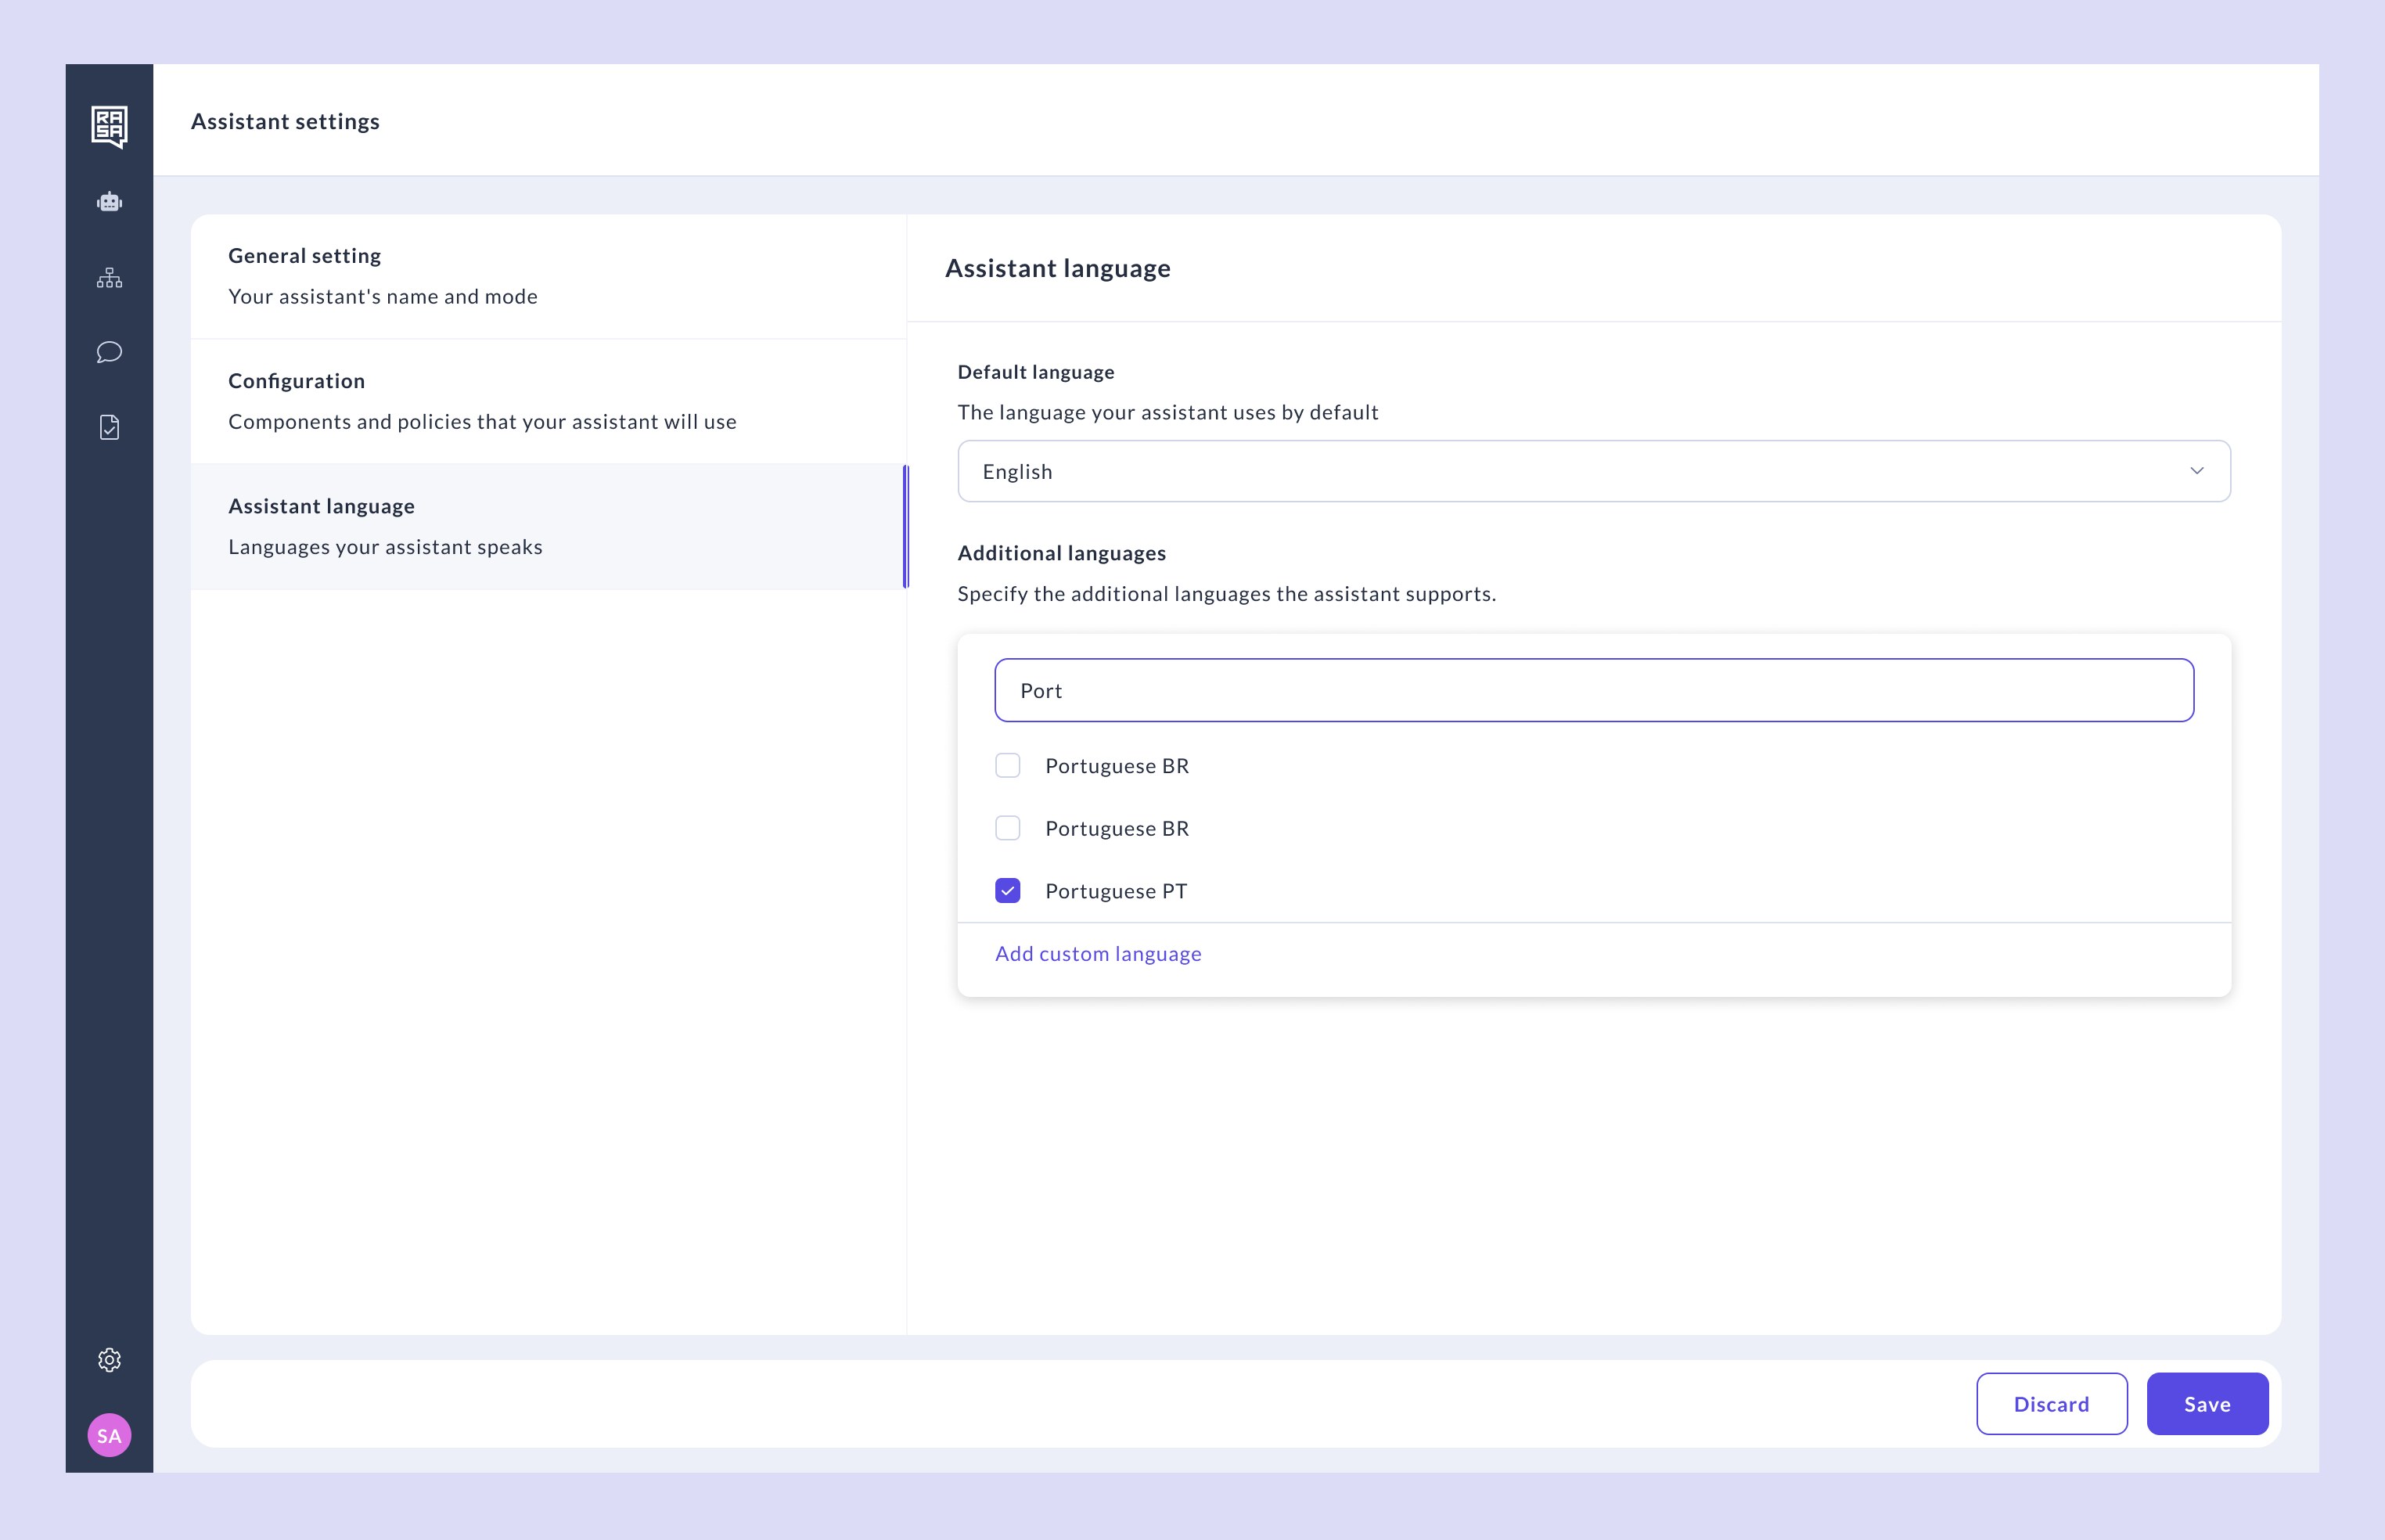
- Select the additional languages you want your assistant to support (e.g., start typing “Port” to filter Portuguese variants).
- Select the appropriate one(s).
- Save your changes.
Changes to language settings automatically update your config—no manual changes are needed.
- (Optional) Add a Custom Language
- If your target language isn’t listed, click “Add custom language” at the bottom of the list.
- This allows you to manually define a language key and name.
About Language Codes
Rasa uses the BCP 47 standard for encoding languages. This standard supports a wide range of use cases across global markets.
You can find specific language codes in the IANA Language Subtag Registry.
📌 Advanced Tips:
- Custom dialects: Use
x-<language-code>for private use (e.g.,x-de-formalfor formal language variants). - Regional variants: We recommend to keep your language codes simple - however, if you have country level localization - use region-prefixed codes like
en-US🇺🇸 oren-UK🇬🇧 to support localized behavior.
These formats ensure consistent behavior across Rasa Studio and other parts of the Rasa stack.
Further Reading
For more detailed technical information on config.yml and endpoints.yml files, refer to the Rasa documentation on model configuration.