notice
This is documentation for Rasa X/Enterprise Documentation v1.0.x, which is no longer actively maintained.
For up-to-date documentation, see the latest version (1.4.x).
Google Cloud Compute Engine VM Installation
License Terms
For the use of Rasa X the Rasa X License Terms apply. For the use of Rasa Enterprise the Rasa Enterprise License Terms apply.
Prerequisites
Before you start the following requirements have to be met:
- You need to have a Google account.
tip
If you don't have a Google account, Google gives you $300 credit for free to consume over a 90-day period.
Create the Virtual Machine
Before you can install Rasa X, you have to create a Virtual Machine (VM):
- Log in to Google console and go to the Compute Engine section.
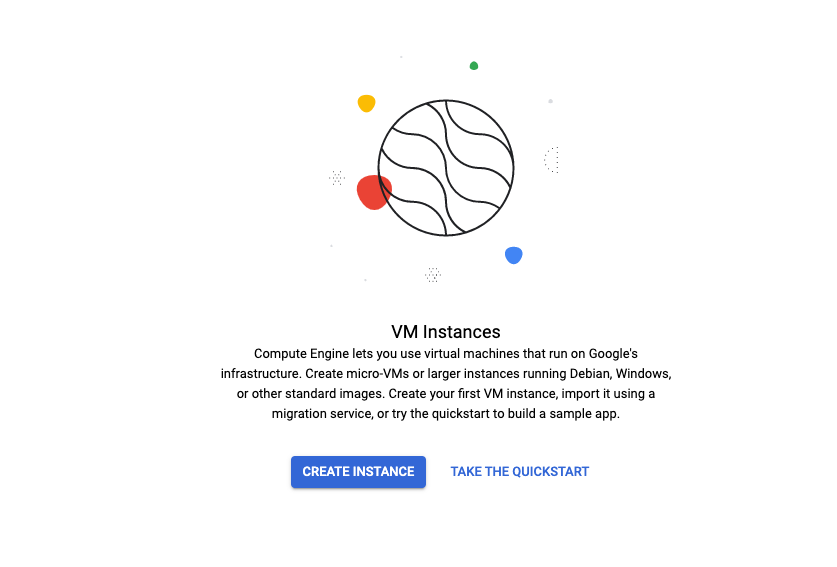
- Click on Create Instance

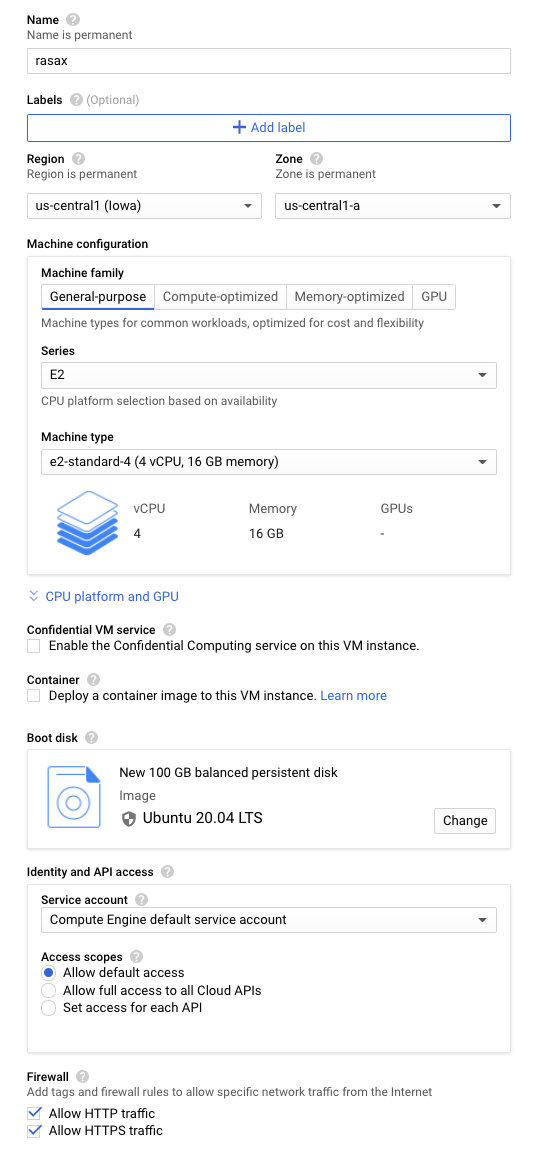
- On the next page, you can define settings for your VM such as the name of the instance, desired data center, and machine type. Adjust settings to your needs and the hardware requirements.

- To select the size, type, and desired operating system, click
ChangeunderBoot disk. - Allow HTTP and HTTPS traffic, then click
Create.
Install Rasa X
After a few seconds, the instance should be ready. You can log in to your instance by clicking SSH button that is located next to the name of the instance.

- After you are logged in via SSH, install Rasa X by following the installation steps for the Rasa Ephemeral Installer method.
- Your deployment will be exposed on an external IP address and a port in the range
30000-30100. It might be necessary to add additional firewall rules to make your deployment accessible.
Next Steps
Assigning a Static IP
By default, Google assigns an ephemeral IP to your VM. It is strongly recommended to assign a static IP, especially if you want to use a domain name, since ephemeral IP addresses can change without notice.
See Google’s documentation to learn how to promote an ephemeral IP address.
Enabling TLS
Learn how to enable TLS (HTTPS) for your Rasa X deployment.
