How to Send Messages
This guide will show you how to create and manage Message steps in Rasa Studio. You'll learn to craft clear, engaging responses and refine them to make your assistant’s interactions more natural.
What is a Message?
A message is what your assistant sends to the user. This can include text, buttons, images, or rich content like quick replies. Messages can be customized for different conversation scenarios.
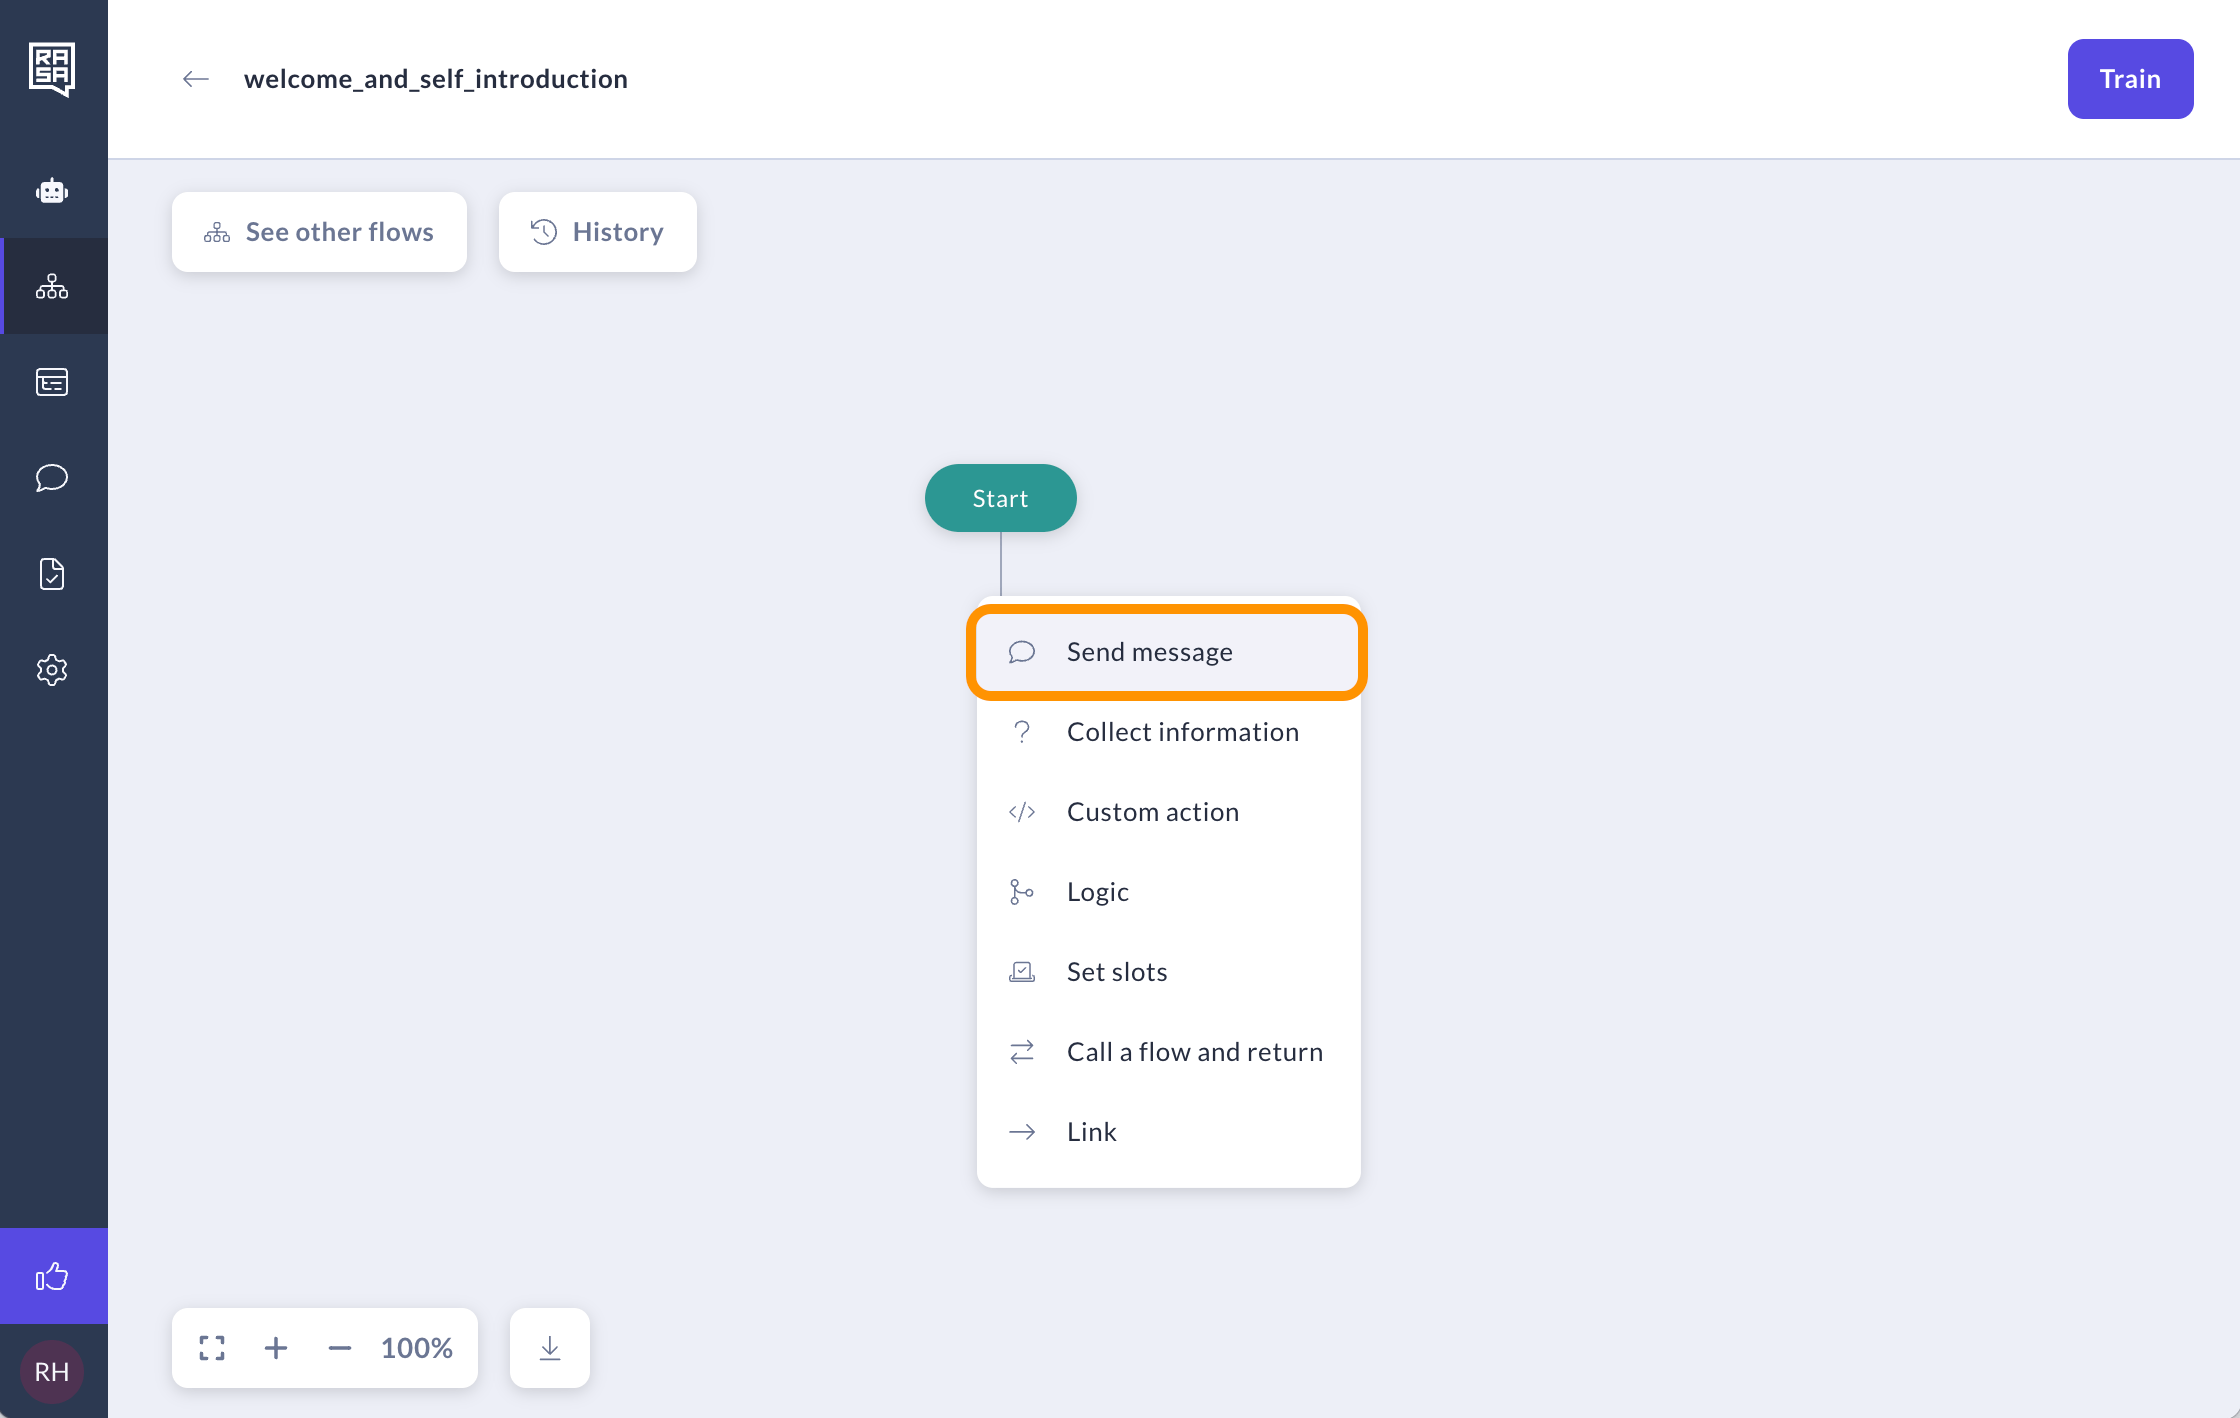
How to create a Message step
-
Select the Send message step in the menu.
-
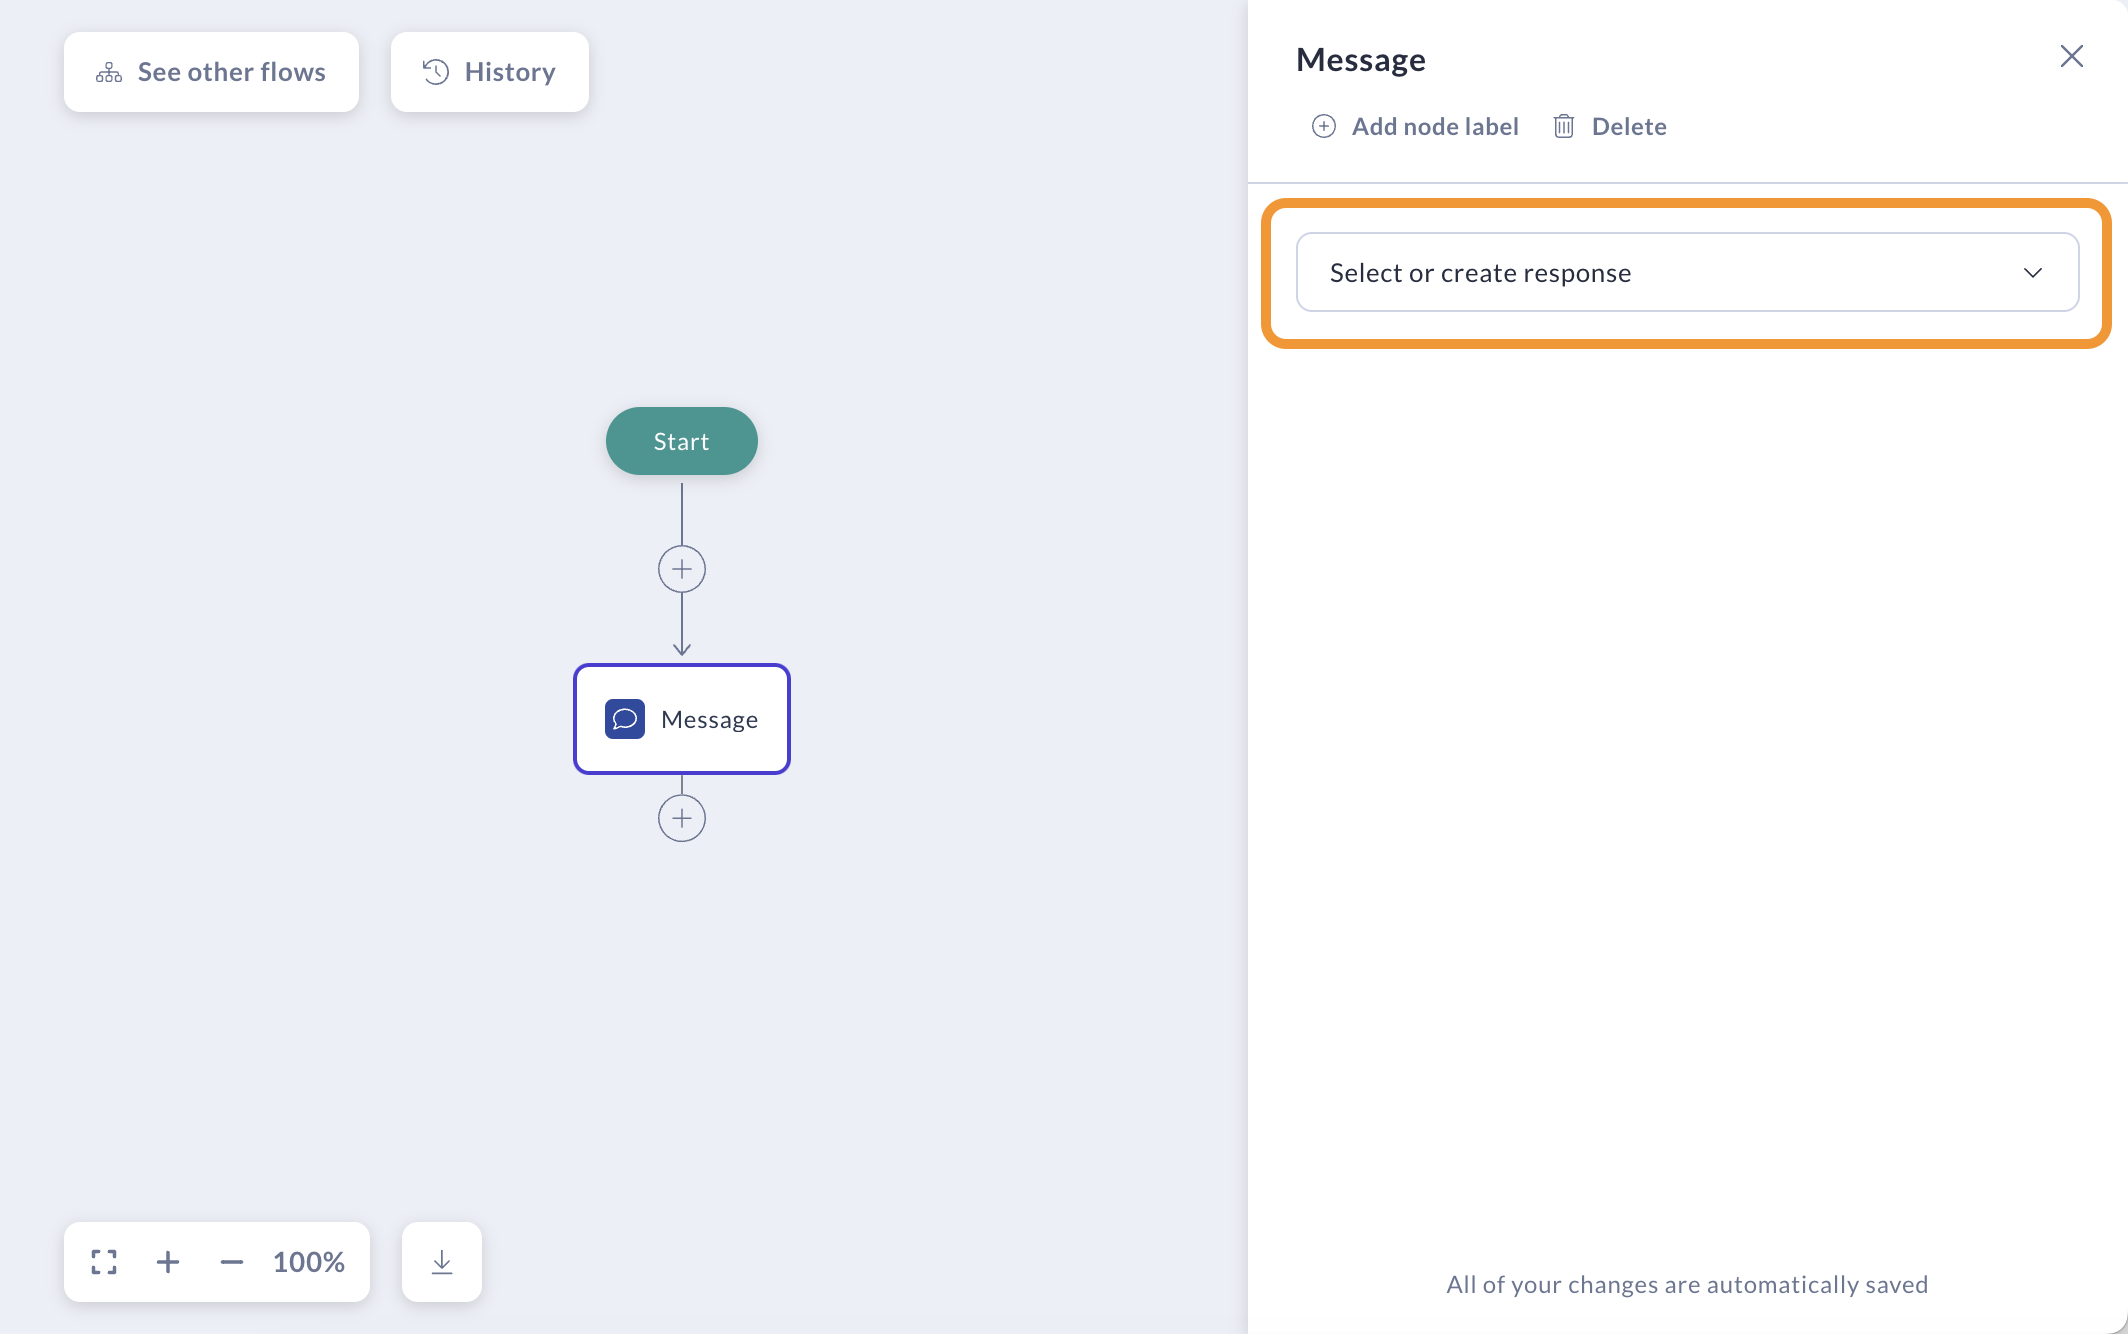
Click Select or create response.
-
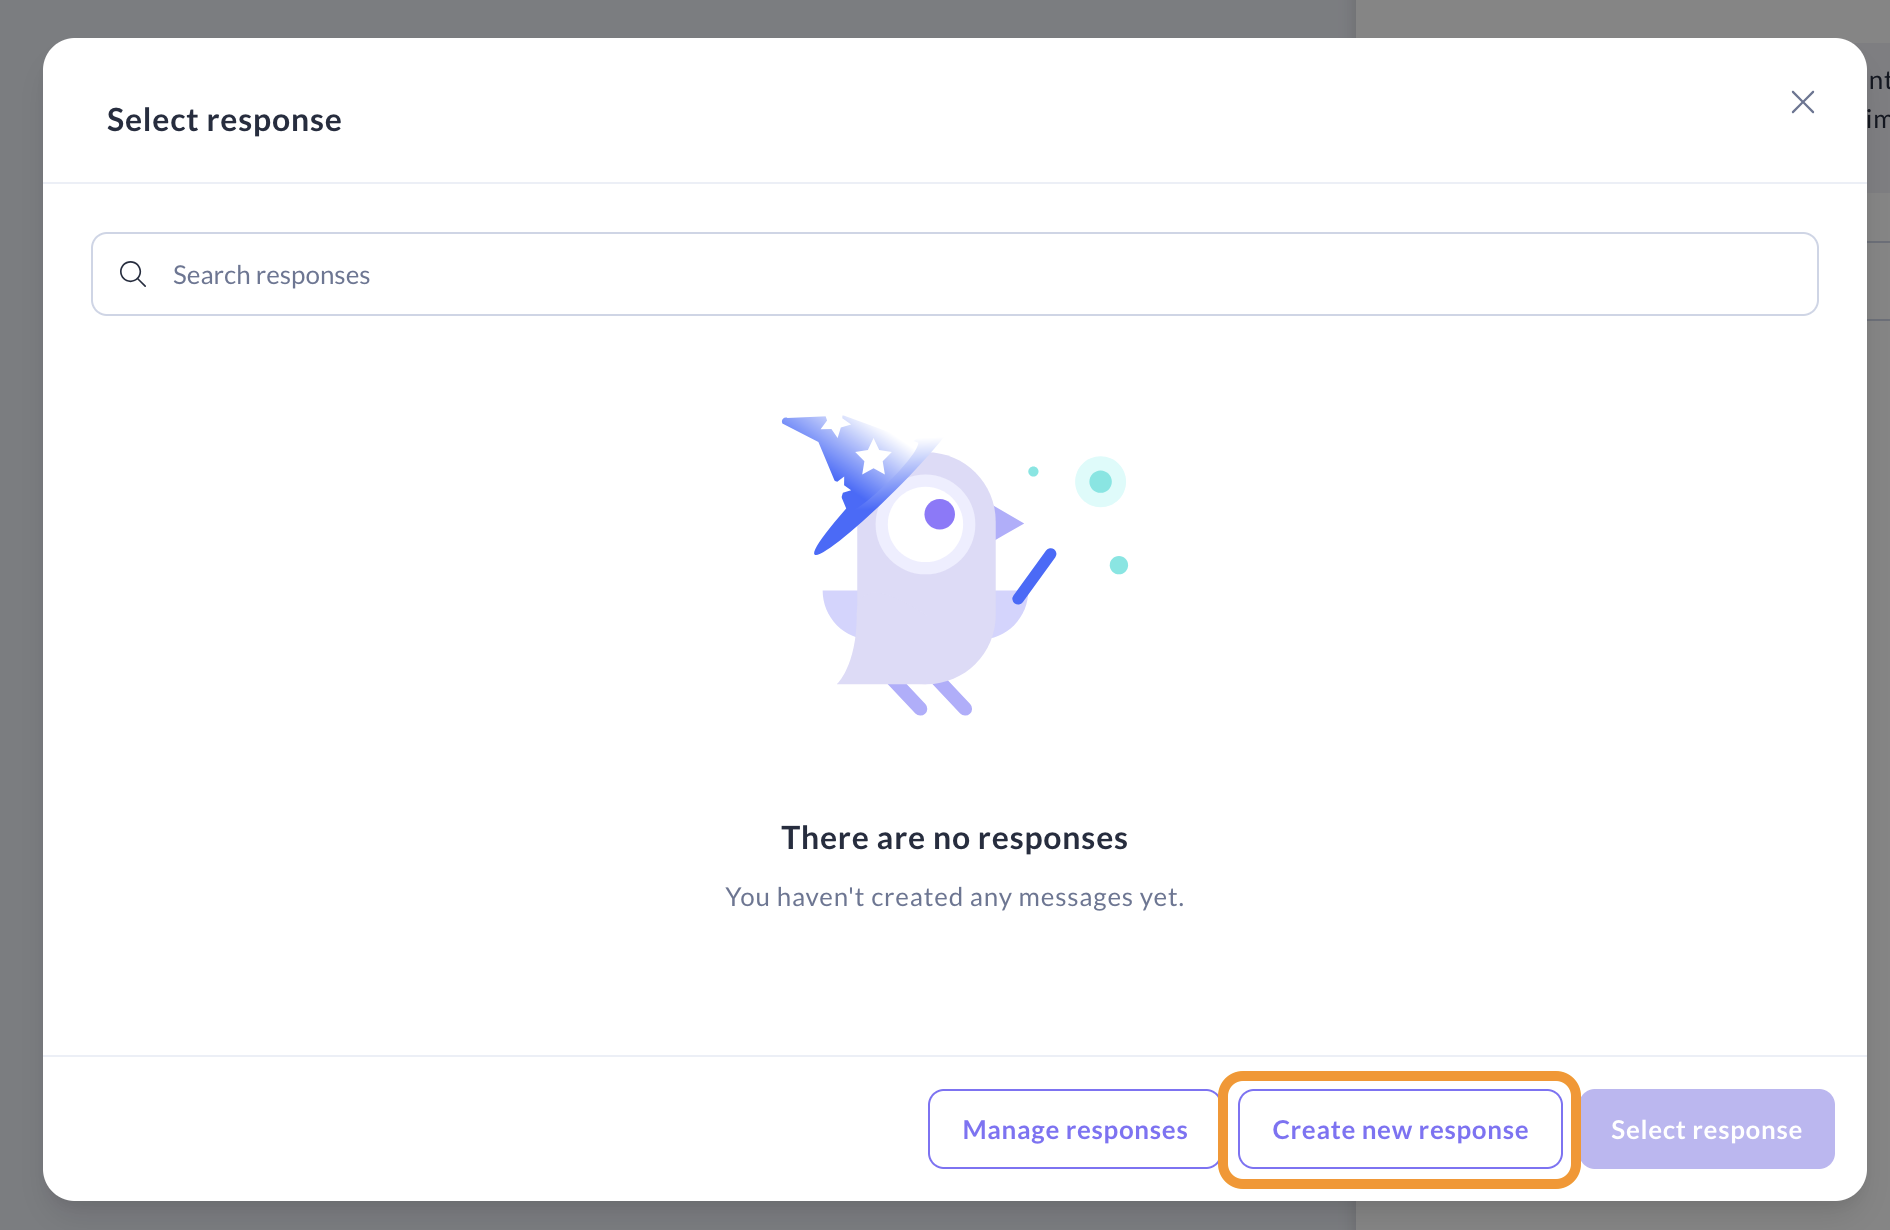
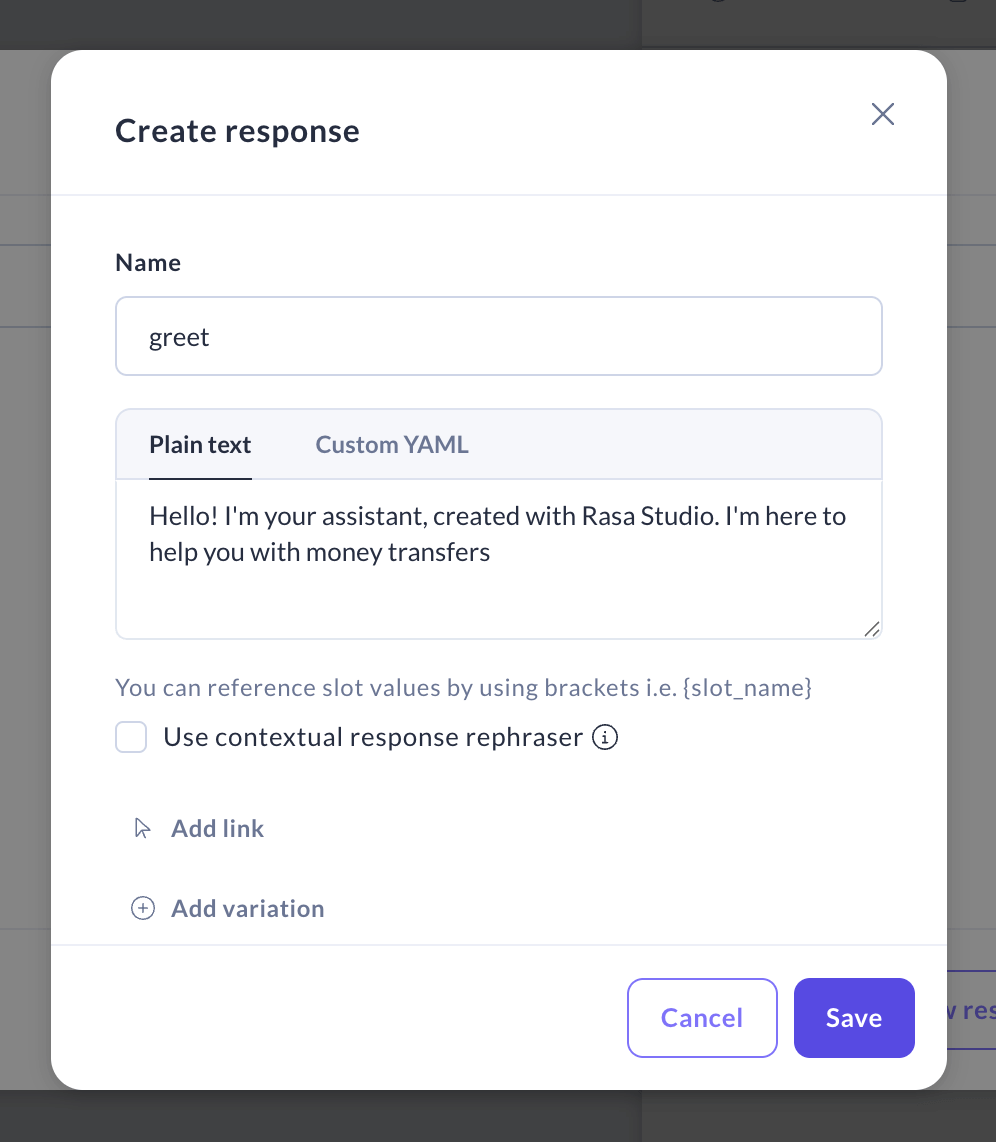
In the modal, select Create new response.
-
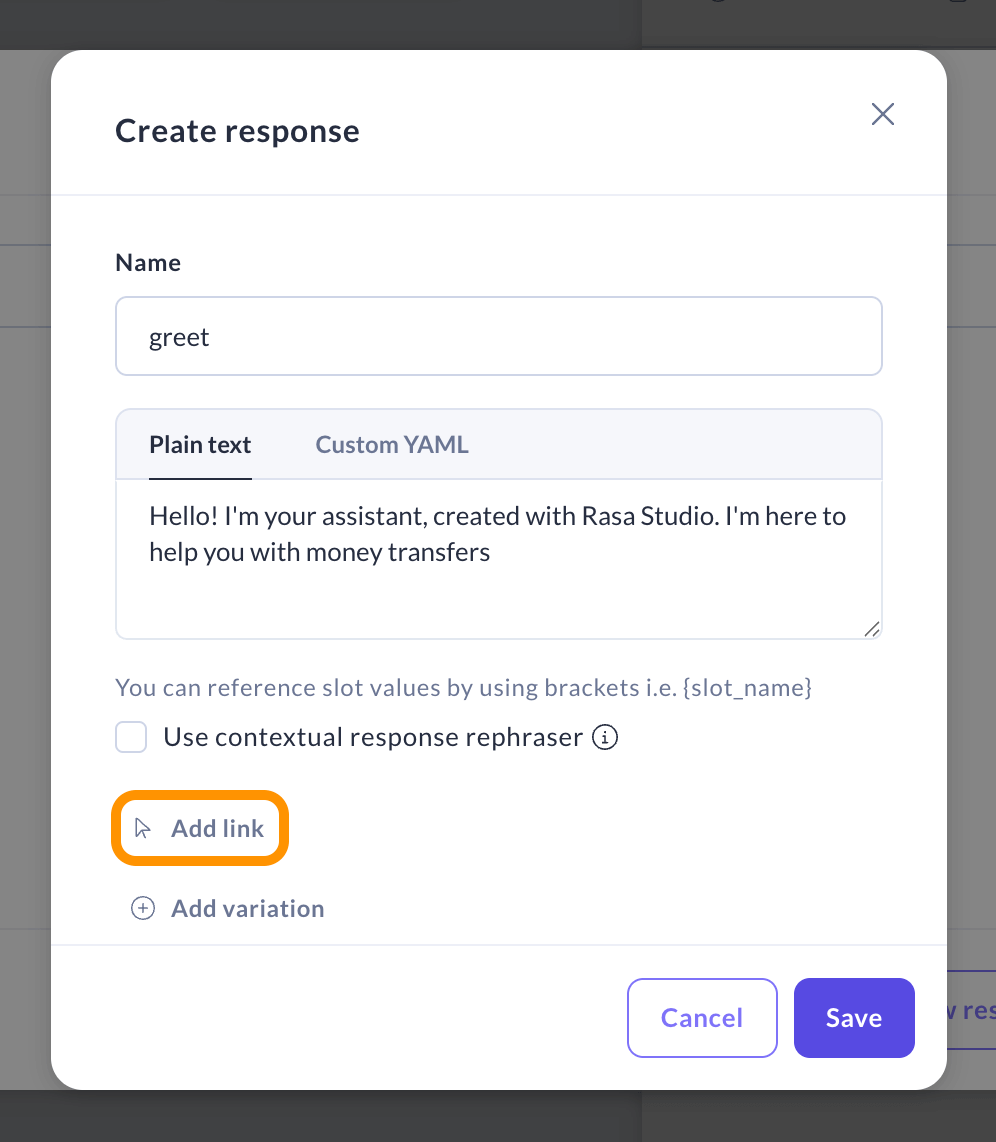
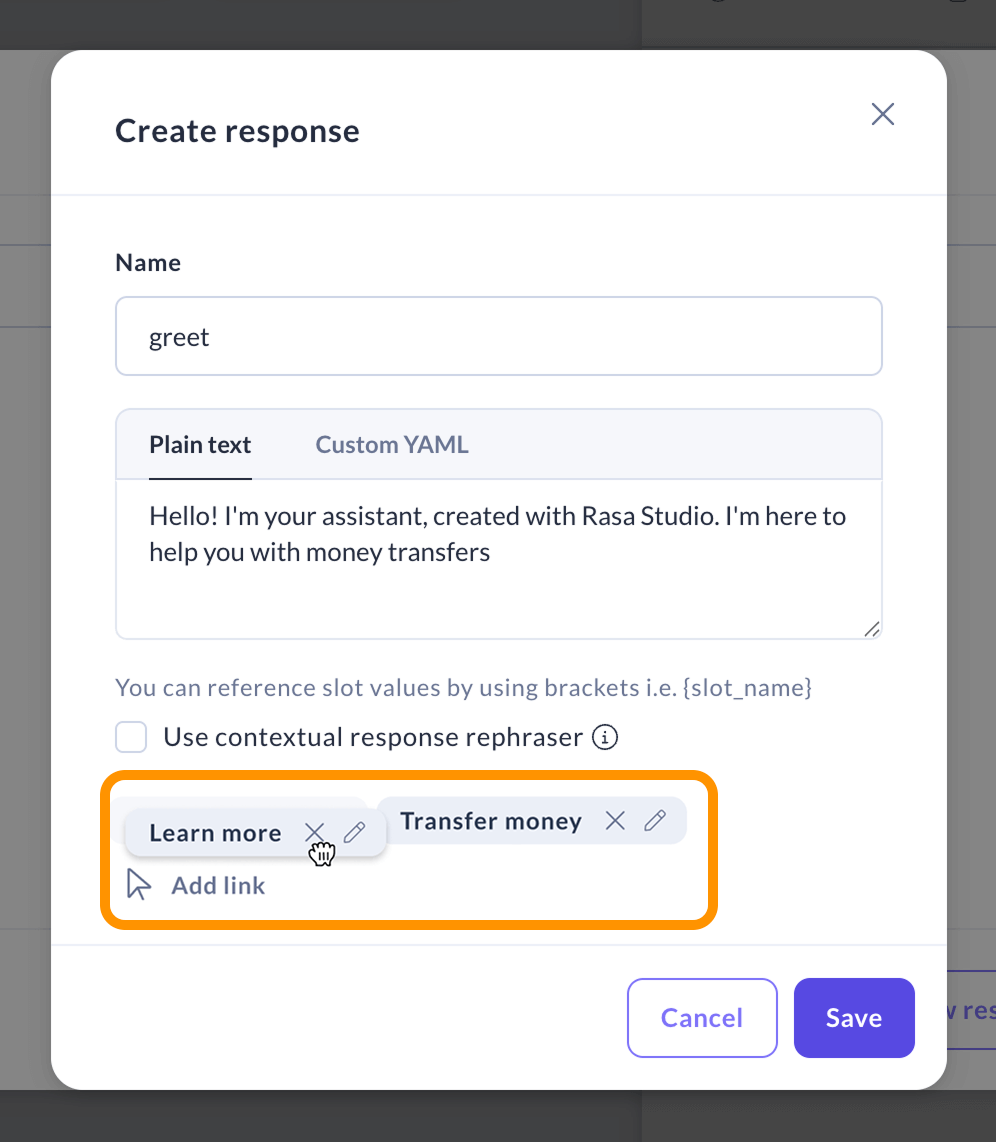
Enter the response name and the text.
-
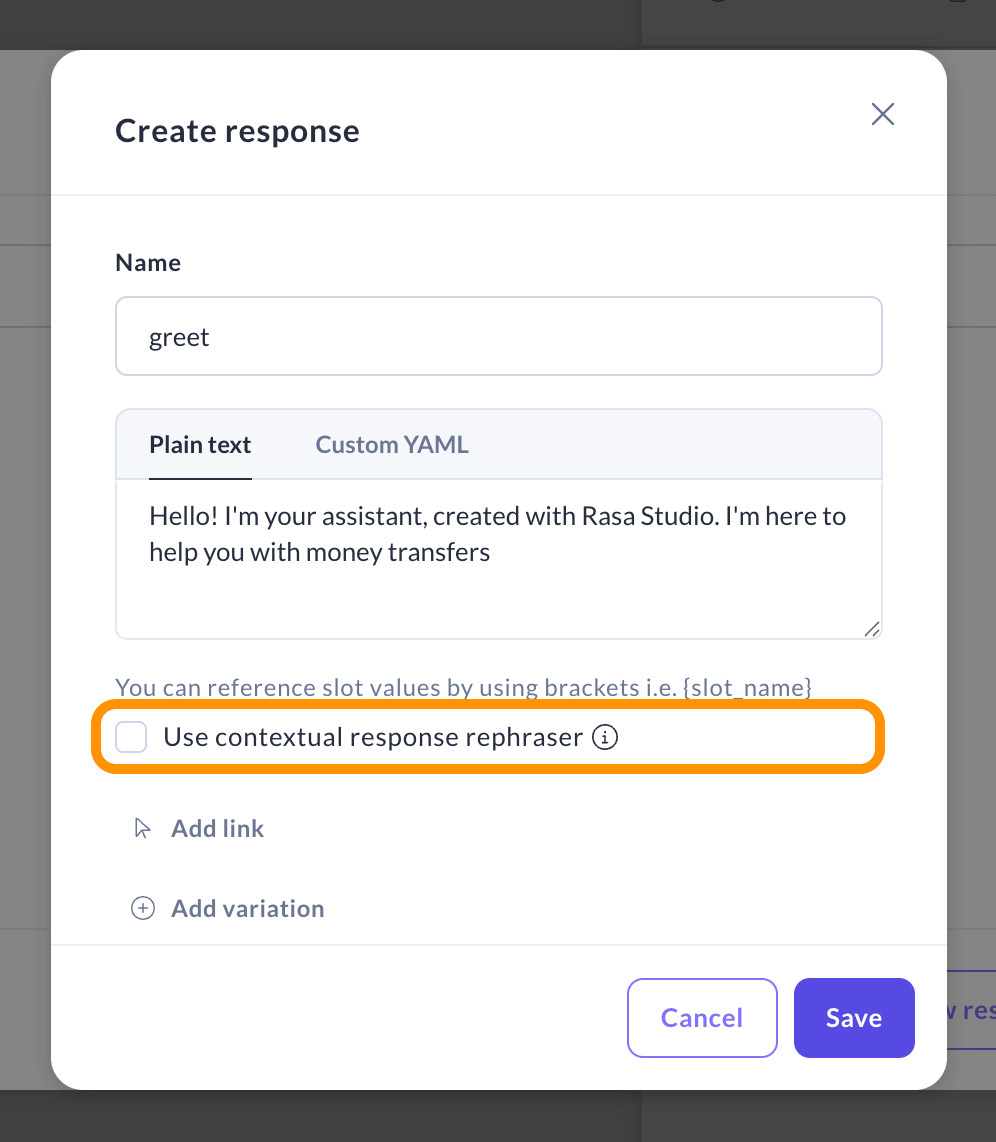
The Use contextual response rephraser option is off by default. This feature enables the assistant to rephrase its responses by prompting an LLM, based on the conversation's context. It helps make the assistant's responses feel more organic and conversational.
Read MoreWhen you create a new response, there’s an option called "Use Contextual Response Rephraser" that automatically follows a general setting (called
rephrase_all) defined in the system’s configuration file.If you leave this option as it is, the system won’t assign a specific rephrasing setting just for that response—it will just use the general setting.
However, if you decide to change this option to something different, the system will remember your choice and apply it specifically to that response.
No matter what you choose, the interface will always show you whether rephrasing is turned on or off, based on either your specific choice (if you made one) or the general setting.
-
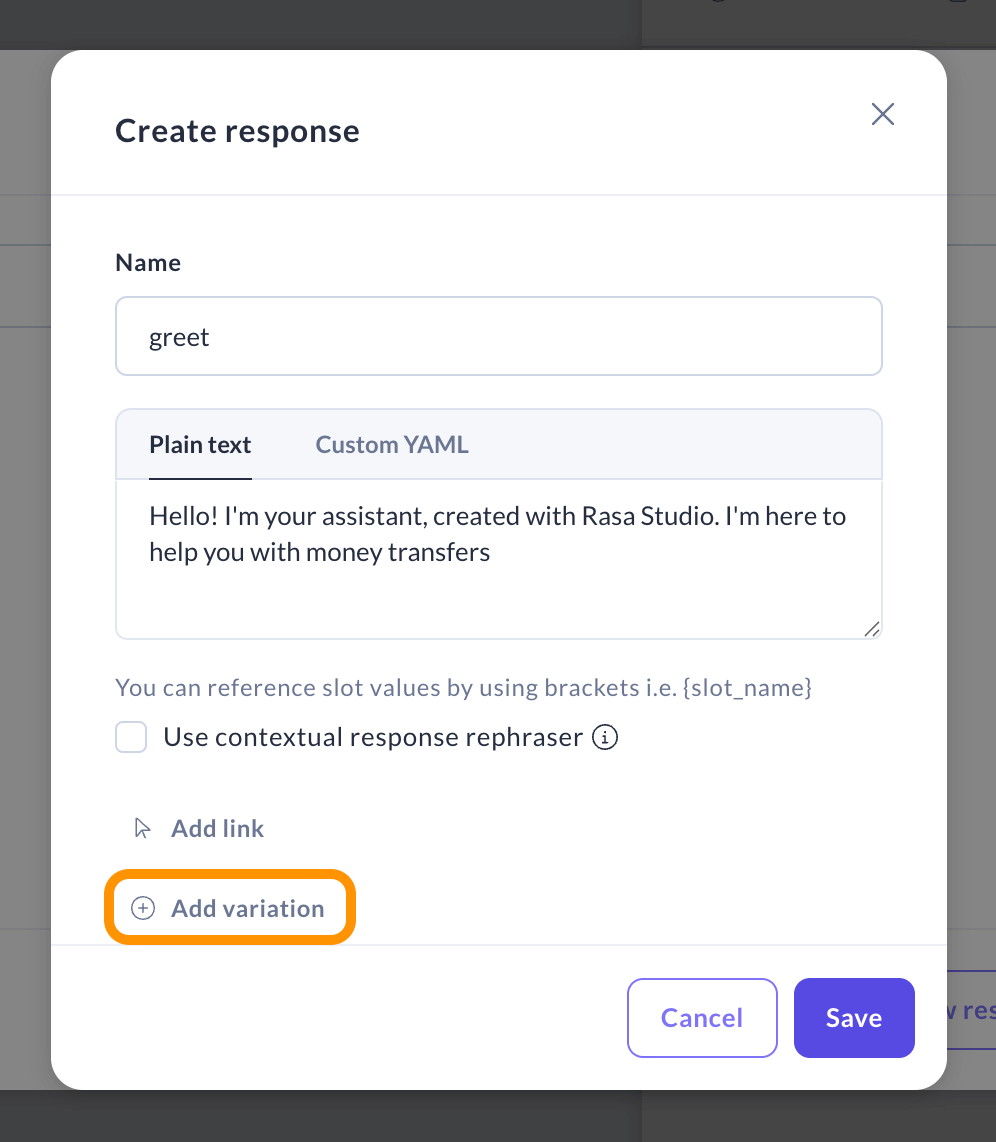
If you prefer full control over responses, but still want them to sound more natural and less repetitive, you can manually add as many variations as you want by clicking the Add variation button.
-
You can edit or delete previously created responses by clicking on the drop-down menu and selecting the Manage responses option.

Links
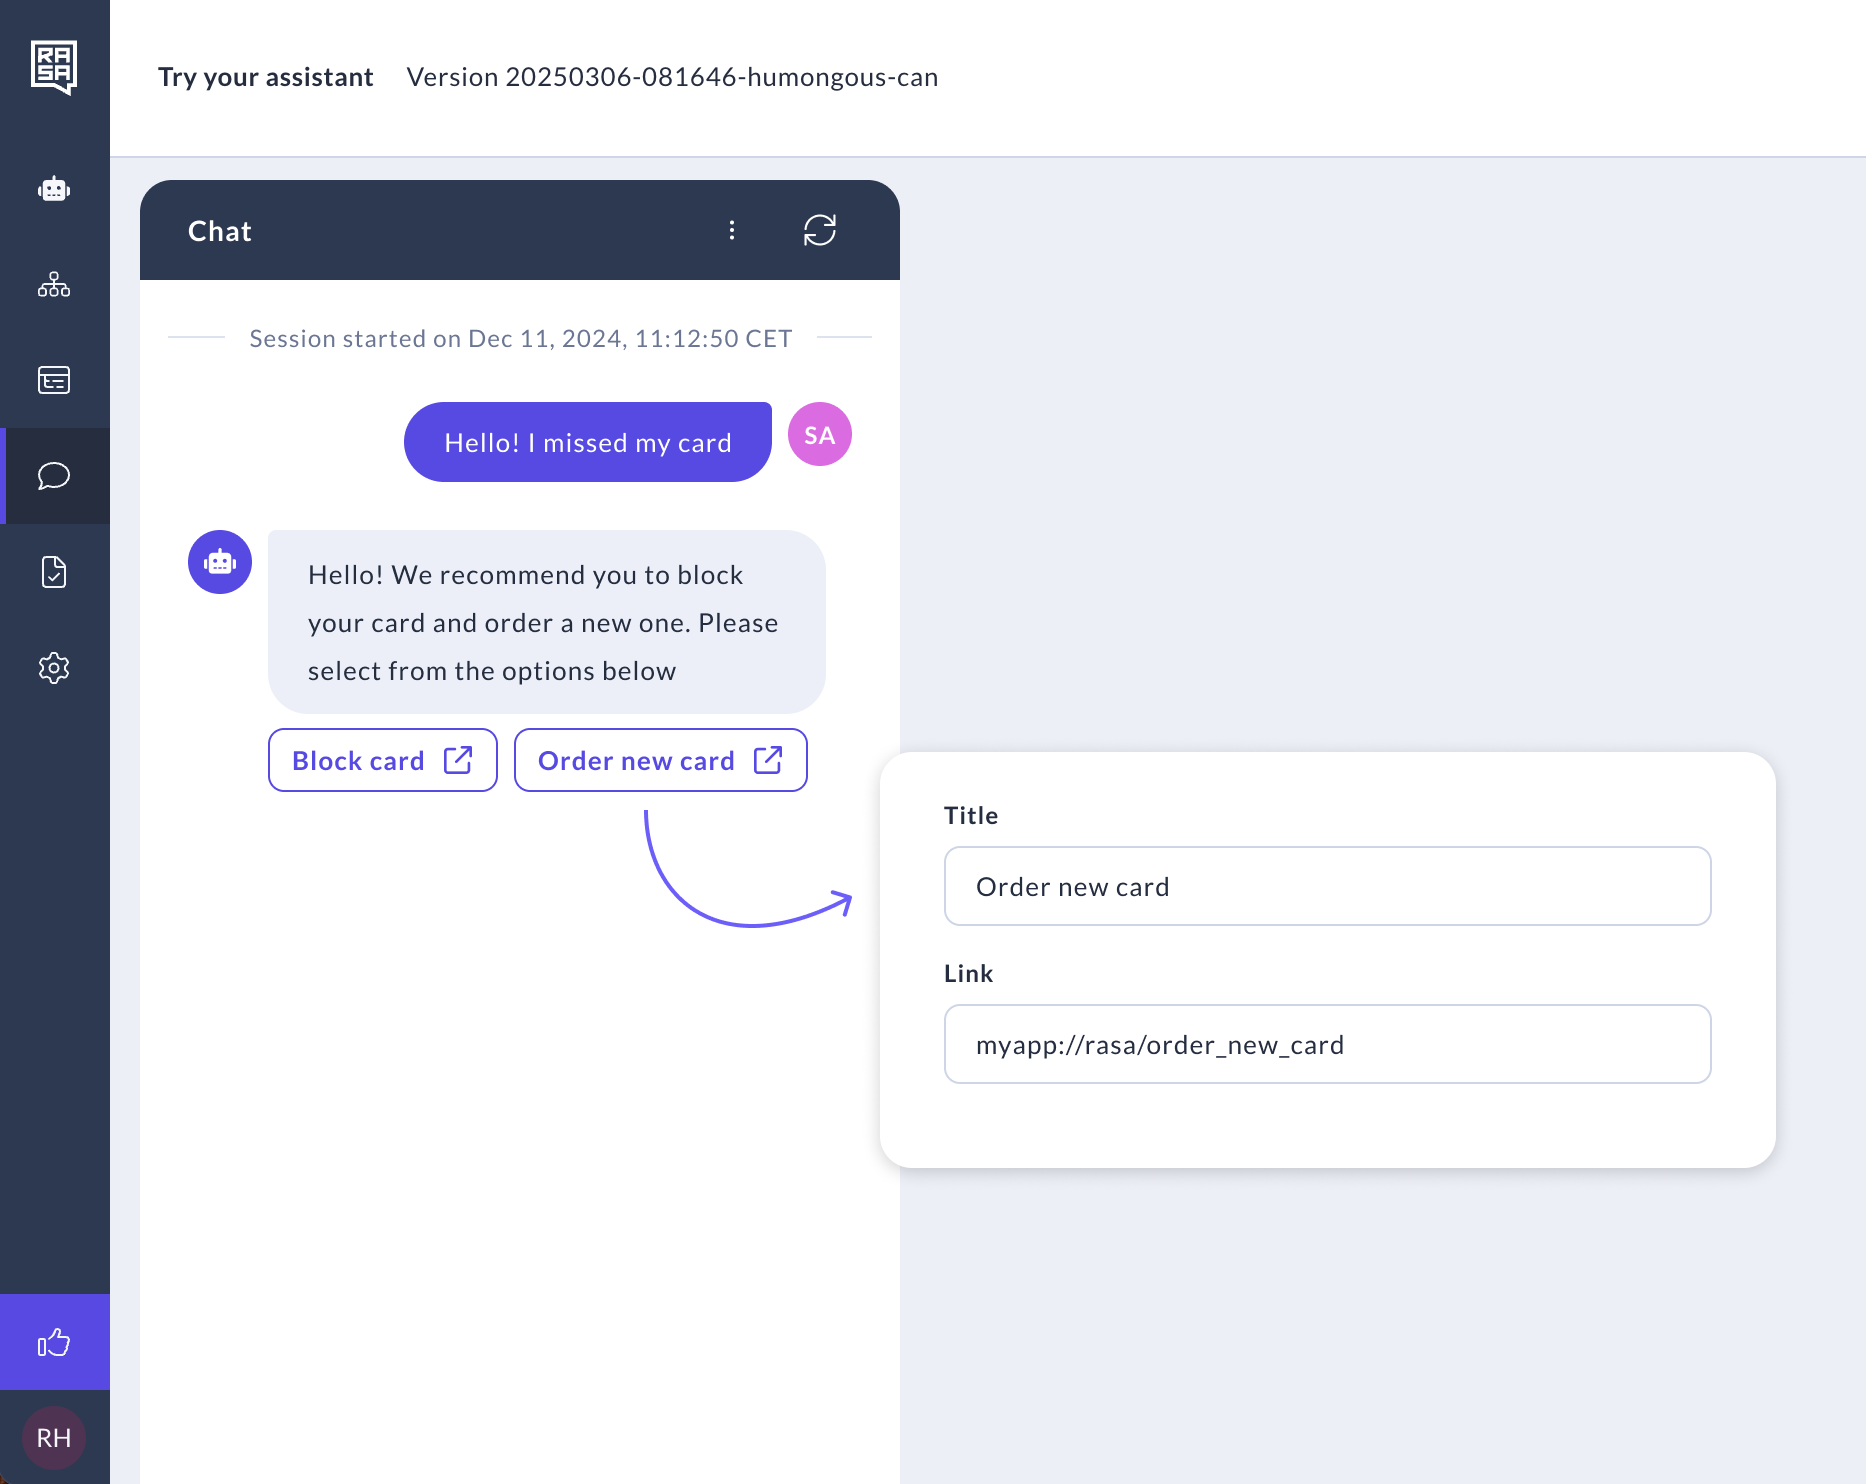
Within the response, you can provide users with links to extend your assistant's functionality.
How to add links
-
Click Add link in your response.
-
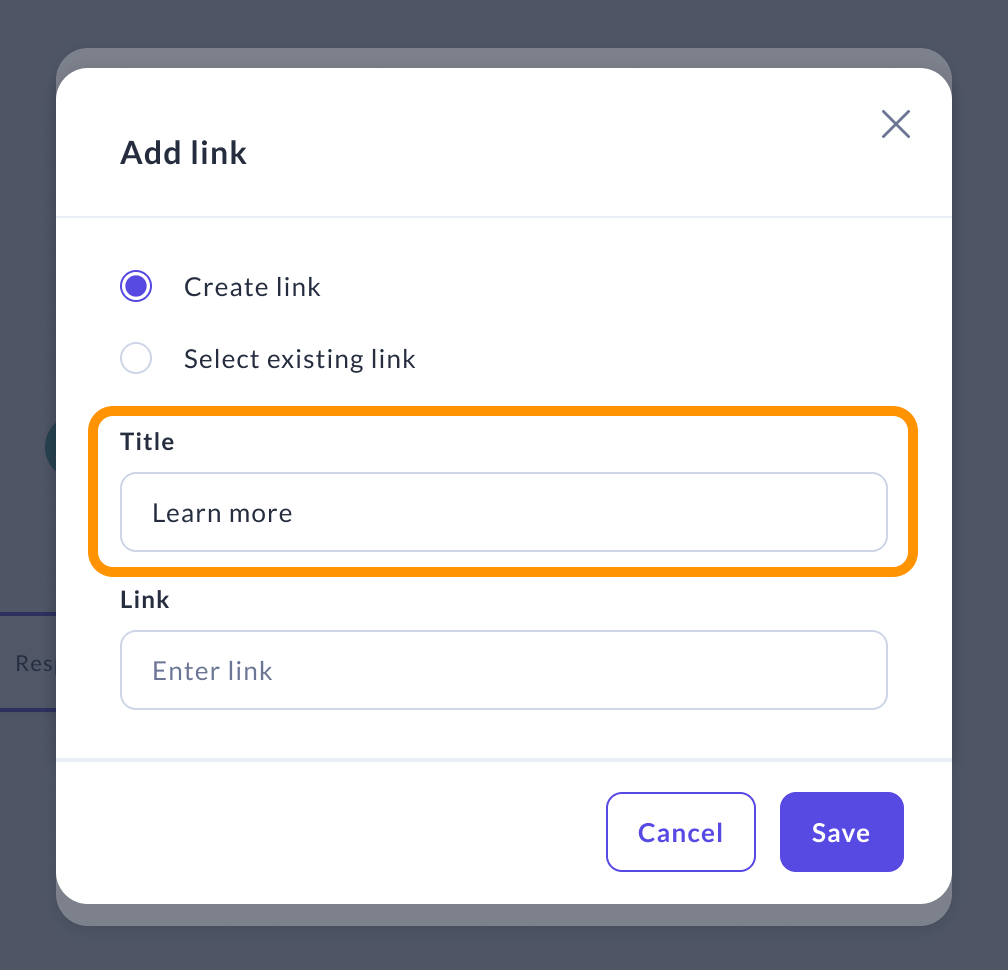
Choose between reusing an existing link or creating a new one. If you create a new link, enter a title for it. This title will be the text displayed on the link for users to click.
-
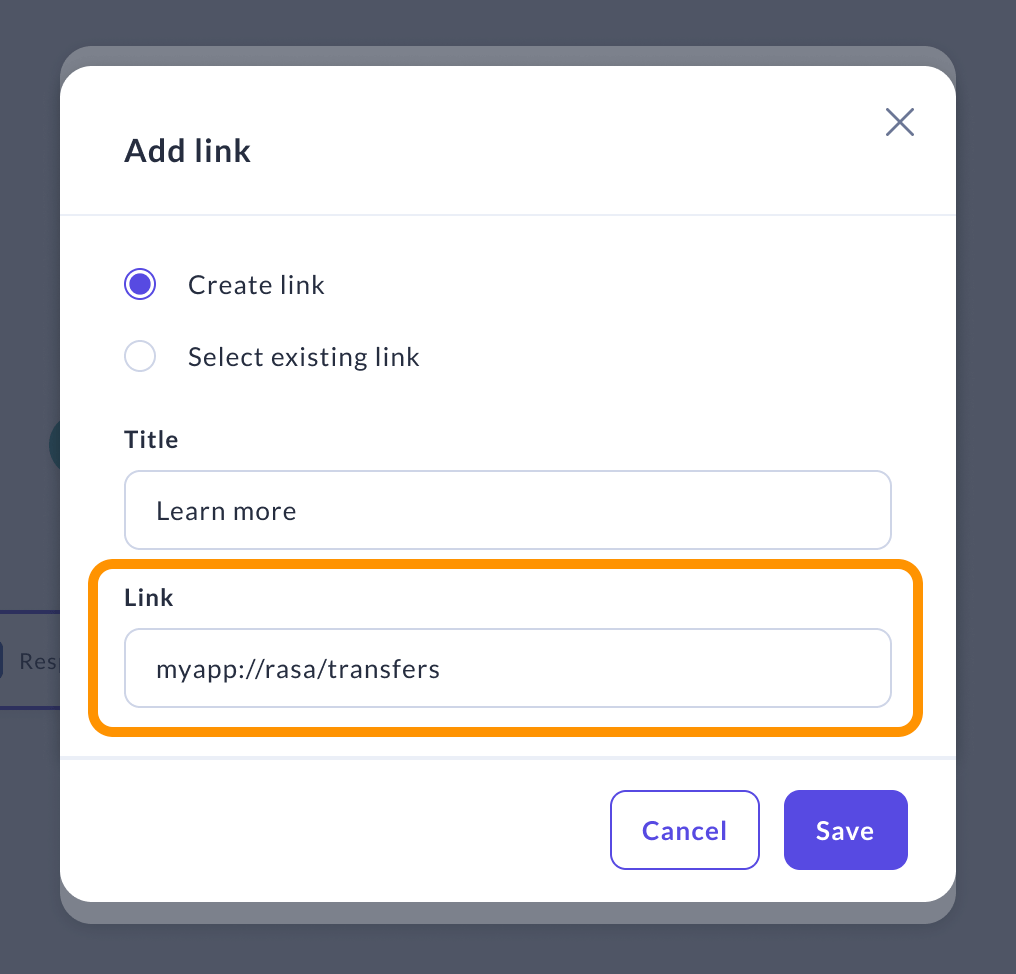
Enter the link itself. Links can be of the following types:
- External URL, e.g.,
https://rasa.com - Internal link within your application, e.g.,
myapp://rasa/account?login - Phone call or email link, e.g.,
tel:+11111111111ormailto:hi@rasa.com
- External URL, e.g.,
-
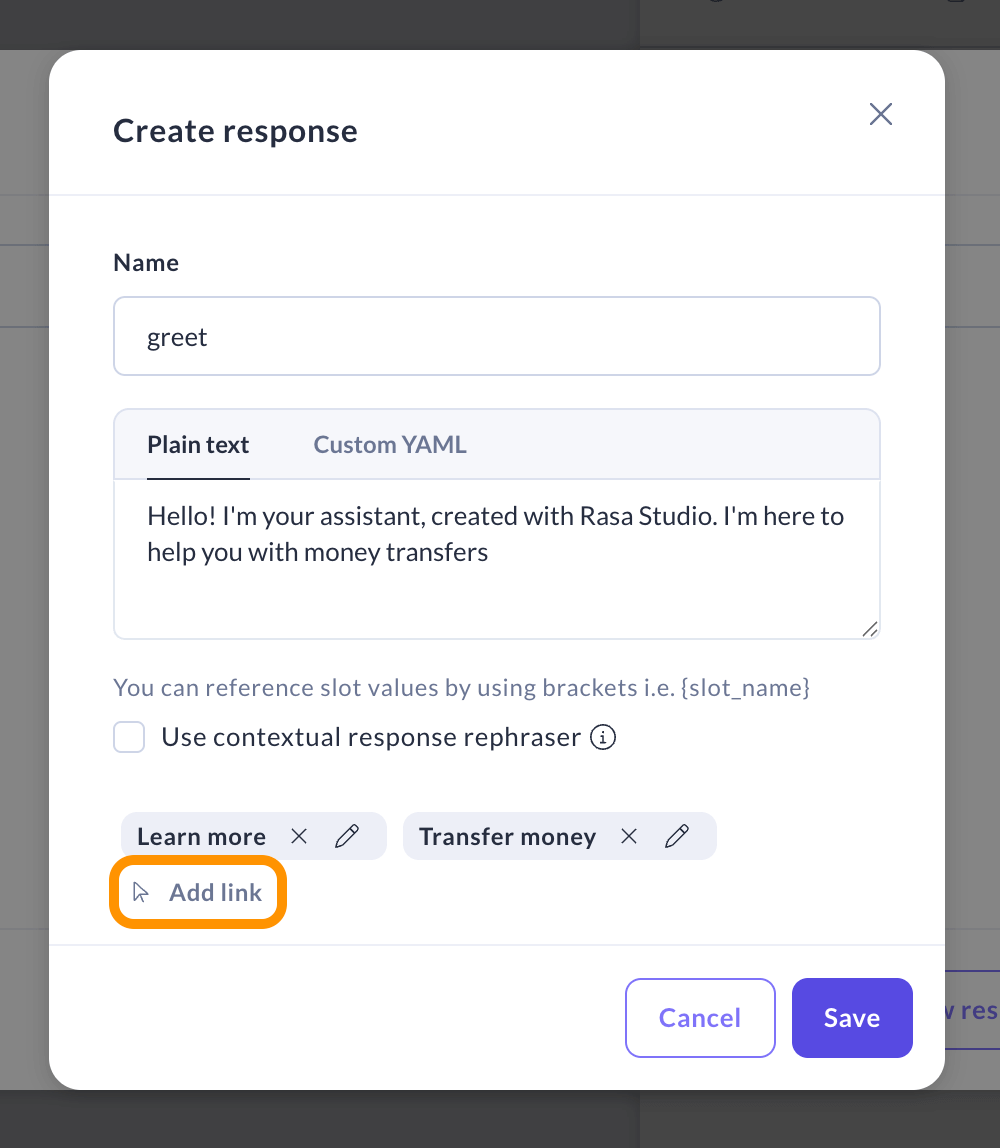
Continue clicking Add link and fill in the information for as many links as you need.
-
To reuse an existing link, choose Select existing link and pick the link you'd like to reuse from the dropdown menu.

-
Use the icons next to the links to edit or delete them from the response.

Reordering links
You can drag and drop links directly in the response editor — giving you full control over the order in which options are shown to users.
Referencing slot values in a response
This feature enables you to utilize previously collected user information, such as their name or age. It also allows you to confirm user-provided input by incorporating a slot value directly into your response.
-
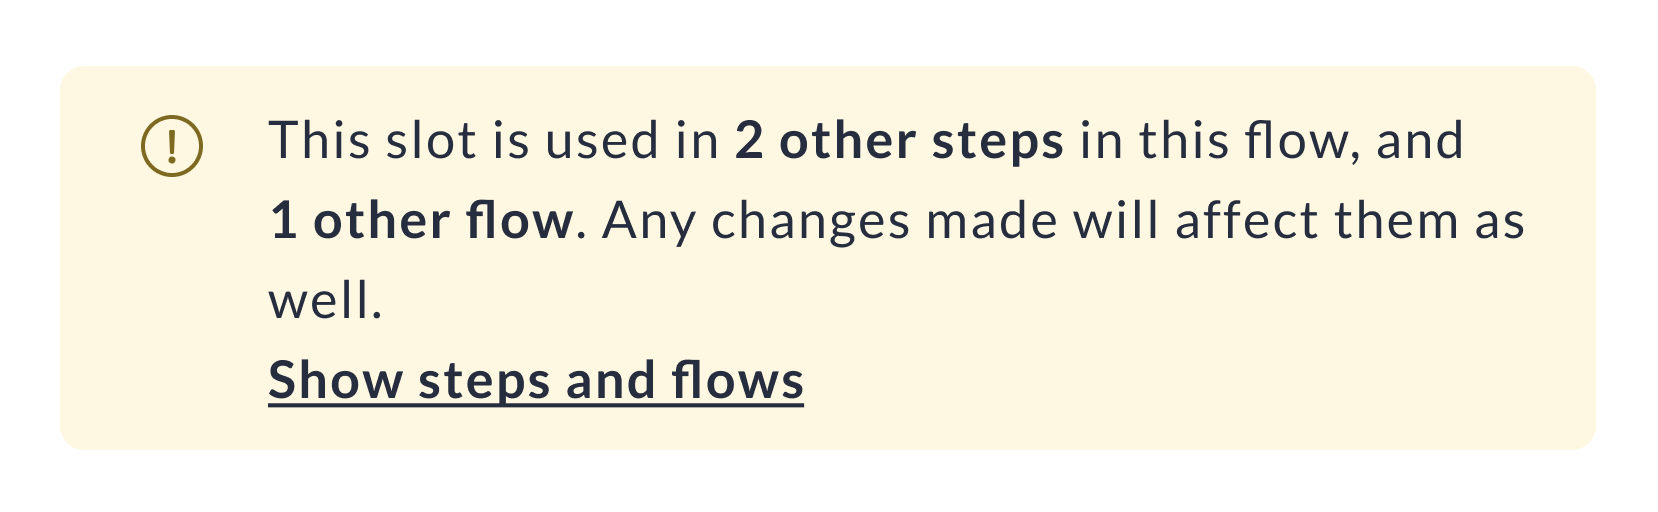
Identify the slot: First, determine which specific slot you want to reference. Understand the flows where this slot is used and the factors that can influence its values. If a slot is utilized across multiple flows, you will see the following alert:
-
Insert the slot: To include the slot in your response, enclose the slot name within curly brackets at the desired position. For example, if you have a slot named "user_name" and you want to greet the user by their name, your response might look like this:
Hello, {user_name}! How can I assist you today? -
Test and improve: After completing the training, go to the Try Your Assistant page to evaluate how the assistant handles the response. In the assistant’s response, the slot value should dynamically replace the placeholder with the actual value stored. For example, if the user's name is "John" the response should read: "Hello, John! How can I assist you today?
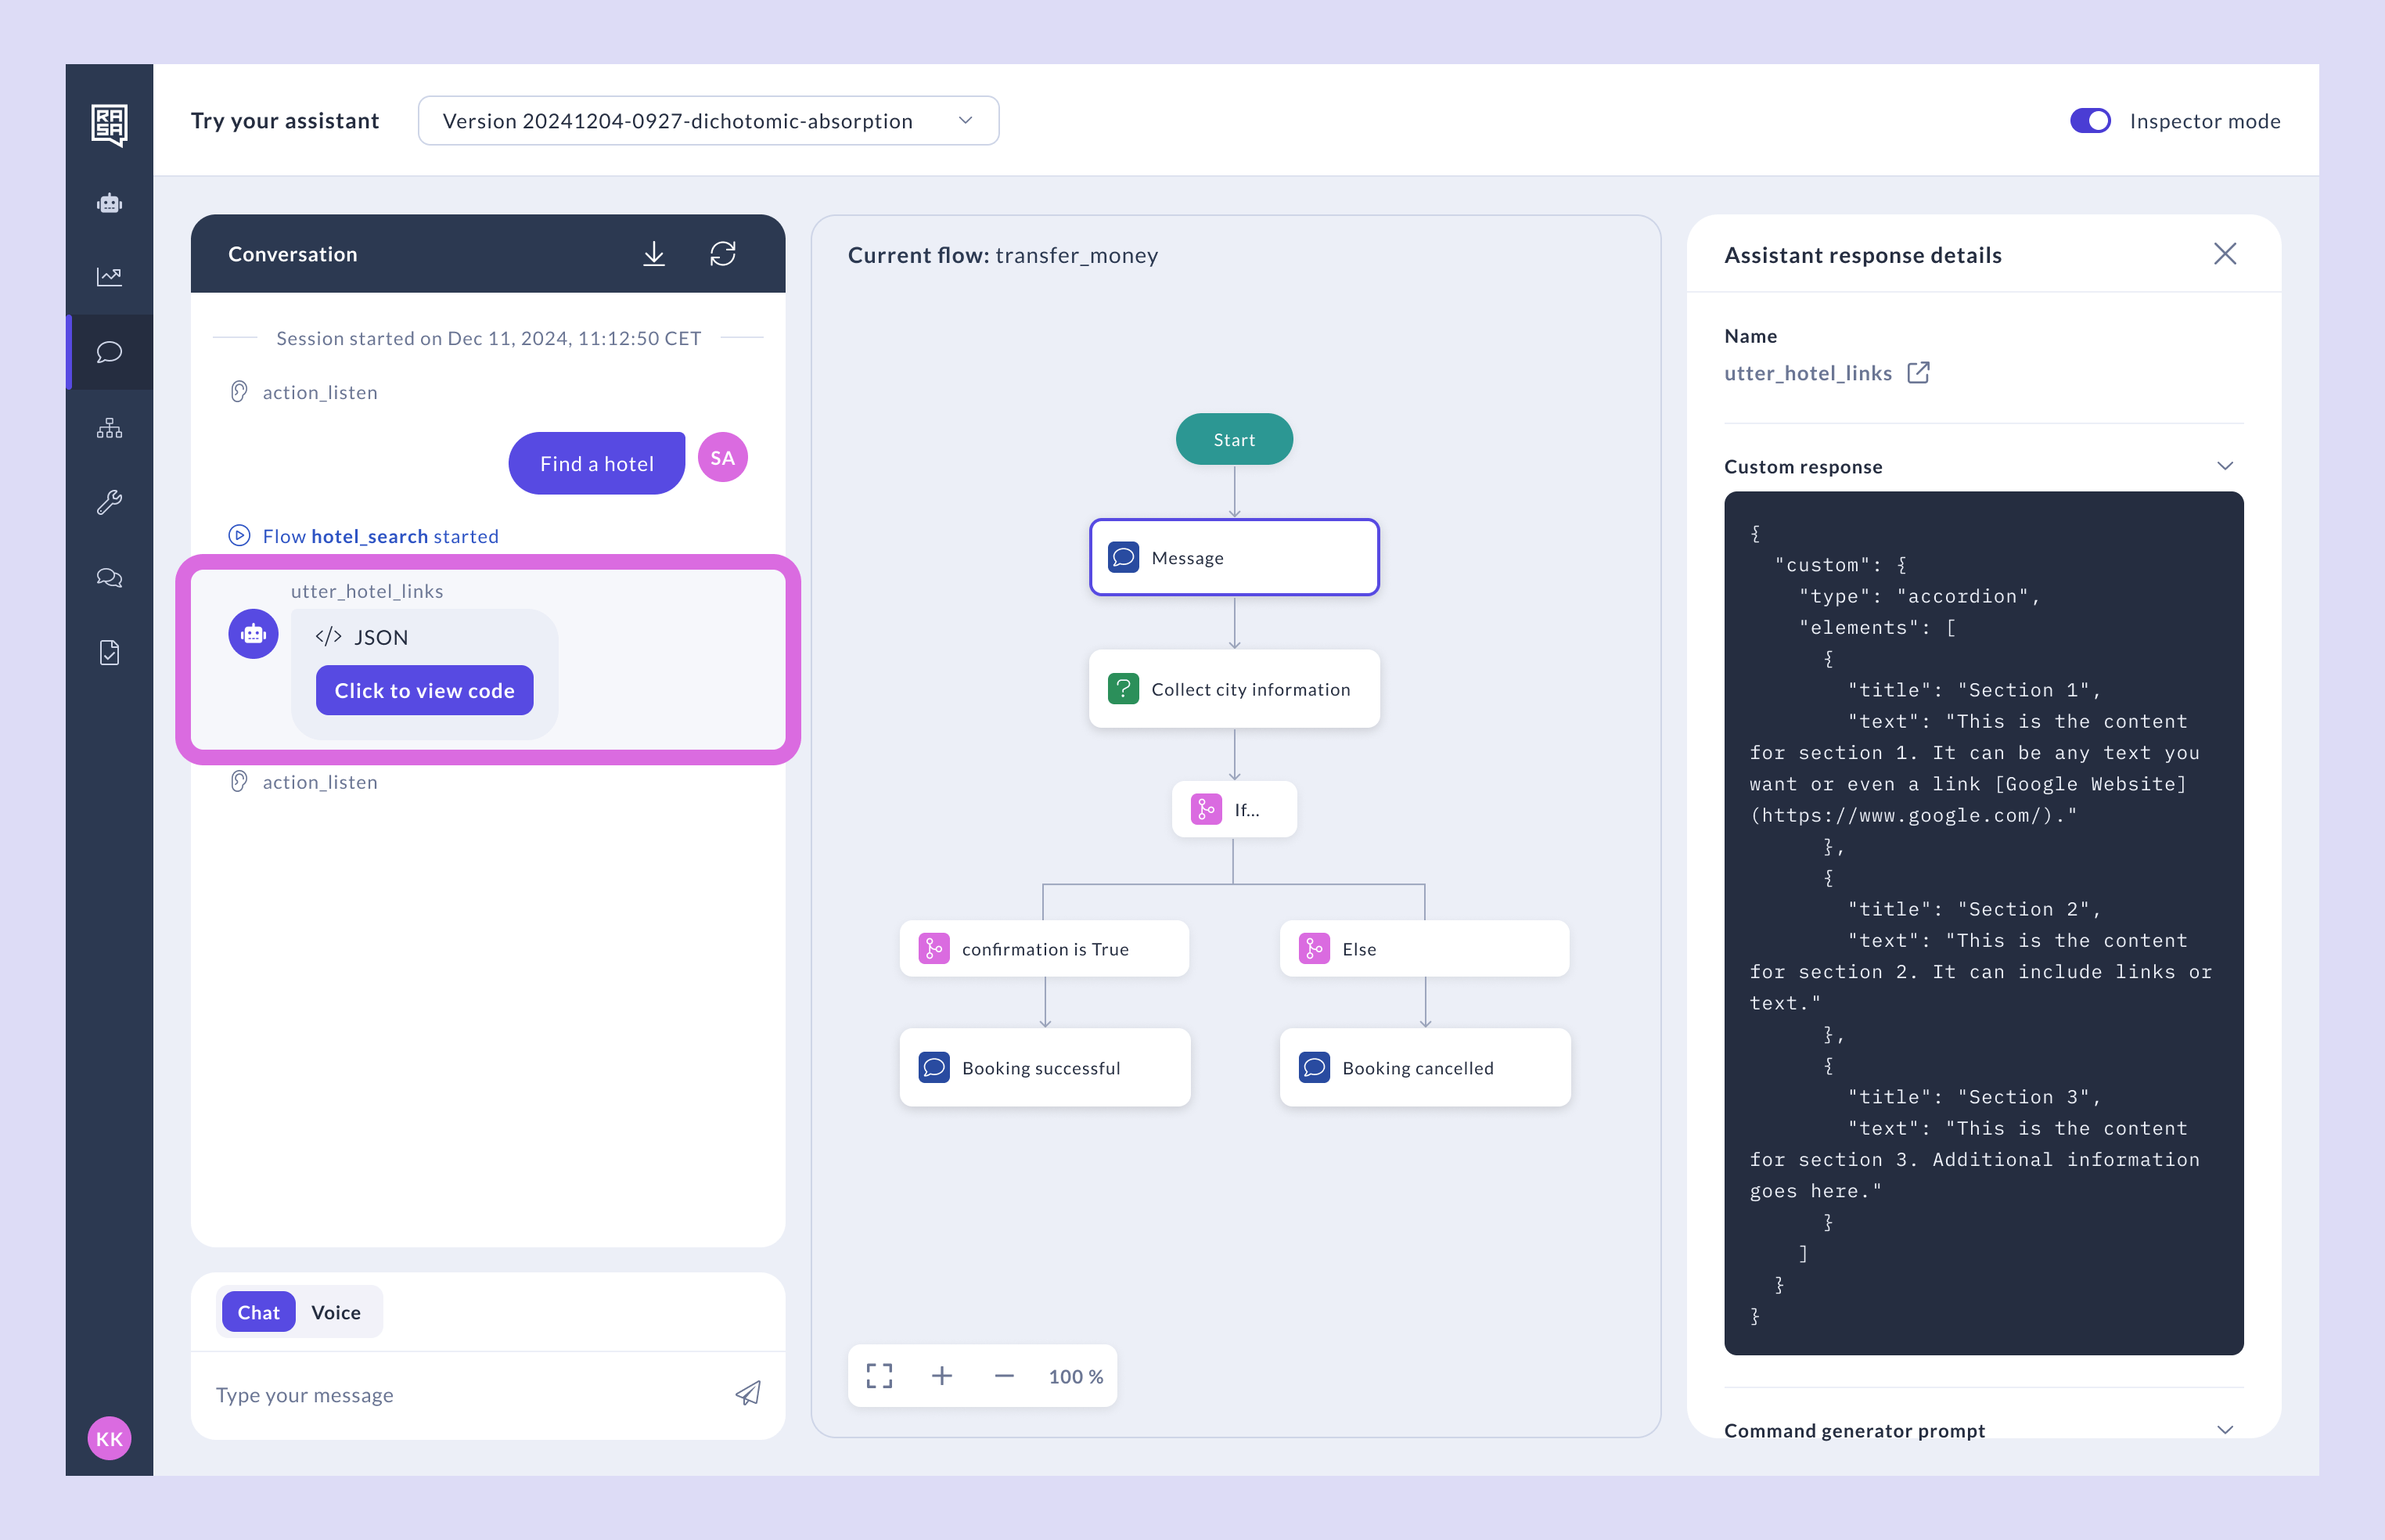
Custom responses
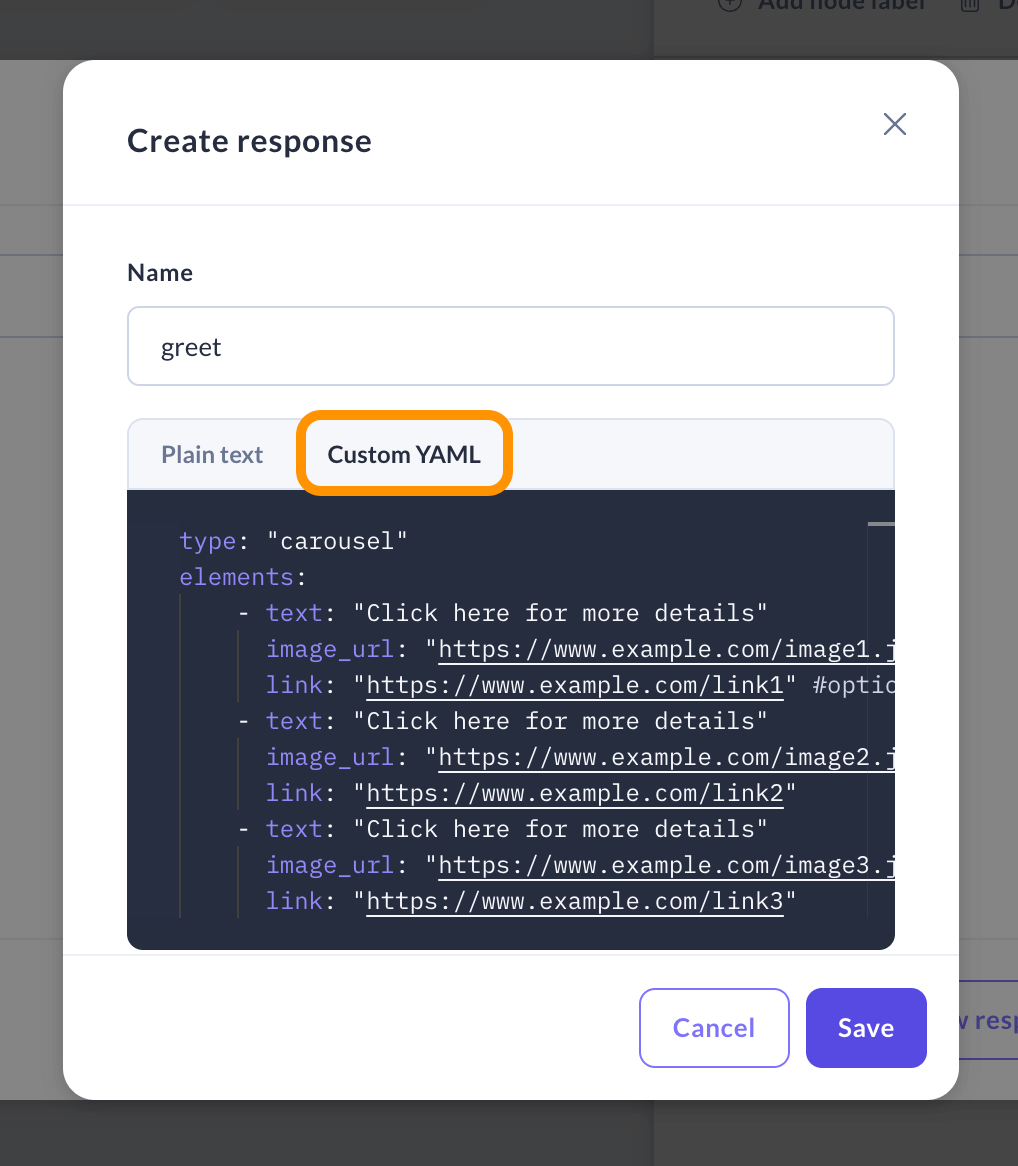
Custom responses allow you to go beyond simple text and create rich, interactive experiences tailored to your users and channels. You can use any YAML structure to define a custom response — from carousels and cards to events or metadata your frontend channel understands.
-
When editing a response, switch the tab to Custom YAML and add the code of your custom component. You can combine plain text and custom YAML in the same response if needed.
-
When testing in Try your assistant, Rasa sends custom components as JSONs. Styling and rendering are handled entirely by your frontend or messaging channel.