How to Annotate your Conversations
This guide teaches you how to annotate intents and entities in Rasa Studio, helping your assistant better understand user inputs by creating high-quality training data. You’ll learn how to assign, review, and manage annotations effectively to ensure your assistant performs accurately and reliably.
This feature requires that you've integrated Live Conversation Review. To enable Studio to visualize conversation data, your Rasa assistant must be configured to transmit this data to Studio using a Kafka broker. Ensure that both your Rasa Pro assistant and Studio are connected to the same Kafka instance and monitoring the same topic.
Additionally, verify that the assistant_id field in your Rasa assistant’s config.yml file matches the assistant name defined in Studio.
To dive deeper into the event broker, check out configuring Kafka in Rasa.
What is Annotation in Studio?
Annotation in Rasa Studio allows your team to label user messages with intents and entities. Users that have the Lead Annotator role can assign tasks, review annotations, and approve them to build training data or export it for further use.
Intro to the Annotation Dashboard
-
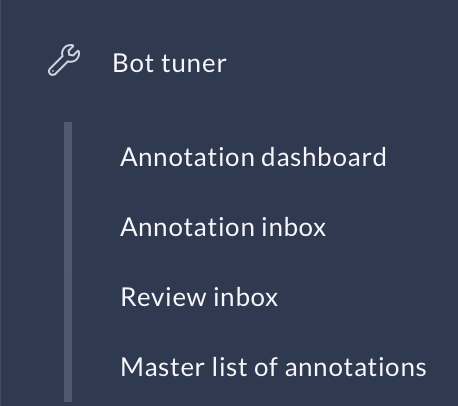
Open the Annotation Dashboard under Bot Tuner in the navigation bar.
-
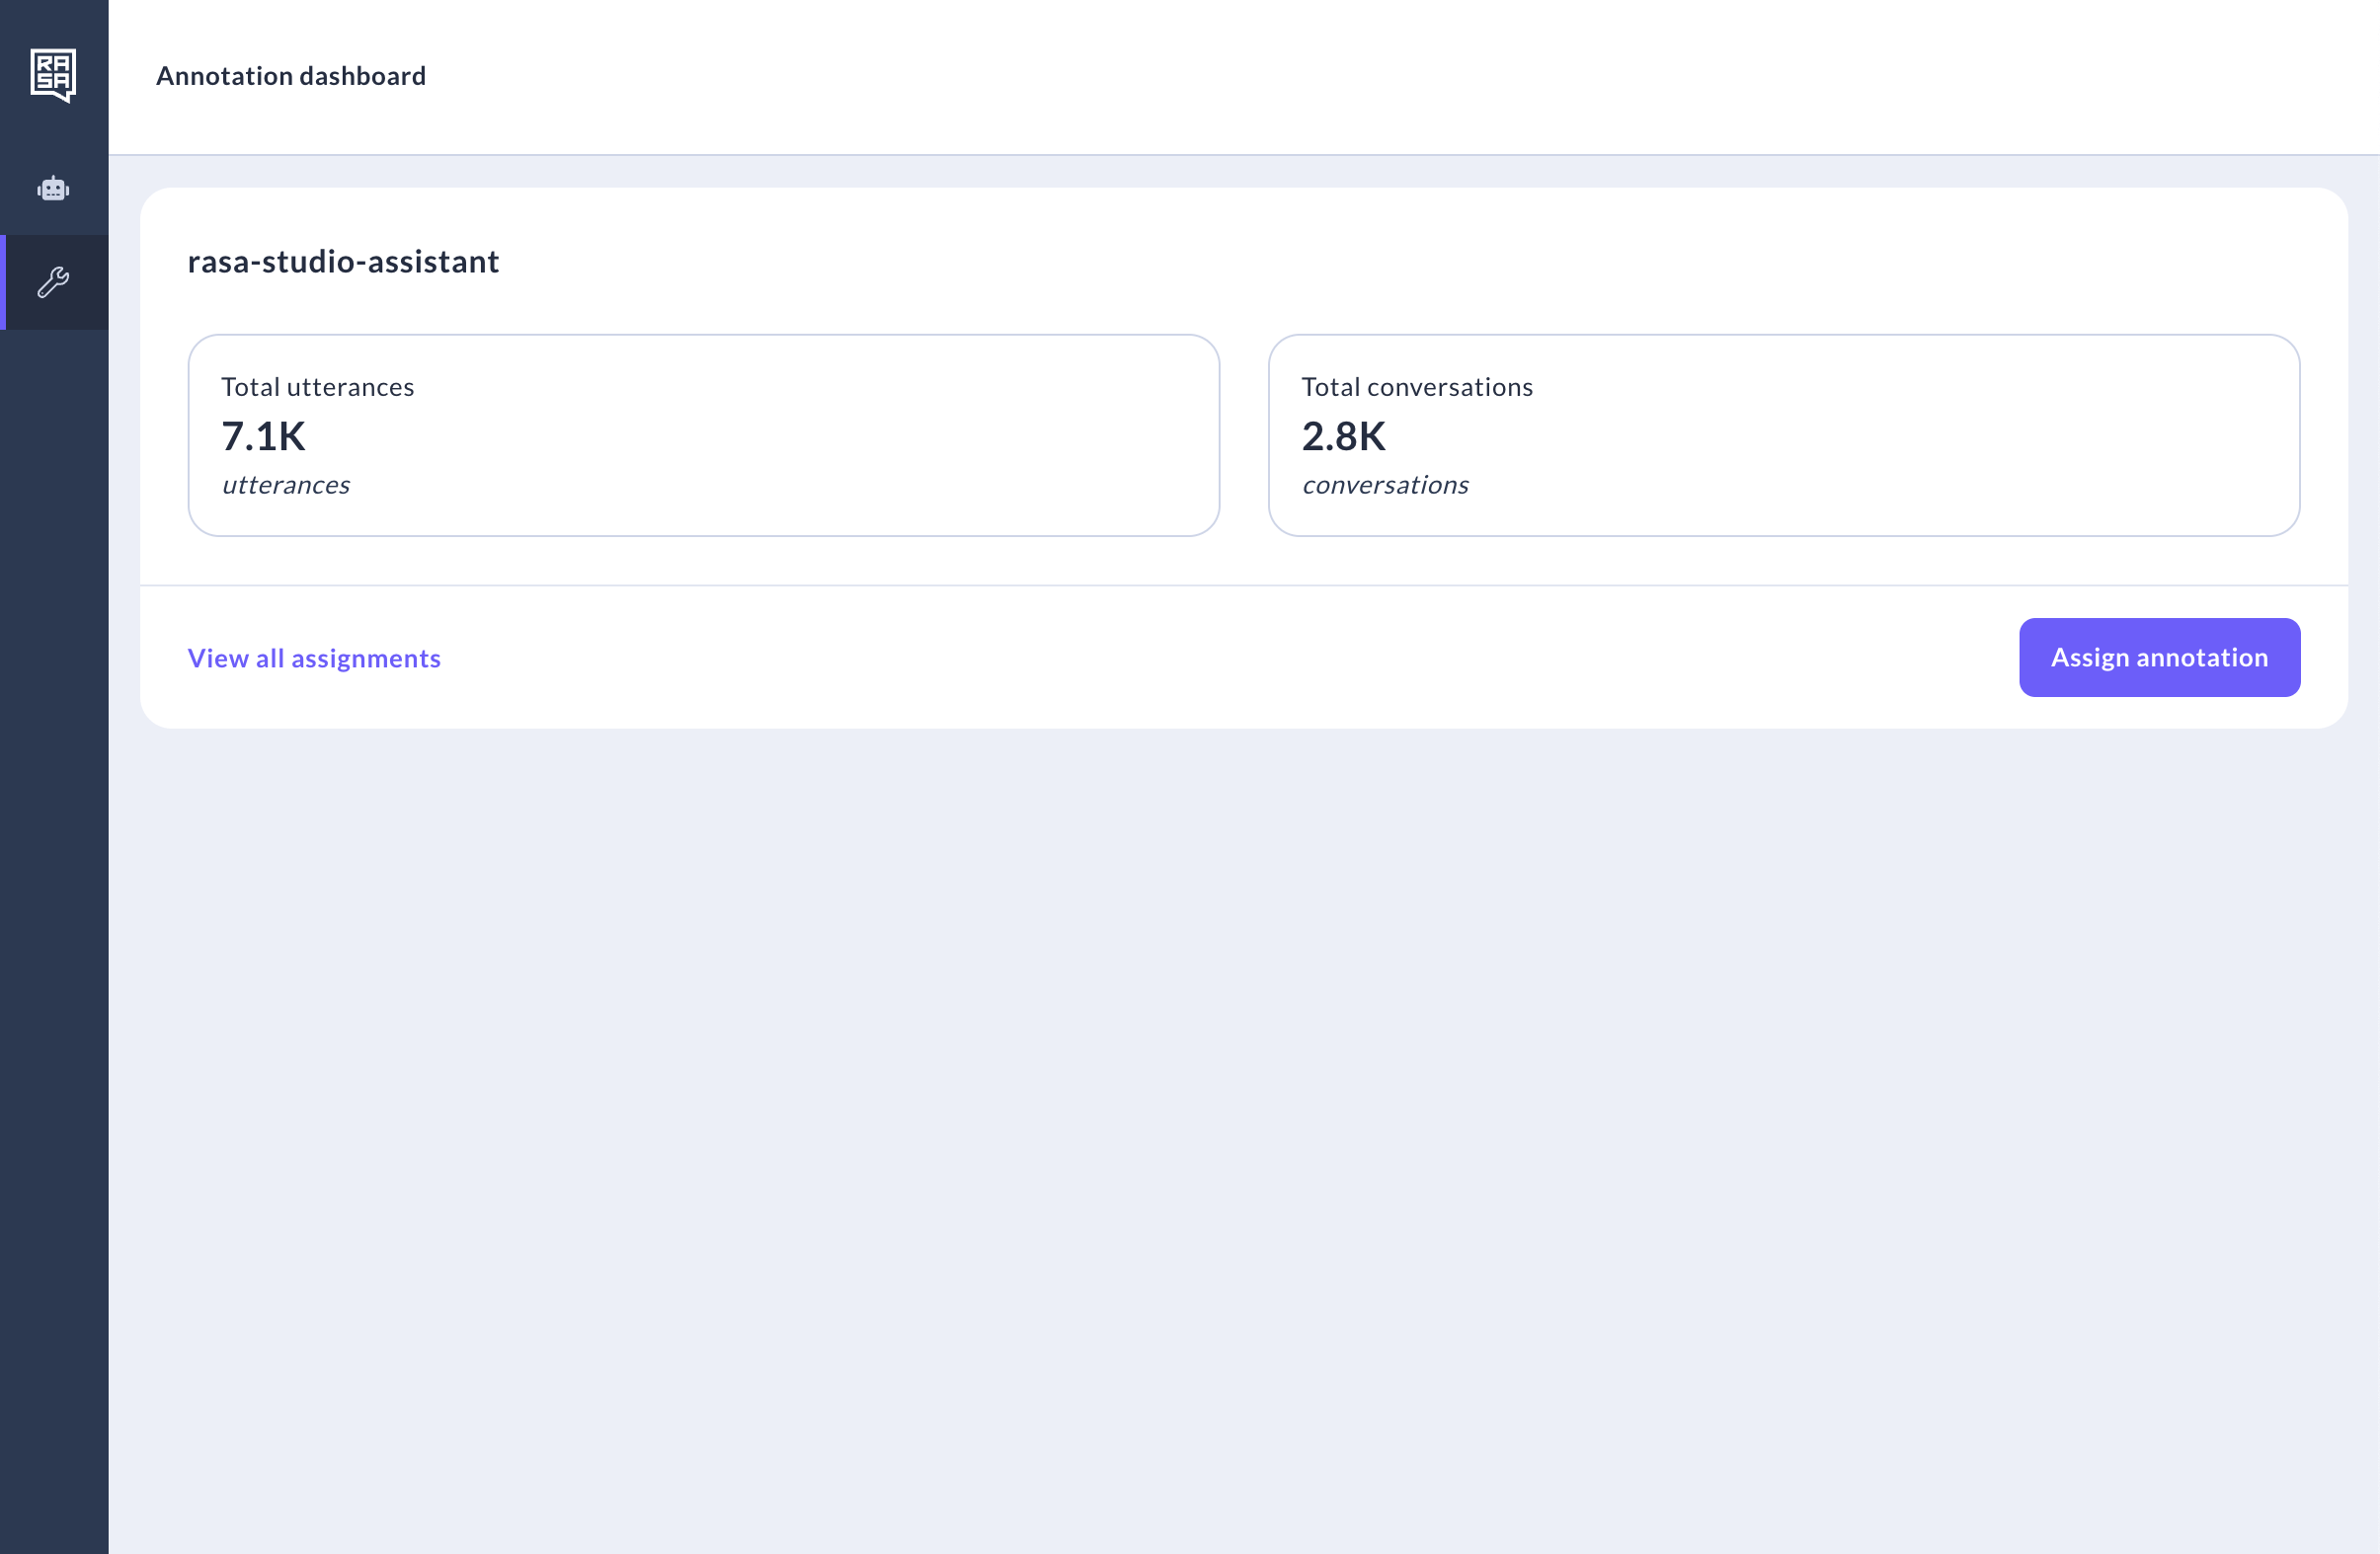
View key data:
- Total Utterances: All user messages sent to the assistant.
- Total Conversations: All sessions initiated by users.
How to Assign Annotations
-
Click Assign Annotation in the Annotation Dashboard.
-
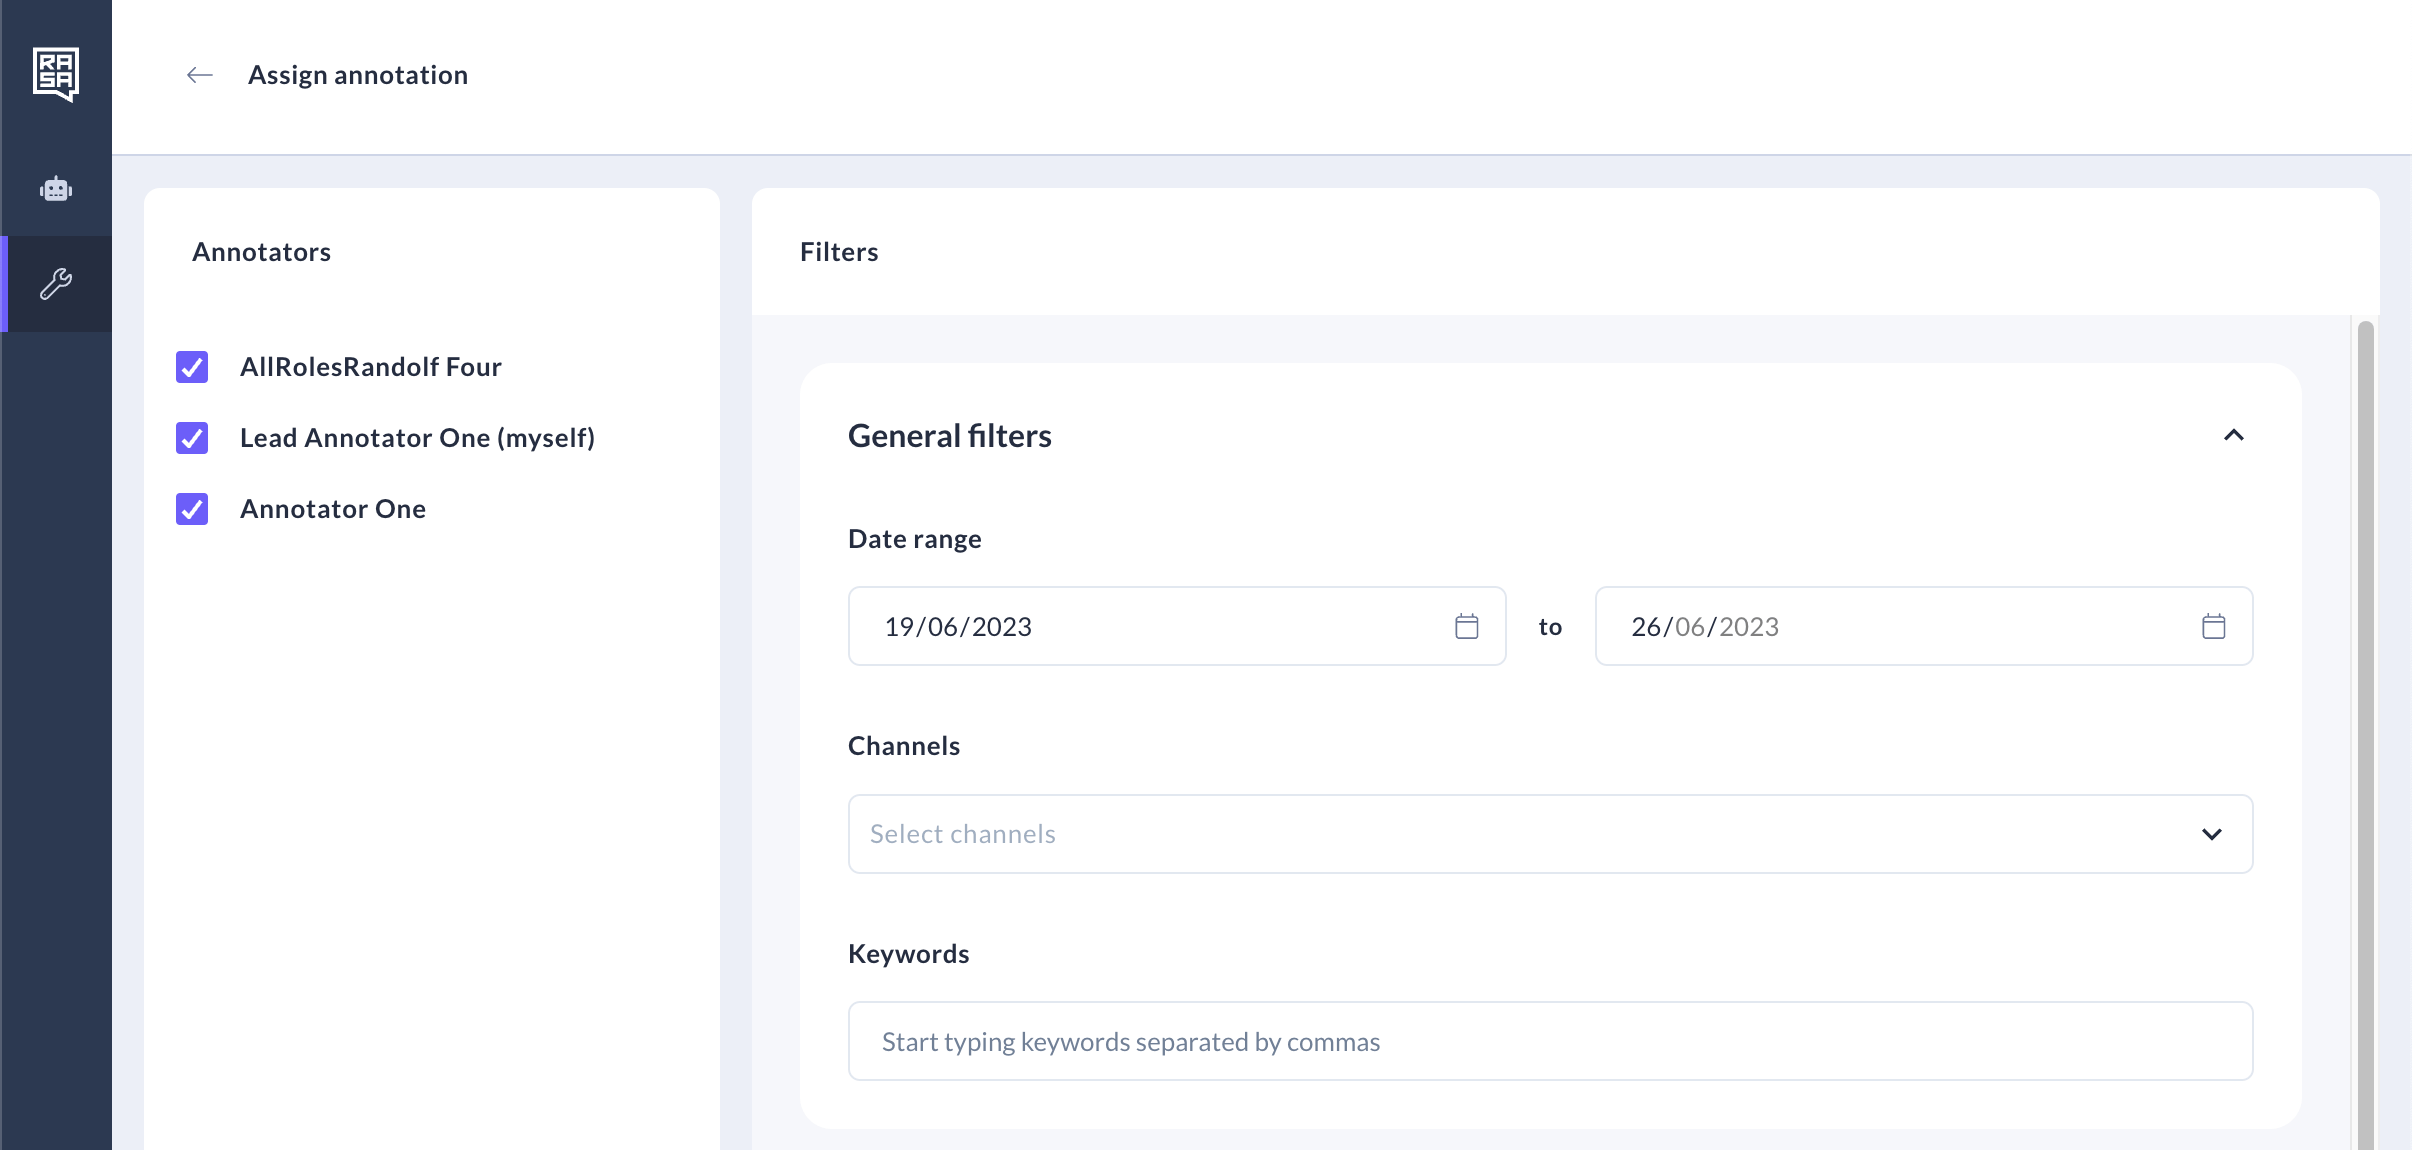
Select annotators from the list. You can include yourself.
-
Use filters to define the messages for annotation:
- Date Range: Filter by when messages were sent.
- Channels: Choose specific communication channels.
- Keywords: Filter messages containing specific words.
- Predicted Intent: Include messages with specific predicted intents.
- Confidence Range: Set a confidence score range for predictions.
- Sample Size: Limit the number of messages in the batch.
-
Click the refresh icon to update the message count based on filters.
-
Click Assign Annotation to create the batch.
How to Annotate Messages
Accessing Batches
- Go to Annotation Inbox under Bot Tuner to see batches assigned to you.
- Click Annotate on a batch to begin.
Bulk Annotation
- View Messages: See a list of messages with predicted intents and confidence scores.
- Tabs:
- Inbox: Messages awaiting annotation.
- Saved: Annotated and saved messages.
- Discarded: Messages excluded from training.
Annotating Intents
- Select messages and choose an intent from the dropdown.
- Save annotations by clicking Annotate. Annotated messages move to the "Saved" tab.
- Discard irrelevant messages to exclude them from training.
Annotating Entities
- Highlight words in the message to tag them as entities.
- Assign an entity type, role, or synonym in the panel below the message.
- Confirm or discard predicted entities.
Single Annotation
- Switch to single annotation mode for detailed review.
- See the full conversation context and annotate messages individually.
Reviewing Annotations
- Open the Review Inbox to review batches.
- Apply filters to focus on specific messages.
- Approve annotations or make corrections as needed.
- Mark the batch as reviewed to finalize annotations.
Managing Annotation History
-
Access Annotation History to view approved annotations.
-
Filter by confidence scores, intents, or training data status.
-
Export annotations as a CSV or add them as training data.
-
Train your model to incorporate new training data.
💡 Remember to retrain your model after adding new training data.
Linked Features
Creating a New Intent During Annotation
- Click the intent dropdown and select Create New Intent.
- Enter a name for the intent (no spaces or special characters).
- Save the intent to use it immediately in the batch.
By following these steps, you can streamline the annotation process, ensuring accurate training data for your assistant.