Users and Roles Setup Guide
Studio uses Keycloak to manage user authentication, roles, and permissions. This guide explains how to set up user roles for your team, including two main authentication options:
- Simple Authentication: Users log in with a username and password.
- Single Sign On: Centralized login using an identity provider.
Roles Overview
Studio includes eight default roles to tailor access levels to your team's needs. You can choose which ones make the most sense for your team and organization:
- SuperUser: Oversees all of Studio’s functionality — from configuring settings to building the assistant and reviewing conversations.
- Lead Annotator: Oversees and reviews annotations, manages CMS content.
- Annotator: Annotates data and creates NLU annotations.
- Flow Builder: Designs conversational flows and manages NLU data.
- NLU Editor: Creates and edits NLU models for training.
- Business User: Tests assistants and interacts with flows for business insights.
- Developer: Handles technical tasks like exporting annotations and configuring settings.
- Conversation Analyst: Analyzes conversation data and manages tags.
- Conversation Viewer: Views conversation data and tags.
Simple Authentication Setup
Follow these steps to set up users with username/password login:
-
Log in to Keycloak: Navigate to
https://<your-studio-url>/authand log in using admin credentials (KEYCLOAK_ADMIN_USERNAMEandKEYCLOAK_ADMIN_PASSWORD).
-
Select the Realm: Choose the
rasa-studiorealm from the dropdown menu.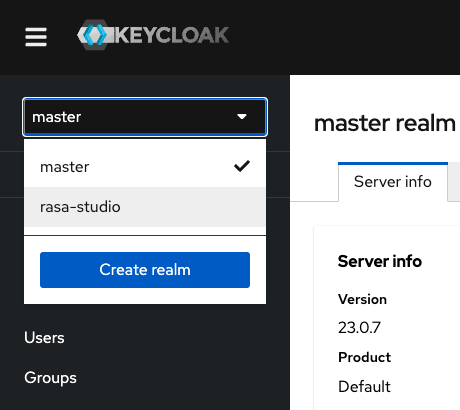
-
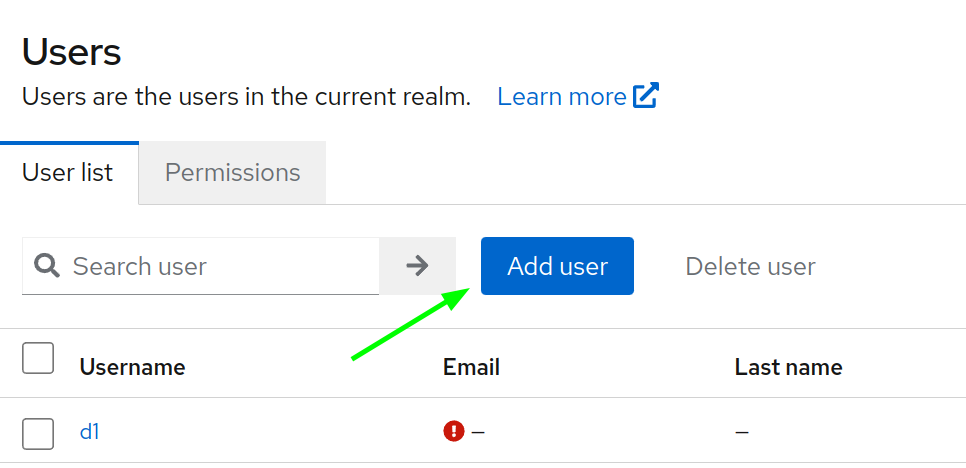
Add a New User:
- Navigate to
Users>Add user. - Enter user details and click Create.
- Navigate to
-
Assign Roles:
- Go to the
Groupstab and add the user to the relevant groups to assign roles.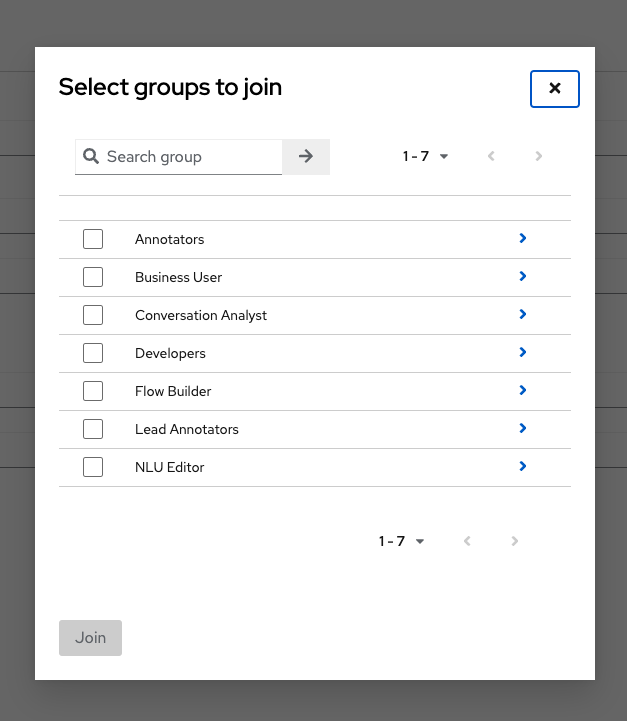
- Go to the
-
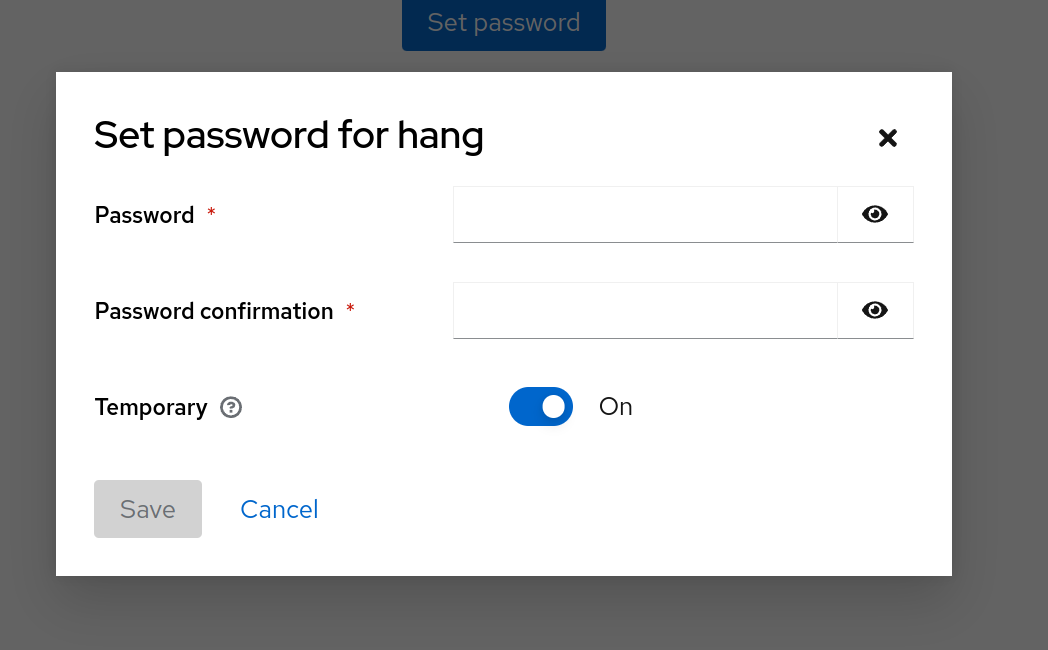
Set the Password:
- Go to
Credentialsand set a password. - Enable the "Temporary password" toggle if the user needs to reset their password on first login.
- Go to
SSO Setup
To configure SSO for your users:
-
Log in to Keycloak: Access the
Administration Consoleand select therasa-studiorealm. -
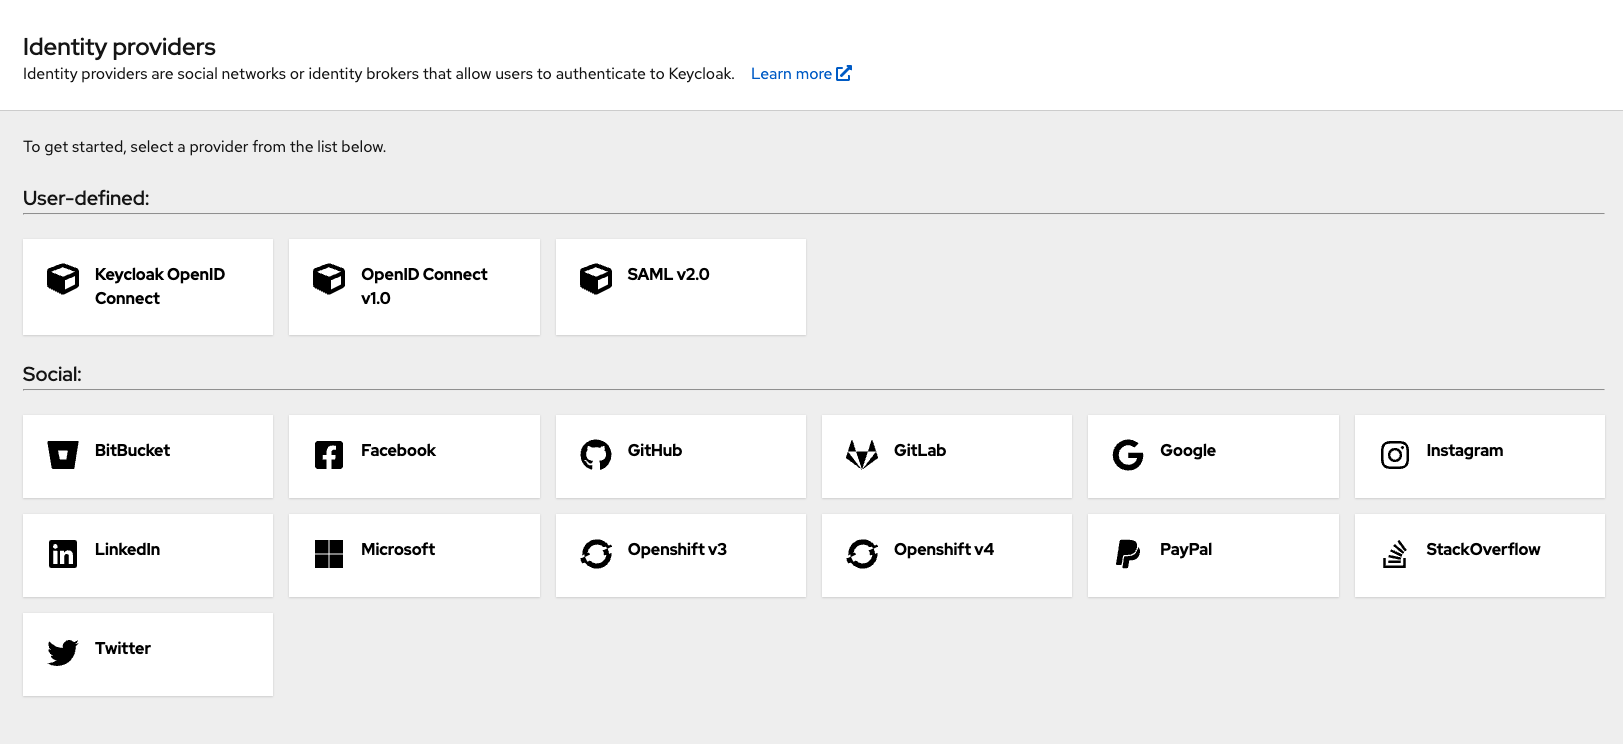
Configure Identity Providers:
- Navigate to the
Identity Providerssection. - Select and configure your desired provider (e.g., Google, Azure AD).
- Navigate to the
-
Follow Provider Instructions: Refer to Keycloak SSO Documentation for specific setup steps.
You can read more details on authorization in our API Authorization Guide or Managing Users Guide.