Login/Role-based access control
Studio uses Keycloak - a third-party open-source tool to manage authentication, roles and permissions.
In Studio we have user roles that define what users can do in the system. These user roles are mapped to Keycloak groups. When a user logs in, they are assigned roles based on the group they are in.
Studio currently has 7 user groups: Lead annotator, Annotator, Flow builder, NLU editor, Business user, Developer, Conversation Analyst.
You can find the table of permissions per user group below.
| Groups 👉 Roles 👇 | Annotator | Lead annotator | Flow builder | NLU editor | Business user | Developer | Conversation analyst |
|---|---|---|---|---|---|---|---|
| View assignments | ✅ | ||||||
| Assign annotation | ✅ | ||||||
| View batches | ✅ | ✅ | |||||
| Annotate batches | ✅ | ✅ | |||||
| View batches for review | ✅ | ||||||
| Review batches | ✅ | ||||||
| View Annotation history | ✅ | ✅ | ✅ | ✅ | ✅ | ||
| Export annotations | ✅ | ✅ | |||||
| Add annotations to training data | ✅ | ✅ | |||||
| View access in CMS | ✅ | ✅ | ✅ | ✅ | ✅ | ||
| Create new NLU in CMS | ✅ | ✅ | ✅ | ✅ | |||
| Create new NLU in Annotation | ✅ | ✅ | ✅ | ||||
| Create new NLU in Flow Builder | ✅ | ✅ | ✅ | ||||
| Edit existing NLU in Flow Builder | ✅ | ✅ | ✅ | ||||
| Edit existing NLU in CMS | ✅ | ✅ | ✅ | ✅ | |||
| Training | ✅ | ✅ | ✅ | ||||
| View access to flow builder | ✅ | ✅ | ✅ | ✅ | ✅ | ||
| Create new flow | ✅ | ✅ | |||||
| Edit existing flow | ✅ | ✅ | |||||
| Try assistant | ✅ | ✅ | ✅ | ||||
| Manage assistant settings | ✅ | ||||||
| View conversation view | ✅ | ||||||
| Manage conversation tags added to conversations | ✅ | ||||||
| Manage conversation tags | ✅ |
How to set up users with Keycloak
To set up a new user in Studio, follow these steps
Log in to Keycloak by navigating to
https://host-name/authSelect the
Administration Consoleand use the admin credentials to log in. The credentials are theKEYCLOAK_ADMIN_USERNAMEandKEYCLOAK_ADMIN_PASSWORDenvironment variables passed to the Helm chart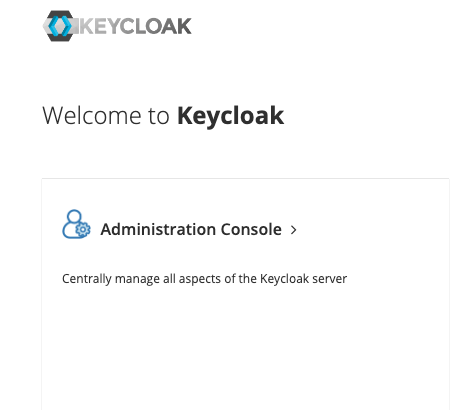
Change the realm to
rasa-studio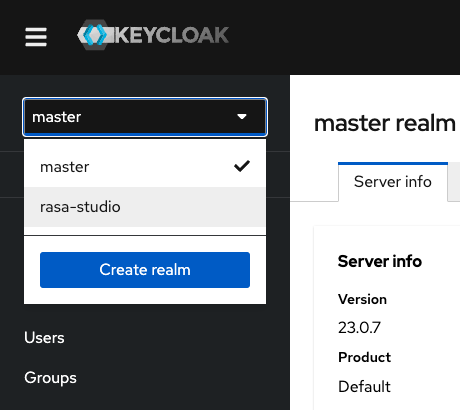
In the left menu, navigate to
UsersClick on
Add user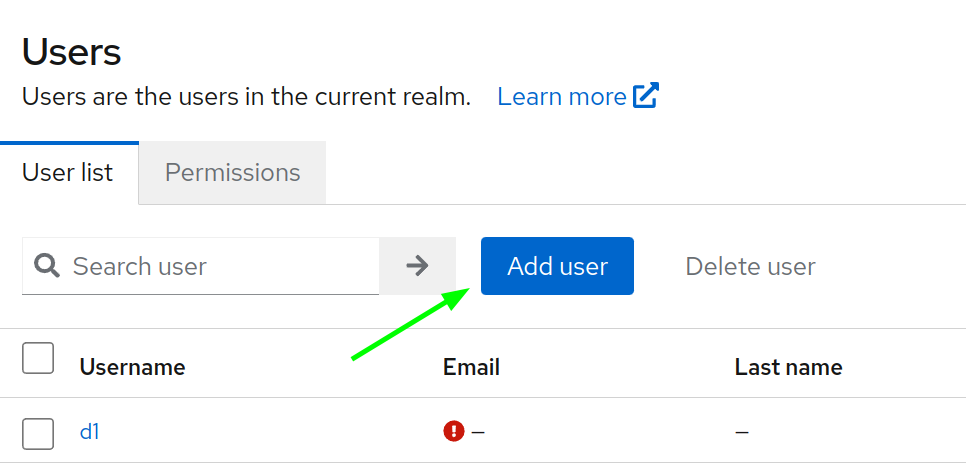
Enter details for the new user
Assign appropriate permissions to the user by adding them to relevant groups
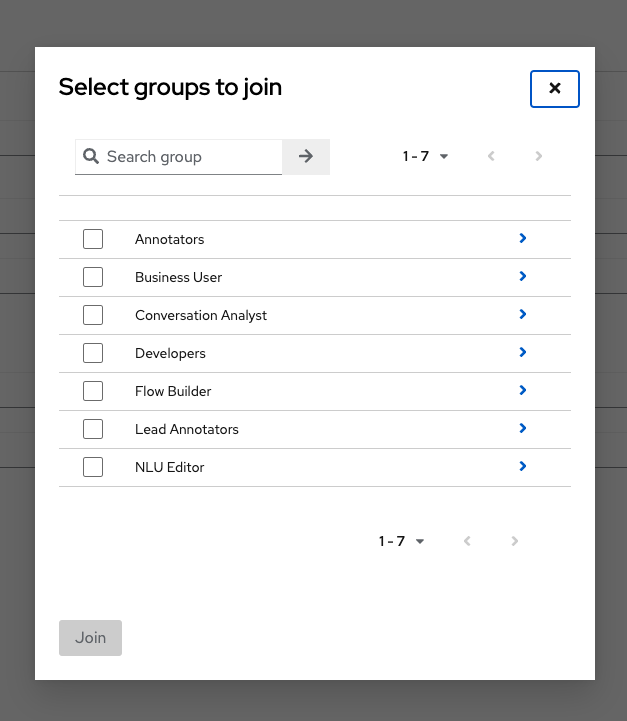
Click "Create" to confirm and create the user
Go to the "Credentials" section
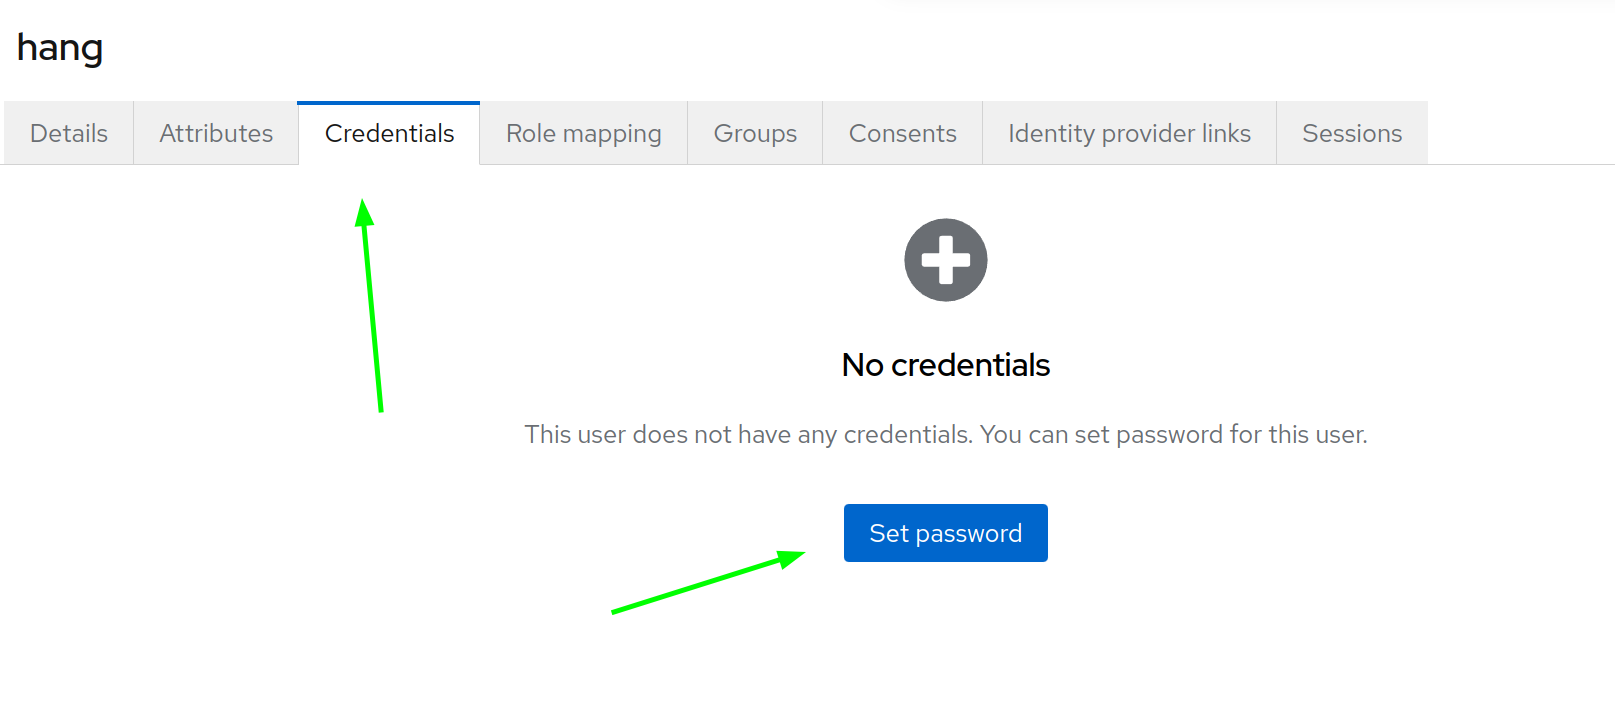
Set the user's password. If you want the user to change the password on their first login, enable the "Temporary password" toggle
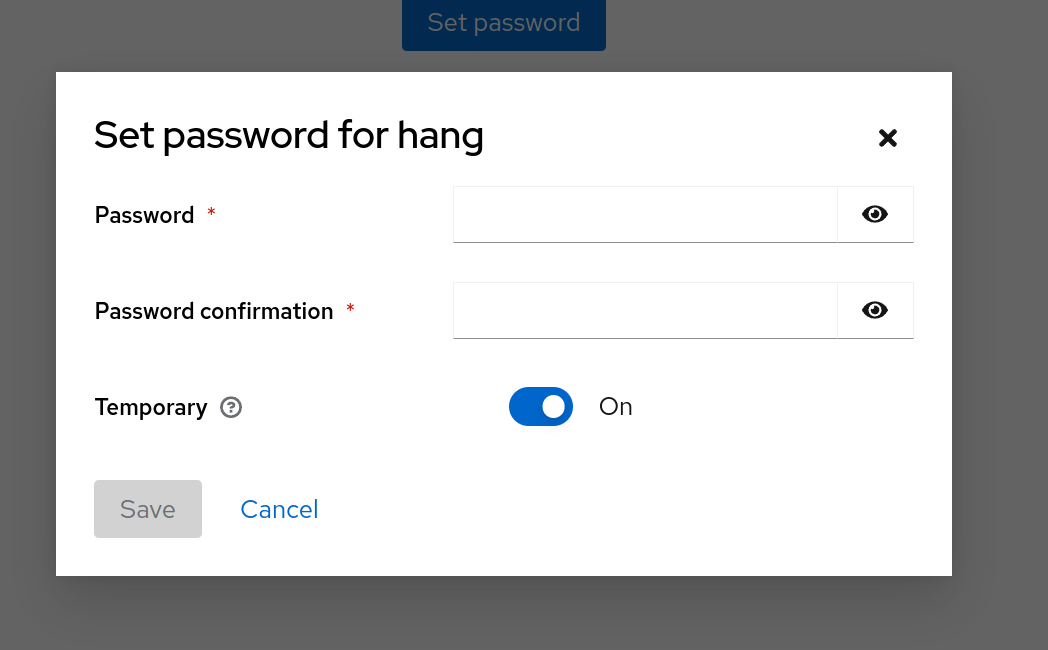
Change user password
There are 2 ways to change a user password: user changes their password or admin changes their password
User changes their password on next login
Select the user in Keycloak
In ‘Credentials’, select ‘Reset password’

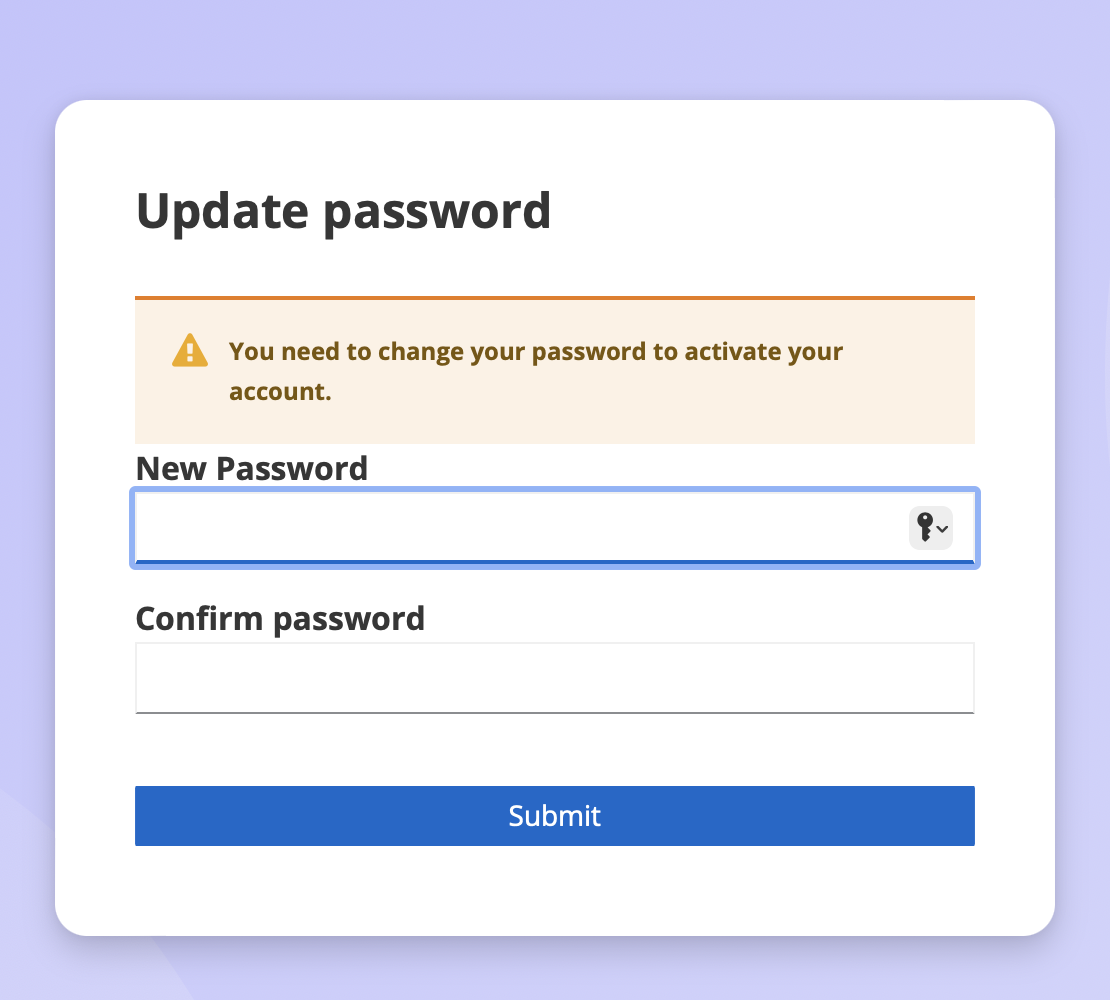
Enable the
Temporarypassword so the user must change the password on the next loginNext time the user logs in, they will be asked to change their password
Admin changes user’s password
- Select the user in Keycloak
- Go to
Credentialsand selectReset password
- Enter a new password and confirm
Manage users
At any point, the admin can edit, or delete users or end users’ sessions
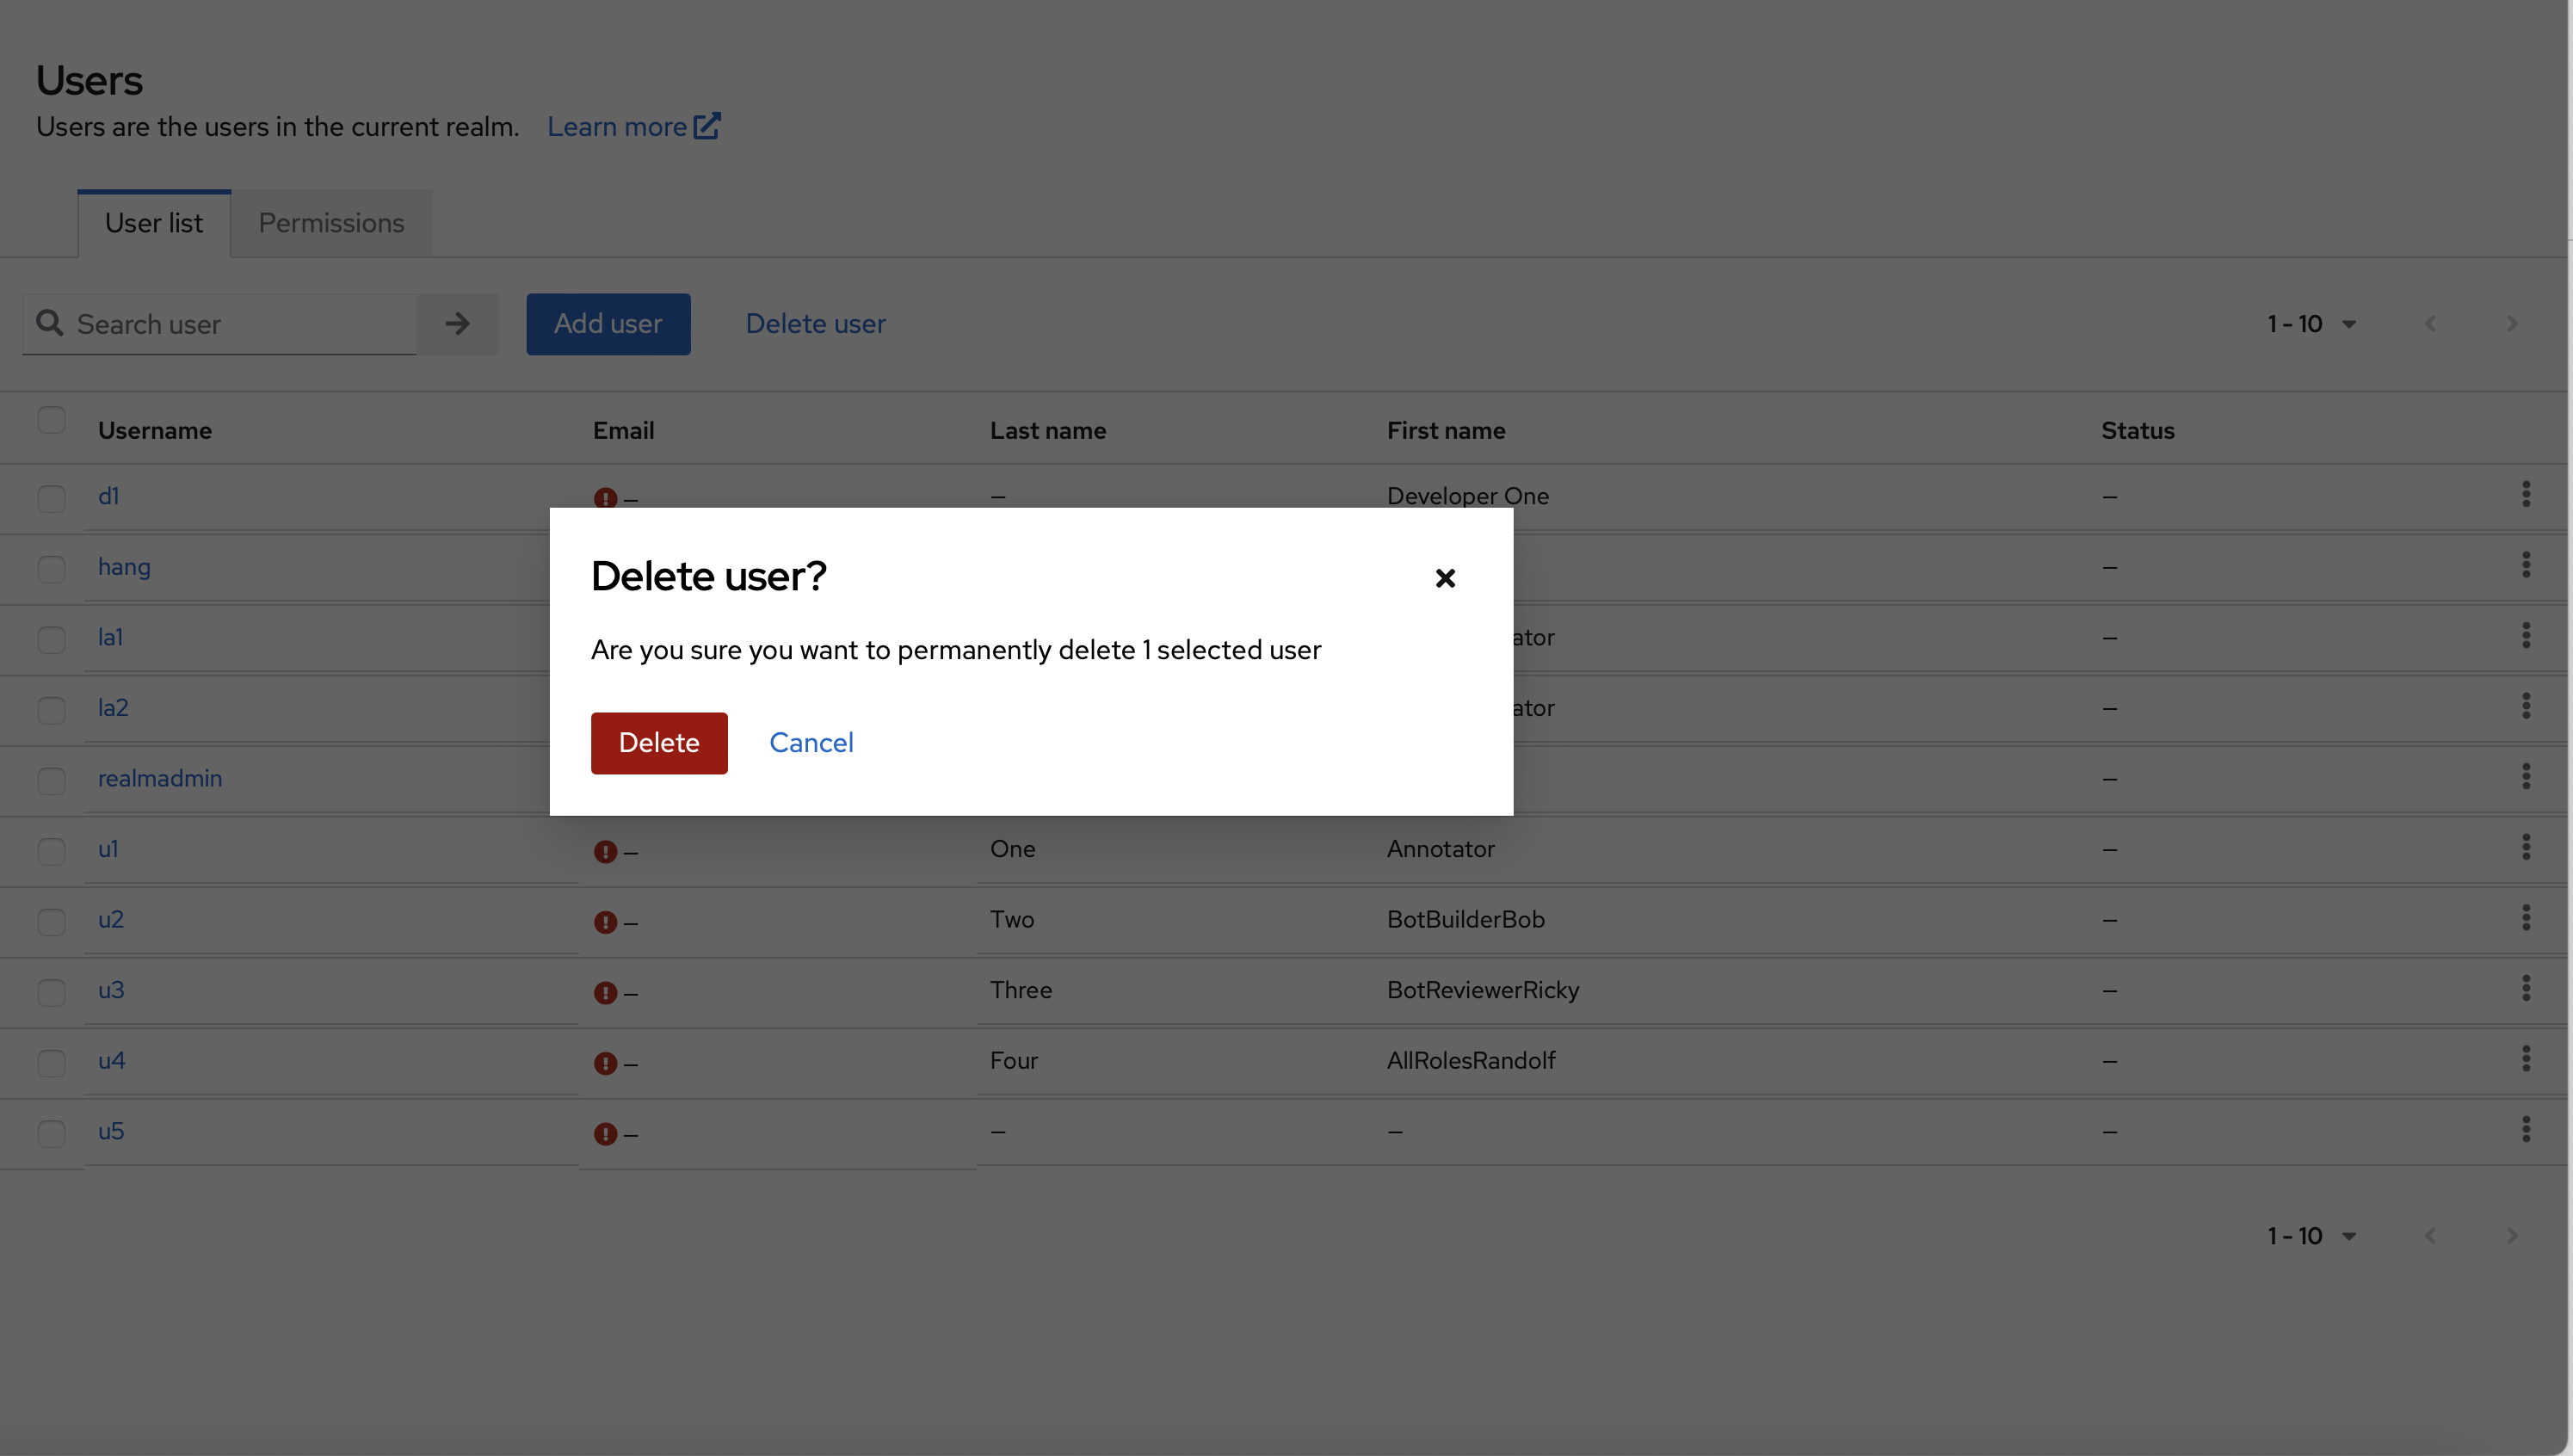
Delete users:
tip
Please make sure to never modify the realmadmin user. This user is used by Studio to call Keycloak APIs and should not be deleted or modified.
Go to User list
Locate the user you wish to remove.
Select the
Deleteoption in the kebab menu
Confirm the deletion to remove the user from the system
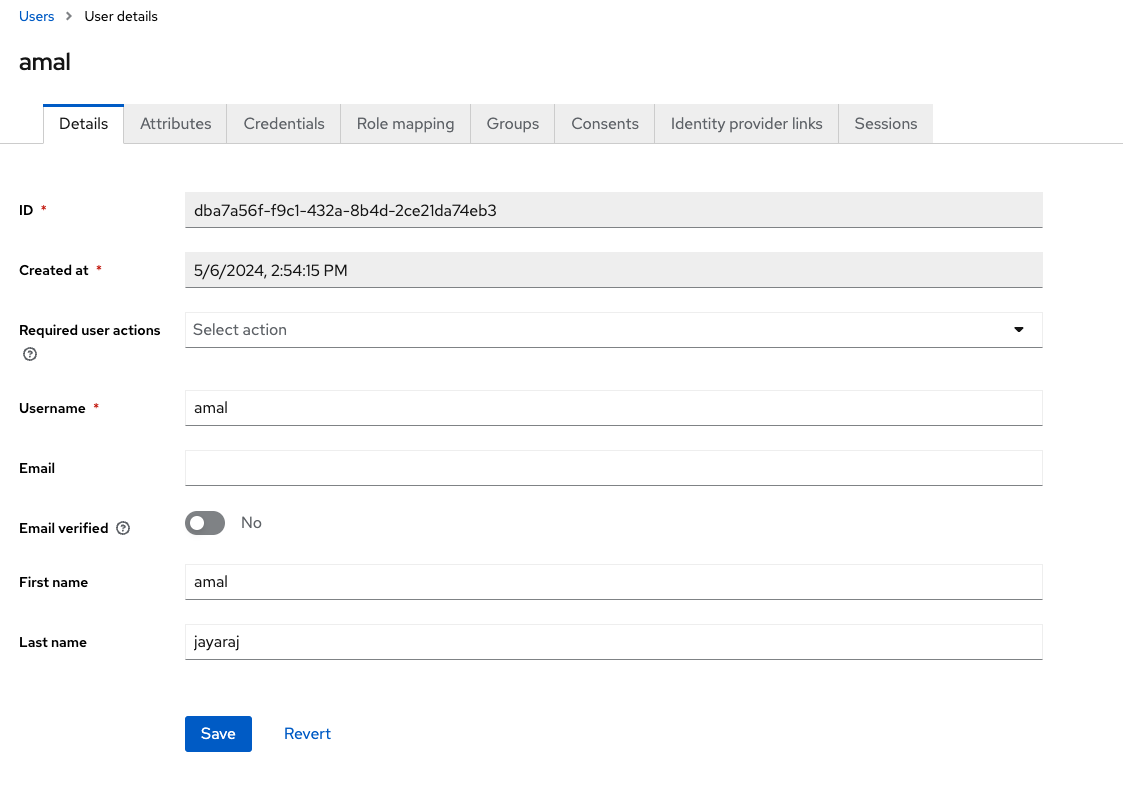
Change username, names:
Select the user
Go to
DetailsUpdate the user info
Change user permissions:
Select the user
Go to
GroupsUpdate the groups the user is belong to

Log user out of the current session:
Select the user
Go to
SessionsLocate the session associated with the user's current session.
In the kebab menu, select
Sign out
How to configure email
Keycloak sends emails to users to verify their email addresses, when they forget their passwords, or when an administrator needs to receive notifications about a server event. To enable Keycloak to send emails, you provide Keycloak with your SMTP server settings.
Choose your realm in the upper left corner (e.g.
rasa-studio)Click Realm setting
Click the Email tab
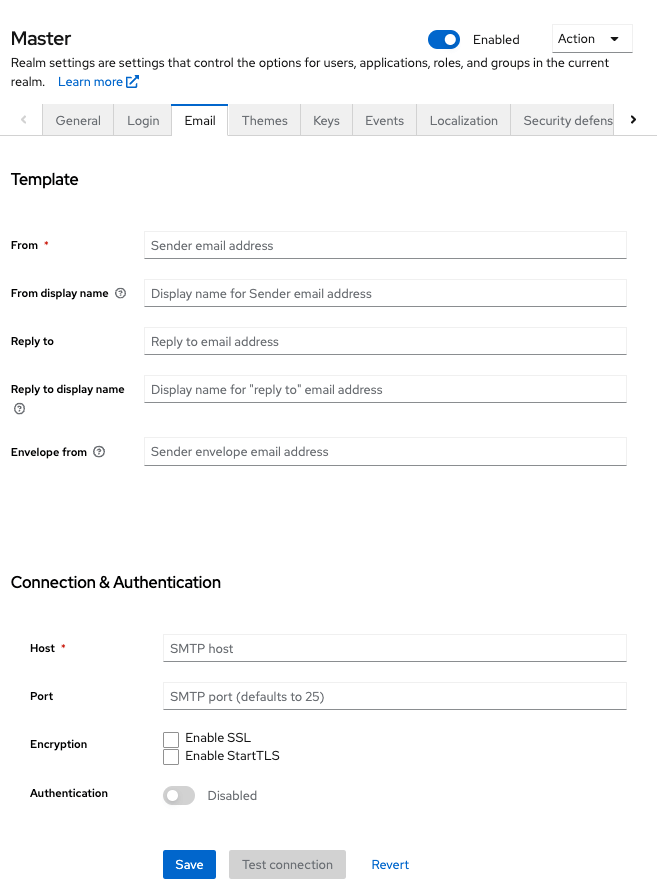
Fill in the fields and toggle the switches as needed. Please refer official Keycloak documentation for more details on each field.
Advanced login configuration
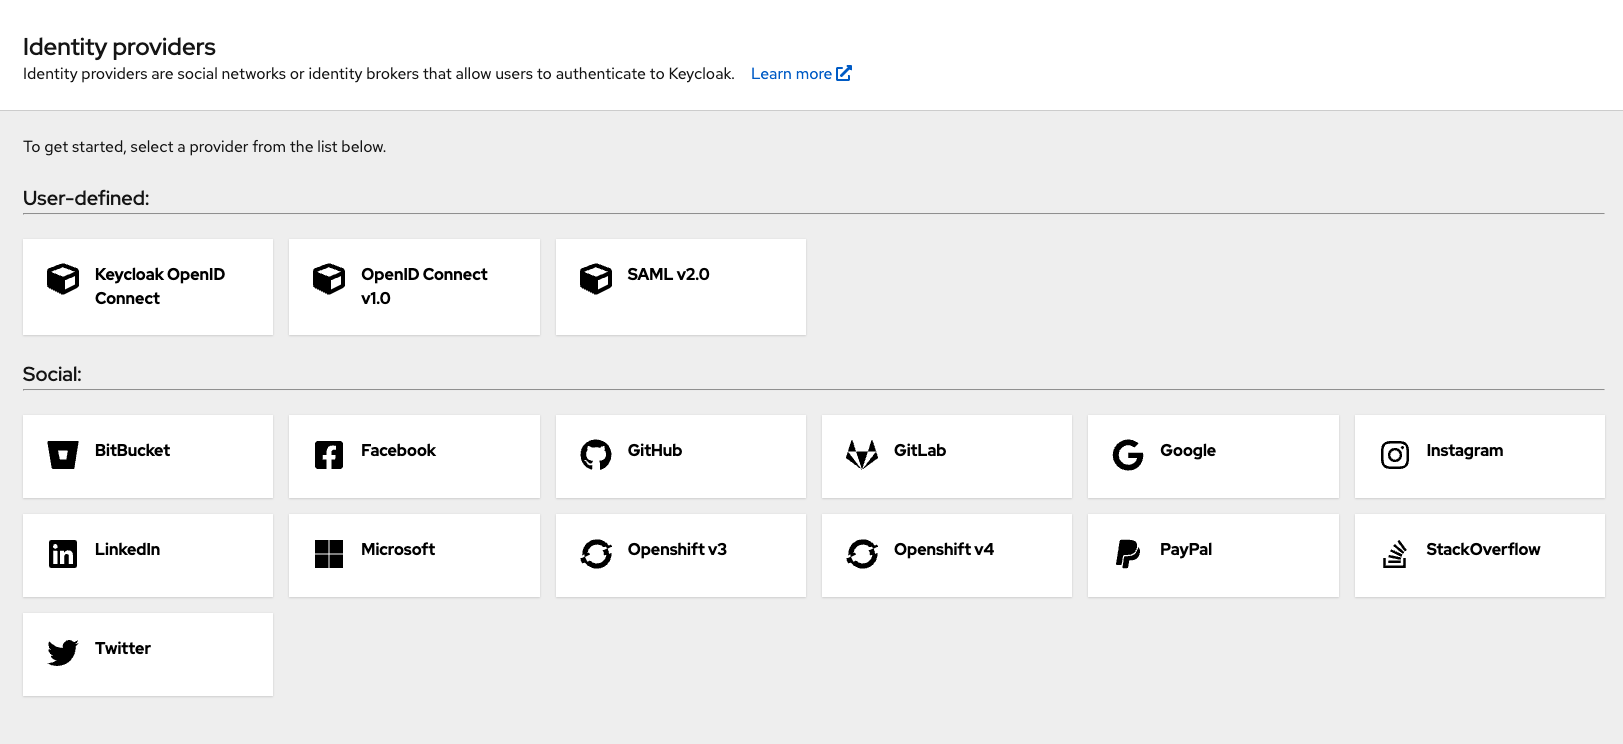
Keycloak supports several Identity providers and SSO protocols. You can configure them in the Identity providers section for the realm. Please refer to the official Keycloak for more details on how to configure SSO protocols and set different Identity providers.
